
How to Teach Photography to Elementary Students
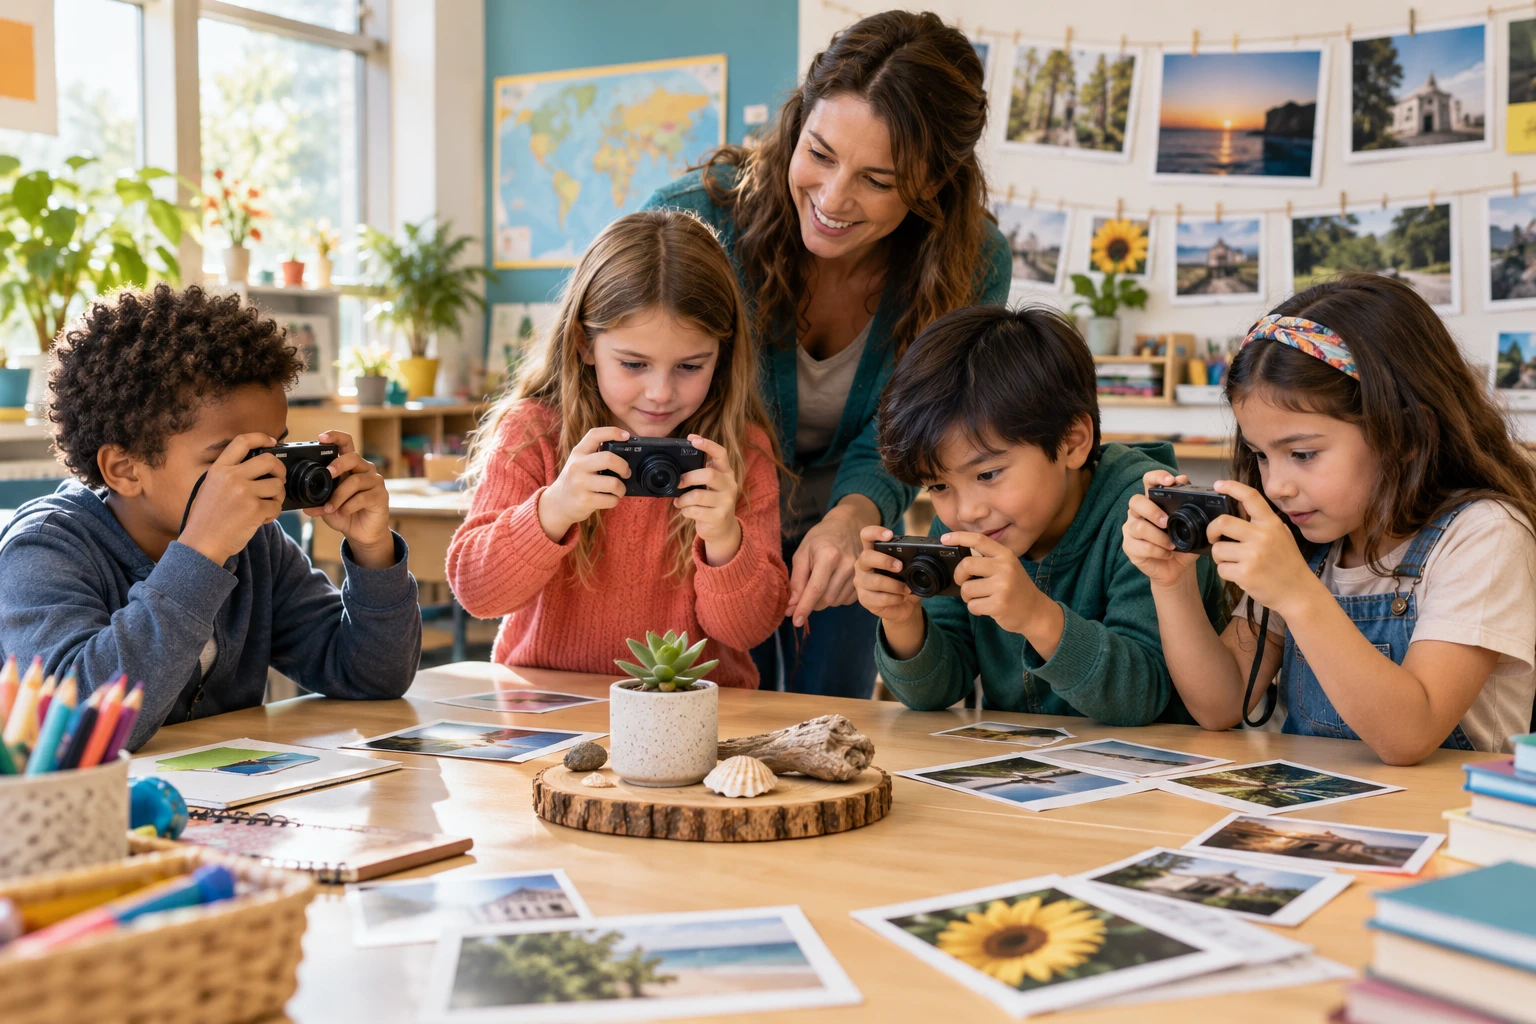
Elementary students learn photography most effectively through short assignments, immediate review, and room to make their own choices. The goal is not to rush children into manual settings. It is to help them notice light, subject, viewpoint, timing, and story while handling a camera safely. This plan works for a classroom set of compact cameras, a few shared tablets, or supervised family devices.
Begin with safety and permission
Demonstrate the strap, two-handed grip, clean-lens habit, and a safe place to set the camera down. Students should ask before photographing classmates and should never share a recognizable picture publicly without school and family permission. Establish boundaries for bathrooms, health areas, computer screens, name tags, addresses, and other private details before anyone presses the shutter.
Teach one visible idea at a time
A lesson on viewpoint should not also require memorizing exposure terms. Show the same object from eye level, above, below, near, and far. Let students predict how the next position will change the picture, then compare the result. Once they can see the effect, give the idea a name. This sequence makes vocabulary useful instead of abstract.
Use a five-picture assignment
Give each student a short list: one shape, one texture, one strong color, one close detail, and one picture that tells a story. Five required frames encourage deliberate choices and keep review manageable. If devices have limited storage or students must share, pair them as photographer and spotter, then switch roles after the first five images.
Build a simple composition routine
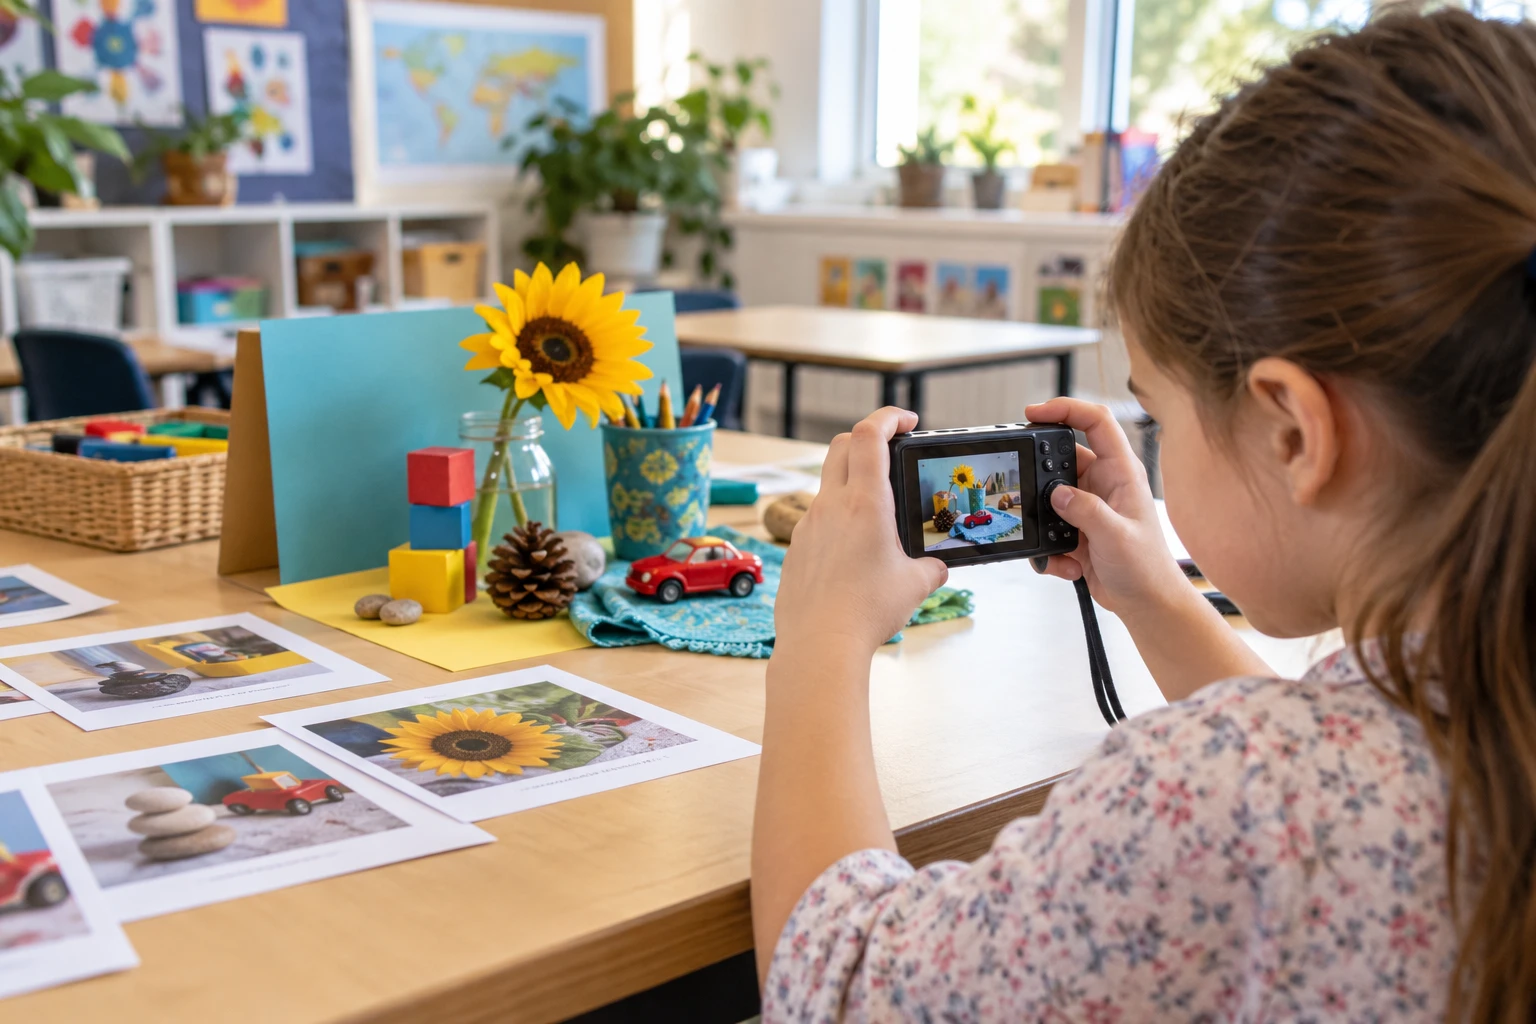
Before taking a photograph, ask three questions: What is the subject? What is around the edges? Where is the light coming from? Students can move closer, turn the camera, or change position before using zoom. A grid can help them level horizons, but centered subjects are fine when symmetry or clarity supports the idea.
Practice focus and timing
On touch screens, students can tap the subject. On cameras with a two-stage shutter, practice pressing halfway to focus and then completing the press without jabbing. Begin with a stationary object, move to a walking partner, and finish with a predictable jump or rolling ball. Each step changes only one difficulty.
Review with questions, not scores
Let the photographer choose a favorite first. Ask what they wanted viewers to notice, what worked, and what they would change. Point to one specific success and suggest one experiment for the next frame. This approach builds visual language and problem solving without turning every imperfect crop or blur into a failure.
Finish with a private exhibition
Select three to five photographs per student and add short captions. Print them, build a classroom slideshow, or place them in a protected family-access folder. An adult should check images and metadata before sharing. A finished presentation gives the assignment purpose and teaches that selection, order, and captions are part of photography.
A four-session lesson plan
Session one covers handling, permission, and the five-picture scavenger hunt. Session two explores viewpoint and backgrounds. Session three practices portrait light or a three-frame story. Session four is for selection, light editing, captions, and presentation. Ten to twenty minutes of shooting in each session is usually enough for younger students; discussion can continue after cameras are put away.
Write down the intended use before comparing listings. Include the subject, typical light, longest comfortable carrying time, and the feature that would solve the largest current frustration. This short note makes it easier to ignore attractive specifications that do not improve the photographs you actually want to make.
Plan a first-week test while the return period is open. Photograph a familiar indoor subject, an outdoor scene, a moving person or pet, and the closest subject the equipment is meant to handle. Review the files on a larger screen, repeat any weak result, and separate technique problems from equipment limits.
Keep the setup understandable. Add one accessory or control change at a time, label batteries and chargers, format cards only after files are backed up, and store the manual where it can be found. A dependable routine protects equipment and makes it much easier to notice when a new setting causes an unexpected result.
Write down the intended use before comparing listings. Include the subject, typical light, longest comfortable carrying time, and the feature that would solve the largest current frustration. This short note makes it easier to ignore attractive specifications that do not improve the photographs you actually want to make.
Plan a first-week test while the return period is open. Photograph a familiar indoor subject, an outdoor scene, a moving person or pet, and the closest subject the equipment is meant to handle. Review the files on a larger screen, repeat any weak result, and separate technique problems from equipment limits.
Keep the setup understandable. Add one accessory or control change at a time, label batteries and chargers, format cards only after files are backed up, and store the manual where it can be found. A dependable routine protects equipment and makes it much easier to notice when a new setting causes an unexpected result.
Write down the intended use before comparing listings. Include the subject, typical light, longest comfortable carrying time, and the feature that would solve the largest current frustration. This short note makes it easier to ignore attractive specifications that do not improve the photographs you actually want to make.
Plan a first-week test while the return period is open. Photograph a familiar indoor subject, an outdoor scene, a moving person or pet, and the closest subject the equipment is meant to handle. Review the files on a larger screen, repeat any weak result, and separate technique problems from equipment limits.
Keep the setup understandable. Add one accessory or control change at a time, label batteries and chargers, format cards only after files are backed up, and store the manual where it can be found. A dependable routine protects equipment and makes it much easier to notice when a new setting causes an unexpected result.
Write down the intended use before comparing listings. Include the subject, typical light, longest comfortable carrying time, and the feature that would solve the largest current frustration. This short note makes it easier to ignore attractive specifications that do not improve the photographs you actually want to make.
Plan a first-week test while the return period is open. Photograph a familiar indoor subject, an outdoor scene, a moving person or pet, and the closest subject the equipment is meant to handle. Review the files on a larger screen, repeat any weak result, and separate technique problems from equipment limits.
Keep the setup understandable. Add one accessory or control change at a time, label batteries and chargers, format cards only after files are backed up, and store the manual where it can be found. A dependable routine protects equipment and makes it much easier to notice when a new setting causes an unexpected result.
Final recommendation
Keep the camera automatic until a student asks for a result the camera does not provide. Exposure compensation can solve consistently bright or dark pictures; shutter speed becomes meaningful when the student wants to freeze or blur motion. Technical control should answer a creative question. The strongest elementary lesson ends with a student who can explain a choice and is eager to try another one.
Editorial note: This educational guide intentionally contains no affiliate product links.