Reviewed and updated: October 20, 2026
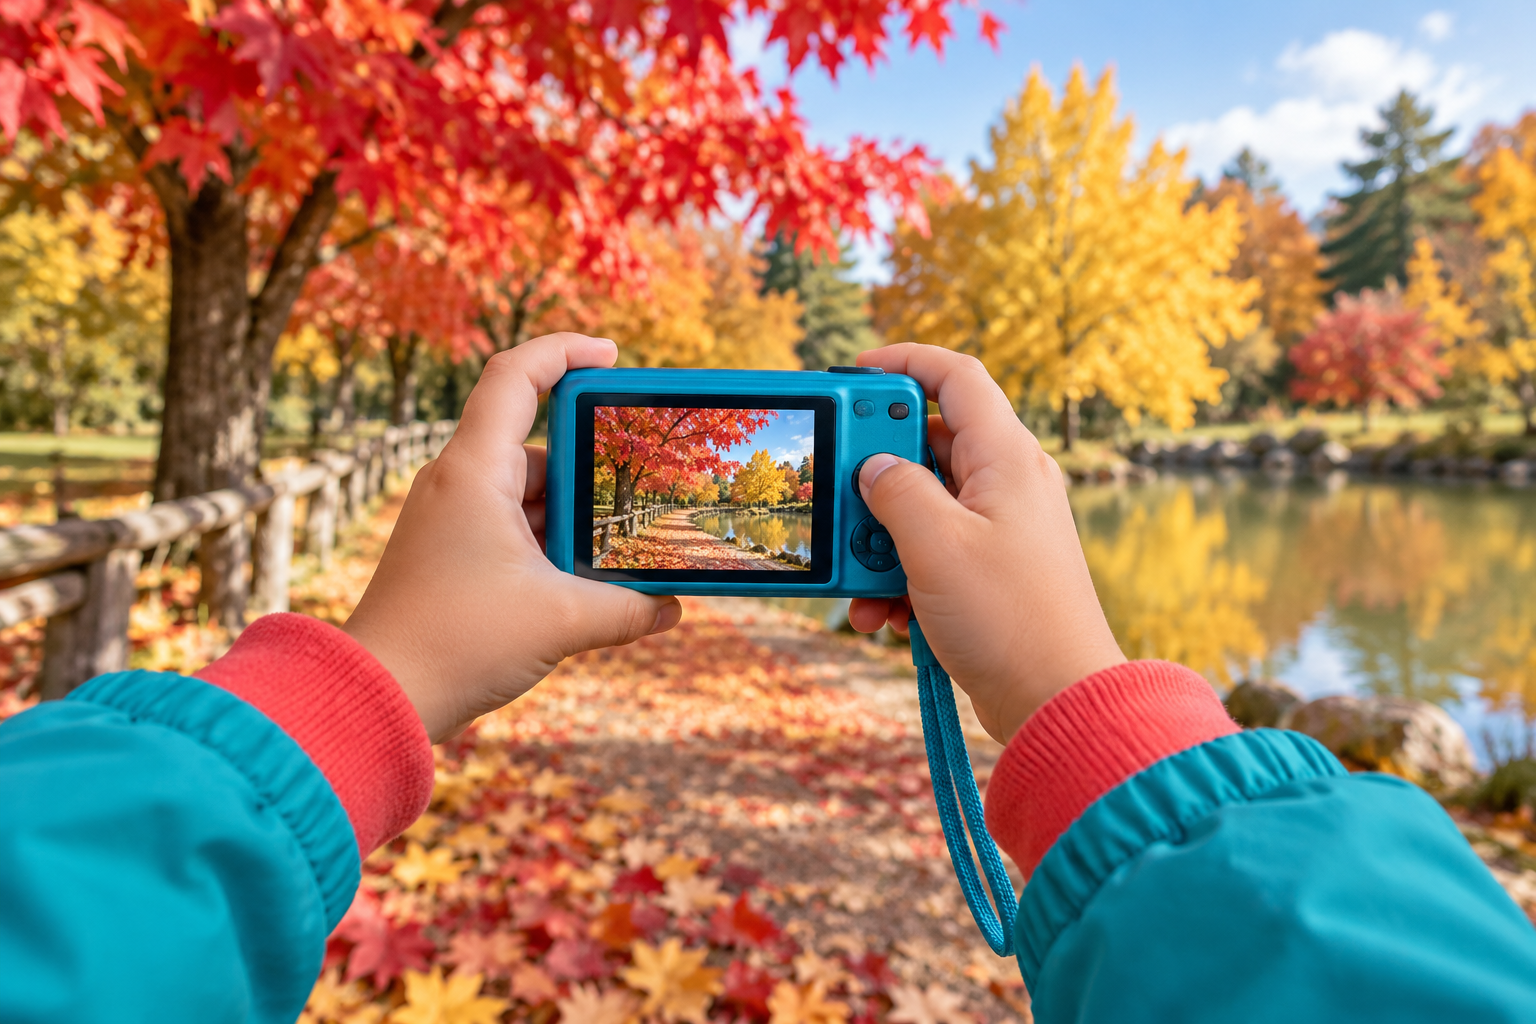
A fall photo walk works best as a short observation game with simple safety boundaries. Color, texture, and changing light give children plenty to photograph without turning the outing into a technical lesson.
This guide was reviewed against current official product information where a model is discussed. Specifications and packages can change, so verify the exact label or manufacturer page before acting.
Choose a short familiar route
Pick a park, yard, or neighborhood path with safe walking surfaces and clear adult sight lines. Check weather, sunset time, closures, and local rules. A route that can be completed in thirty to forty-five minutes gives children time to look without becoming cold, tired, or rushed.
Set three simple safety rules
Agree that the photographer stops walking before looking through the screen, stays within the adult boundary, and never steps into a road or restricted area for a picture. Add clothing, visibility, and allergy precautions for the location. The adult manages street crossings and keeps the group together.
Prepare the camera at home
Charge the battery, insert a tested memory card, clean the lens with an appropriate cloth, and set a simple automatic mode. Attach the approved wrist strap and practice holding the camera with two hands. Disable distracting effects if they slow the child down, and confirm the date and time for easier family organization.
Give the walk a color mission
Ask for one red subject, one yellow subject, one green subject, and one picture showing several colors together. Children can photograph leaves on trees or ground without picking them. A mission gives direction while allowing personal choices, and it keeps the outing from becoming a contest for the most photographs.
Add texture and pattern
Invite close views of bark, leaf veins, seed pods, puddle reflections, or repeating fence shadows. Remind the child to move their feet only after looking away from the screen. If the camera has a macro or close-focus mode, practice it at home first rather than changing settings in the middle of the path.
Use light as a game
Stand in one safe place and photograph the same leaf with light from the front, side, and behind. Compare color and transparency on the screen without declaring one correct. Avoid looking toward the sun through optical equipment, and move to shade if the child is squinting or the camera becomes hard to see.
Respect people and places
Ask permission before photographing recognizable people, homes, artwork, or private property. Do not share location clues, school logos, or another child's face without guardian approval. Leave plants, wildlife, and decorations as found. The strongest family rule is that a person can always decline a photo.
Review a small set together
At home, choose five favorites and ask what the child noticed in each. Back up the files before deleting anything and let the child name a small album. Print one image or make a simple collage if desired. Praise observation and patience rather than camera price, sharpness, or social-media reaction.
Quick checklist
- Pick a short safe route.
- Charge and test the camera.
- Stop walking before framing.
- Use color and texture missions.
- Ask permission for people and property.
- Back up before choosing favorites.
Why these checkpoints matter
- Pick a short safe route. This defines the starting condition and prevents the rest of the process from resting on an assumption.
- Charge and test the camera. This narrows the choice to evidence you can verify on the exact label, model, or scene.
- Stop walking before framing. This checkpoint reduces avoidable risk before another variable is introduced.
- Use color and texture missions. This keeps the routine compatible with the person, product, material, or equipment involved.
- Ask permission for people and property. This creates a repeatable step instead of relying on memory or marketing language.
- Back up before choosing favorites. This final review catches changes in condition, availability, or instructions before the next use.
Common questions
What camera settings should a child use?
A reliable automatic mode is enough; the goal is noticing and composing rather than managing many controls.
What if the weather changes?
Turn back early when surfaces, visibility, temperature, or lightning make the route unsafe.
Should children post their photos?
Review privacy, location, and permission together before any sharing.
Keep the decision useful
Write down the exact model, label, starting condition, and result. Change one variable at a time and return to the official instructions when anything is unclear. A short record makes the next decision easier and keeps an isolated result from becoming a rule that does not fit a different product, person, material, or environment.
Review the information again before repeating the process. Stop when comfort, safety, condition, or the manufacturer’s instructions provide a reason to stop. A useful routine stays simple because every step answers a real question.
For the next attempt, note what improved, what remained uncertain, and what should stay unchanged. This final check reduces guesswork and helps small problems become visible before they turn into repeated mistakes.
Keep the original instructions, model information, and observations together. Before repeating the process, confirm that the product, setting, environment, and intended result are still the same.
Use the result as one observation rather than a promise. Conditions change, and the safest next step is the one supported by the current label, manual, evidence, and the limits you can verify.
Use the result as one observation rather than a promise. Conditions change, and the safest next step is the one supported by the current label, manual, evidence, and the limits you can verify.
Use the result as one observation rather than a promise. Conditions change, and the safest next step is the one supported by the current label, manual, evidence, and the limits you can verify.
Use the result as one observation rather than a promise. Conditions change, and the safest next step is the one supported by the current label, manual, evidence, and the limits you can verify.
Use the result as one observation rather than a promise. Conditions change, and the safest next step is the one supported by the current label, manual, evidence, and the limits you can verify.
Use the result as one observation rather than a promise. Conditions change, and the safest next step is the one supported by the current label, manual, evidence, and the limits you can verify.
Use the result as one observation rather than a promise. Conditions change, and the safest next step is the one supported by the current label, manual, evidence, and the limits you can verify.
Use the result as one observation rather than a promise. Conditions change, and the safest next step is the one supported by the current label, manual, evidence, and the limits you can verify.