
Reviewed and updated: October 14, 2026
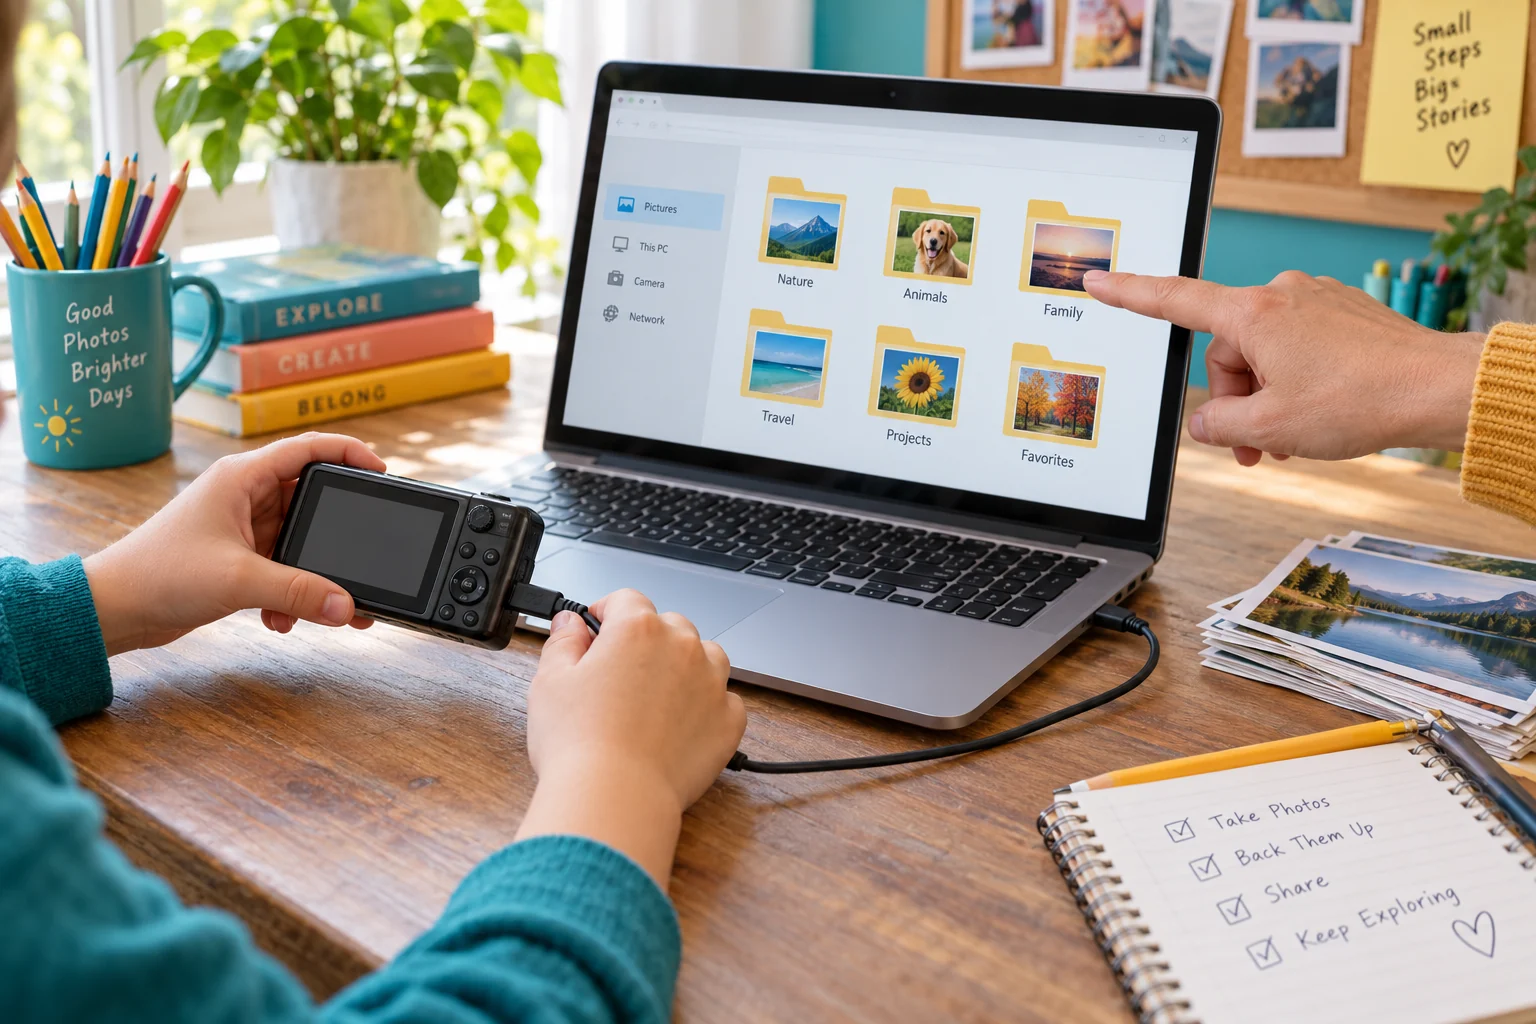
Why backup is part of learning photography
Children often think a picture exists forever once it appears on a screen. Memory cards can fail, cameras can be lost, and an accidental delete can remove a whole afternoon. A backup lesson connects photography with caring for creative work. It also gives families a natural place to talk about privacy before images are shared.
Keep the first lesson small. Transfer one outing, make one second copy, and confirm that both copies open. The child should understand the purpose of each step rather than watch an adult race through a complicated cloud system.
Choose one supervised home base
Pick a family computer or parent-managed tablet as the place where camera files are first copied. Create a top-level folder with a clear name such as Family Photos, then give the child a folder of their own. Avoid putting the only copy on a school-issued device or a computer the family does not control.
The adult account should manage passwords, cloud settings, and permissions. A young photographer can still choose folder names, rate favorites, and write captions. This division keeps the lesson hands-on without making the child responsible for account recovery or paid storage.
Use a simple folder naming pattern
A date followed by a short event name sorts naturally: 2026-10-14_Park-Walk, for example. Let the child suggest the event words, then keep spelling and punctuation consistent. Inside the folder, optional subfolders such as Originals, Favorites, and Edits explain which files should remain untouched.
Do not rename hundreds of images during the first session. Camera filenames are adequate when the folder supplies context. If you later rename files, keep the original extension and use a batch tool with adult supervision. Our guide to basic photography terms can help explain files, resolution, and memory cards.
Copy first, verify second
Connect the camera or insert the memory card according to its manual. Copy the files into the new folder; do not move them. Wait until the transfer finishes, then open several photos and one video from the computer. Compare the number of files on the card with the number copied when your software makes that easy.
Only consider clearing the card after the files have been checked and a second copy exists. Formatting in the camera is usually preferable to deleting files one by one, but follow the camera maker's instructions and make the decision as an adult.
Add a second kind of storage
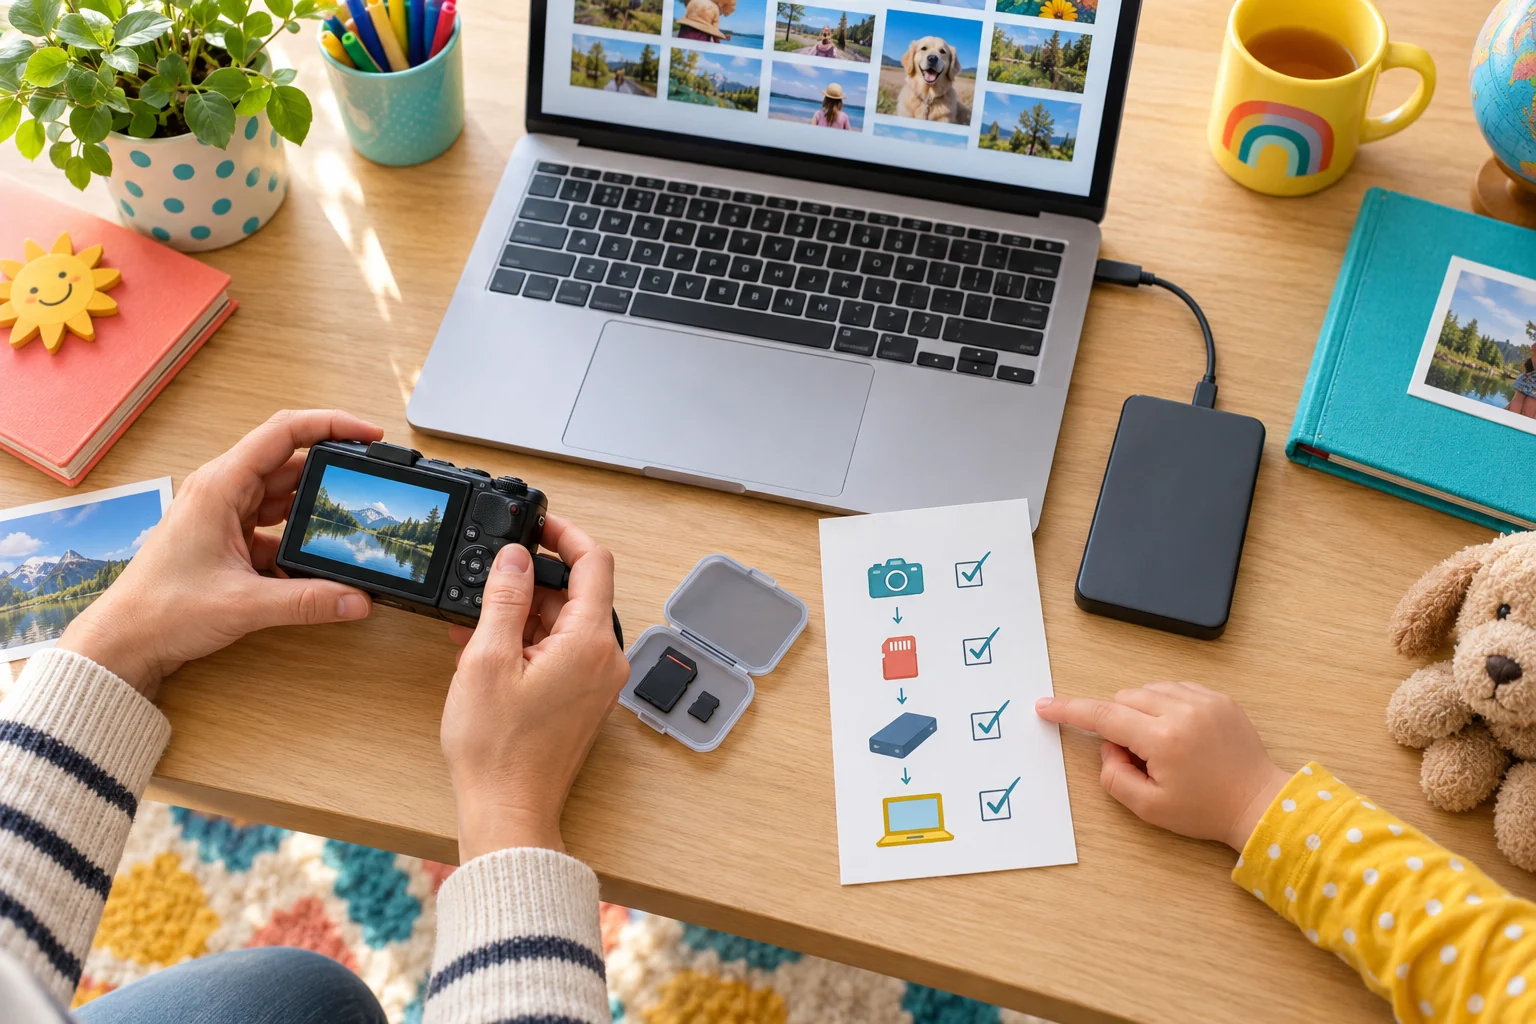
CISA's familiar 3-2-1 guideline calls for three copies of important data, on two types of media, with one copy kept offsite. Families can adapt that idea without making the process intimidating. The camera card is temporary; the home computer is one working copy; an external drive or parent-managed cloud account can supply another.
An external drive should not stay connected all the time if it is meant to protect against mistakes or malware. A cloud service can help with offsite protection, but adults need to review privacy, sharing defaults, cost, and account recovery. No single storage method is perfect.
Make privacy part of the folder review
Before selecting favorites, look for house numbers, school names, uniforms, location clues, or people who may not want their photo shared. Explain that backing up a photo and posting it online are separate choices. A private family archive does not need to become a public gallery.
Children should ask before photographing or sharing other people, especially classmates. Adults should control public accounts and remove location metadata when appropriate. The backup session is a good time to decide which images are family-only, which can be sent privately, and which are suitable for a public portfolio.
Give the child a real job
A child can insert the cable with guidance, create the event folder, choose five favorites, add a short caption, and place a check mark on a printed checklist. Older children can compare file counts and safely eject the device. Rotate responsibilities so the process becomes familiar rather than mysterious.
Avoid turning every transfer into a lecture. Ask the child to show you the sequence: copy, check, back up, then decide what to share. If they can explain why the original folder is preserved, they are learning digital stewardship as well as photography.
Create a monthly restore check
A backup is useful only if files can be recovered. Once a month, choose an older folder from the second storage location and open a few images. Do not assume a green sync icon proves every file is available. Check that captions, edits, and videos are present too.
Keep recovery information in an adult password manager or secure household record. Note which account owns the cloud library and which cable belongs to the drive. Replace storage that reports errors, and do not ask a child to troubleshoot failing hardware alone.
Keep the routine short and predictable
A good after-outing routine can fit into fifteen minutes: make the dated folder, copy the card, open several files, create the second copy, mark favorites, and safely disconnect. Longer editing can happen another day. Our photography for kids guide offers activities that give the next folder a purpose.
Use the same steps whether the photos came from a dedicated kids camera, an older family camera, or a supervised phone. Consistency matters more than special software. When a favorite picture survives a lost card or accidental edit, the child will understand why the routine was worth learning.
Family backup checklist
Before clearing any card, confirm: the event folder has a clear date and name; the files finished copying; several photos and videos open; a second copy exists on different storage; private images are not shared publicly; and the camera or drive was safely ejected.
Parents should periodically review storage space, passwords, billing, and sharing permissions. Children can focus on organizing and choosing their work. The result is a growing photo archive that remains understandable years later, plus a practical habit the child can carry into school projects and future creative work.
Adapt the lesson as children grow
Younger children may need picture labels for copy, check, and backup. Preteens can learn file extensions, storage capacity, and safe ejection. Teenagers can help choose a cloud plan, read privacy settings, and practice restoring a folder, while an adult remains the account owner and recovery contact.
The workflow should grow with the camera collection. If the child begins shooting RAW files or long video, storage needs can rise quickly. Discuss why a smaller number of thoughtfully selected keepers may be easier to manage, without making deletion the main goal. Preserve originals from important events, export finished versions separately, and write down any editing software required to reopen project files. That turns backup into a complete creative workflow rather than a one-time copy task.