No matter how old your kid is, or if they have a toy, digital or polaroid camera, teaching them the basics of photography and providing them with guidance and feedback can turn them from a "multi-photo taker" into a beginner level photographer.
You can always let them play with a camera - take as many pictures as they want, and just hope they won’t break it. But if your kid is curious about photography, or if you, as a parent, is interested in giving this point & shoot exercise some extra meaning, what you need to do is guide your kid – teach them the basics, explain about the camera operation, provide feedback on their technique and photos – I can assure you this will improve their skills, and that both you and your kid will enjoy this time together.
Before we deep dive into the "Photography for Kids" main principles, I would like to emphasize that at the end of day, no matter what you teach your kid about, keep in mind that it's a great opportunity to spend some more quality time with your kid. Take advantage of that!
Did you read our other articles about teaching photography to your kids? you can find it here:
Basic Photography Terms For Kids and Beginners
Teaching Photography to Kids: Selecting the Right Approach
How to Teach Kids Photography – 11 Tips
Teaching Kid Photography with Your iPhone
5 Great Ideas for Photography Projects For Kids
[/su_note]
Photography for Kids - First Steps
Motivation
Today's kids have so many attractions. As a parent, you're probably well aware of this. In addition to their friends and toys and books they are surrounded by technology – from smartphones to tablets to huge TV screens. At the same time, you've probably noticed that the more attractions they have, the faster they get bored… and this is something to bear in mind when you are trying to make them sit with you, listen to your explanations and take their first shots. You need to motivate them. To light the sparkle in their eyes. You know your kids, you know what makes them excited and enthusiastic, hop to it.
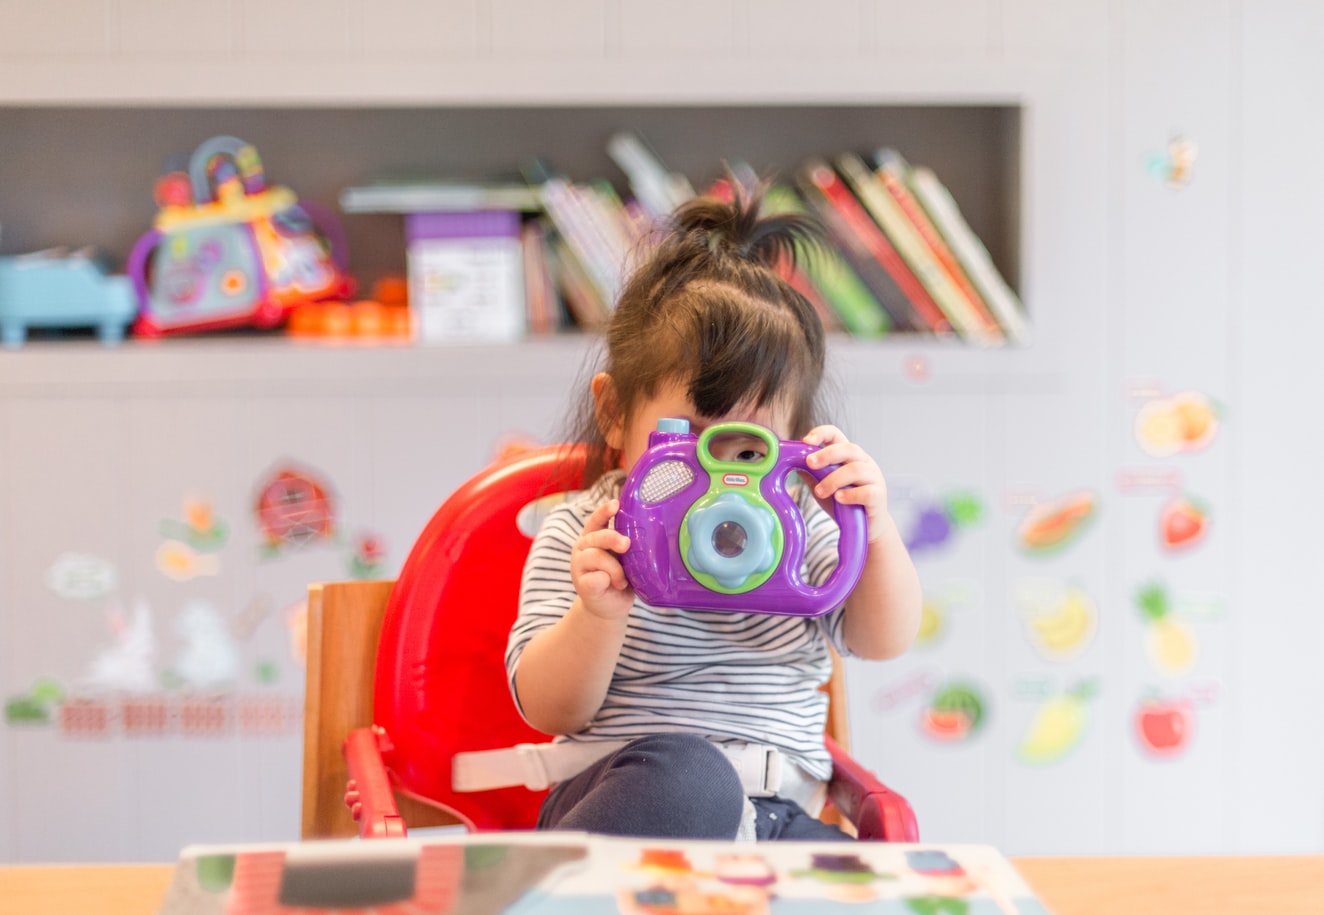
Going back to my earlier comment about technology – use it to create the motivation. What I mean is that photography requires a camera, and a camera is a technological device. Kids (at least my 7 and 4 years old) tend to feel very proud and energetic when they are allowed to hold it and use it themselves. You can use this tip when trying to motivate your kid.
Photos Examples Review
What is a good photo? What makes a photo interesting, beautiful, attractive? This is my recommended step 1. Before taking any photo, it can be beneficial to discuss it with your kid. It will give you an opportunity to learn about their thinking and about the glasses they see the world through.
So take a few magazines, a newspaper, or open Google images, and ask them to tell you which images are more appealing to them, ask them why and discuss it with them. It will give them some initial ideas for photography subjects, and will make them more curious and motivated to take their first pictures.
Camera Operation
Does your kid already know how to operate the camera? If not, based on your kid's age, walk them through the camera’s main and basic features, show them how and where to hold the camera and where the shutter button is. Don't spend too much time in a comprehensive or thorough review, this will come later. All you need at this point is basic explanations that would be sufficient for them to take some initial photos with their kid camera.
First Photo Taking
Ask your kid to take a few photos. Then, review the photos with them (in case of a digital kid camera – in front of your computer screen, in case of polaroid kids camera – wait a few seconds until the pictures are ready). Ask them what they think and discuss it with them. At this stage, your feedback to them should refer mainly to basic mistakes we all do – such as having a finger, camera case or camera strap covering the lens. Don't waste your time on more advanced feedback like composition, lighting, etc. It is important that you'll limit your feedback to the basics. In addition, don't forget that in many cases, over criticism has a negative impact, especially on kids. We don't want to judge them or kill their motivation. We want to encourage them.

Set an Example
At any point above, it may be better to show your kid than to tell them what to do. Take the camera and hold it as you'd like them to do. Place the strap around your neck or wrist, etc. Adopting the right photography practices starts here, and setting an example is the best way to install new habits.
Basic Photography Rules
I've detailed below a few fundamental rules for photography for kids. You don’t have to walk your kid through the entire list all at once. What I recommend is that you'll focus on one rule at a time, but always go back to the ones you already taught them and make sure they haven't forgotten them.
The rules below are organized from the most basic to the more advanced, so choose the right "pace" for you and your kid:
Composition 1
The Subject– one of the main principles of photography in general, and important when it comes to photography for kids: what is the subject? What do you want to photograph? Is it our dog? A toy? Mom? Dad? Once the subject is chosen, it's time to find it through the camera's viewfinder or screen.
Composition 2: Distance
how big does your kid want the subject to appear? Based on their answer, guide them to get closer or take a few steps back. At this stage, don't use the camera's zoom (if your kids' camera has one), have them use their legs.
Sharpness
in good images the subject is sharp. Guide your kid to hold and stabilize the camera as they press the button. In most cases, blurry images are a result of an unstable camera (as my Dad used to tell me when I was a little kid – "keep steady, don’t move your hands!"). On the other hand, one of the common mistakes kids do is holding the camera still long before they press the button, or long after they pressed it. This makes them tired. Make sure your kid is not trying to hard…
Light 1
ask your kid to look around them – where is the light coming from? The sun? A window? A naked bulb? Then look at the subject – is it lighted or placed in a dark place? And therefore – will the image be dark or lighted? At this stage, the most important rule to tell your kid is to never take images when the light is facing the camera (as my Dad used to tell me when I was a little kid – "the sun should always be at your back...")
Light 2
how does your kid want the subject to be lighted? And from which angle? Based on their preference, guide them to find the right photography position, or the right location to take the picture. For example – if your kid wants their teddy bear (=the subject) to be lighted from its right side, they should put it to the window's right, while the picture is taken from the bear's front.
Take Photos and Give Feedback
After going over each rule, let your kid take a few photos, and then have a feedback session with them. Did your kid follow the guidelines? Are the pictures sharp? Lighted? And again, don't rush into telling your kid what your thoughts are. Let them think about it and give themselves their own feedback.
Always keep in mind that the more progress you’ve made with your kid, meaning the more rules he had learned, the broader the feedback you’re about to give them. These are the foundations of your kid’s photography journey. Don’t neglect what you’ve taught in previous lessons, otherwise your kid will forget what he learned.
If you want to learn more on selecting the right approach when teaching your kid - read our previous post: Teaching Photography to Kids - Selecting the Right Approach
How Many Pictures?
A very important note when teaching photography for kids – how many pictures to take? Few? Or as many as your kid wishes?
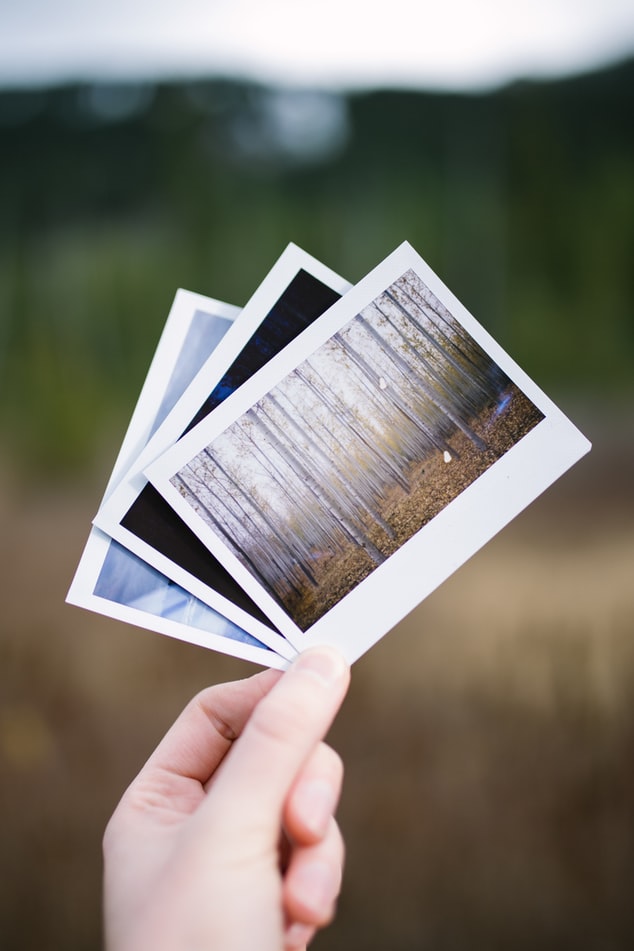
Well, it's up to you. On one hand, taking many pictures is fun, it’s a great practice and your kid can learn a lot from this experience. On the other hand, the more pictures your kid takes, the value and benefit of each picture is lower (and quite quickly it may turn into a game, rather than a photography session). In my opinion, this is one of the disadvantages of digital photography – since taking more and more pictures costs nothing, you pay less attention and put in less effort for each photo. This is one of the reasons I recommend the Polaroid cameras for kids – it requires film (or ZINK paper) that costs, thus makes the photographer more focused in taking each and every shot.
Interested in teaching your kid some basic photography and camera terms? click here to read our Basic Photography Terms post