
Reviewed and updated: October 30, 2026
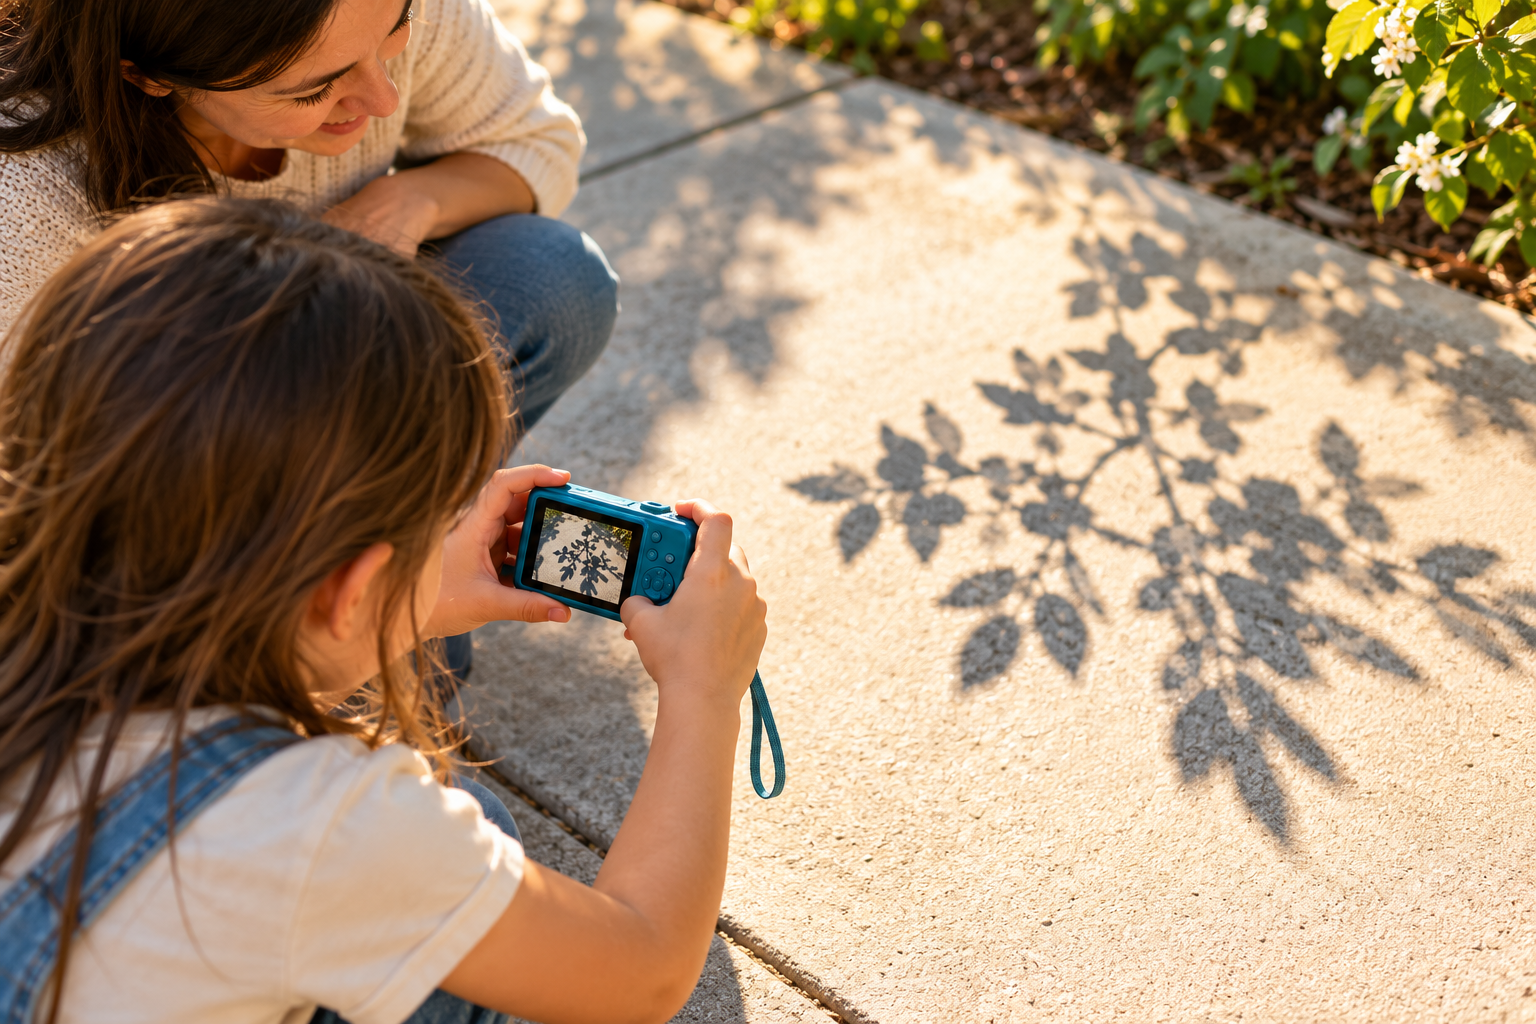
Shadows make an excellent photography subject for children because the same ordinary object can produce a surprising new shape. A branch becomes a pattern, a toy becomes a giant silhouette, and a hand can tell a small story on a wall. This activity needs only a camera, a safe place, and light that creates a visible shadow. It works with an existing compact camera or a supervised phone; buying another device is unnecessary.
Keep the first session short and playful. Ask the child to notice where the light comes from, choose one interesting shadow, and make a few different pictures. The goal is observation rather than a technically perfect exposure. Let the child explain what they saw before offering a correction.
Choose a safe place with a clear surface
A quiet patio, garden path, or indoor wall near a window is easier to manage than a busy sidewalk. Walk the area first and remove tripping hazards. Avoid roads, driveways, water edges, unstable steps, and places where the child must back up without looking. Use a camera strap as intended, with adult supervision appropriate to the child's age. Keep the activity away from direct views of the sun: children should photograph the shadow on the ground, never point an optical viewfinder at the sun. If a location becomes crowded, move rather than asking the child to hurry between people.
Show where a shadow comes from
Place a familiar solid object where light falls onto a pale surface. Ask the child to point toward the light, then toward the dark shape. Explain that the object blocks some light from reaching the surface. Move the object slightly and let the child predict where the shadow will go. A leaf or a toy with an open handle can show more detail than a featureless block. Avoid starting with a complicated lesson about every kind of shadow. One clear example lets the child connect cause and effect and gives them an idea to test with the camera.
Begin with one simple shape
Ask the child to find a shadow that looks like something recognizable: a wheel, a leaf, a window frame, or their own hand. Have them make a first photograph without changing any settings. Review it together on the camera screen and ask whether the intended shape is easy to see. If it is lost among other objects, move the camera or choose a quieter background. Keep the original attempt so improvement is visible later. Resist taking over the camera to demonstrate the 'right' picture immediately. A useful question such as 'What could we leave outside the frame?' gives the child ownership of the next attempt.
Make three pictures from different distances
Try a wide picture that includes the object and its shadow, a medium picture emphasizing the shape, and a close detail showing an edge or pattern. The child can move their feet safely rather than relying on digital zoom. Remind them to stop walking before raising the camera. Compare the three pictures and ask which one needs the least explanation. This makes framing concrete: the photographer chooses what belongs in the picture and what stays outside. For a larger project, use the same wide-medium-detail approach described in telling a story with photos, after checking the examples together.
Notice hard edges and soft edges
On a bright day, some shadows have a distinct outline; under softer light, the outline may be less definite. Invite the child to compare two examples without calling either one better. A window, tree canopy, or thin curtain can change the appearance of the light. If working indoors, use ordinary room or window light and keep lamps stable, cool, and out of reach. Never shine a powerful light toward anyone's eyes or cover a lamp with paper or fabric. Children can describe the edge with everyday words such as fuzzy, sharp, jagged, or smooth before learning more technical vocabulary.
Let the camera decide first, then solve one problem
Automatic mode is enough for the first session. If a shadow is hard to see in the photograph, check the composition and screen brightness before changing settings. On a touch-screen camera or supervised phone, tapping the shadow area may affect exposure; explain that the picture can become lighter or darker as the camera interprets the scene. Try one adjustment, then compare. Do not ask the child to master several exposure controls while also watching their surroundings. If the camera struggles in a very dim room, move to brighter indirect light. A clearer subject is often more useful than a more complicated menu.
Add a guessing game
Take a close photograph of a shadow while leaving the object outside the frame. Ask another family member to guess what made it. After the guess, make a second photograph showing the object and shadow together. A spoon, a bicycle basket, or a branch can work well, provided the area remains safe. Avoid photographing strangers or other children's identifiable belongings without permission. Keep the game kind: a difficult guess is an opportunity to observe details, not a test someone can fail. The child can arrange three mystery pictures and their answers into a tiny family slideshow.
Compare the same shadow later
If the location stays safe and accessible, return at a different time and photograph the same stationary object from a similar position. Notice how the shadow's length or direction changed. Do not promise an exact schedule because weather and the location of the sun affect the result. Mark the camera position with a removable object that creates no trip hazard, or make a reference picture of the area. Keep children away from hot surfaces and provide ordinary weather protection. A cloudy second session can still be useful: sometimes the interesting observation is that yesterday's dramatic shadow is now barely visible.
Choose and save a small final set
Finish by selecting three to five favorites instead of deleting everything that looks imperfect. Ask the child to give each image a title or dictate a sentence explaining it. Keep the originals in the family backup routine and create separate copies for sharing. The guide to organizing a child's photo library provides a useful next step. Check that photographs do not reveal a home address, school identifier, or another family's private details before posting them anywhere. A local slideshow or printed sheet can be just as satisfying as a public gallery.
End with a question for the next walk
Ask what the child would like to try next: a giant shadow, a repeating pattern, a silhouette of two hands, or the same object in different light. Write down that idea and put the camera away while enthusiasm remains. Short sessions make it easier to notice real progress without turning a creative activity into an assignment. Praise a specific choice, such as leaving clutter outside the frame or waiting for a clear outline. The lasting skill is learning to look closely, make a deliberate picture, compare it with an intention, and try another approach. Shadows are simply a friendly place to begin.