
Drone Photography: 10 Important Tips for Safer, Better Photos
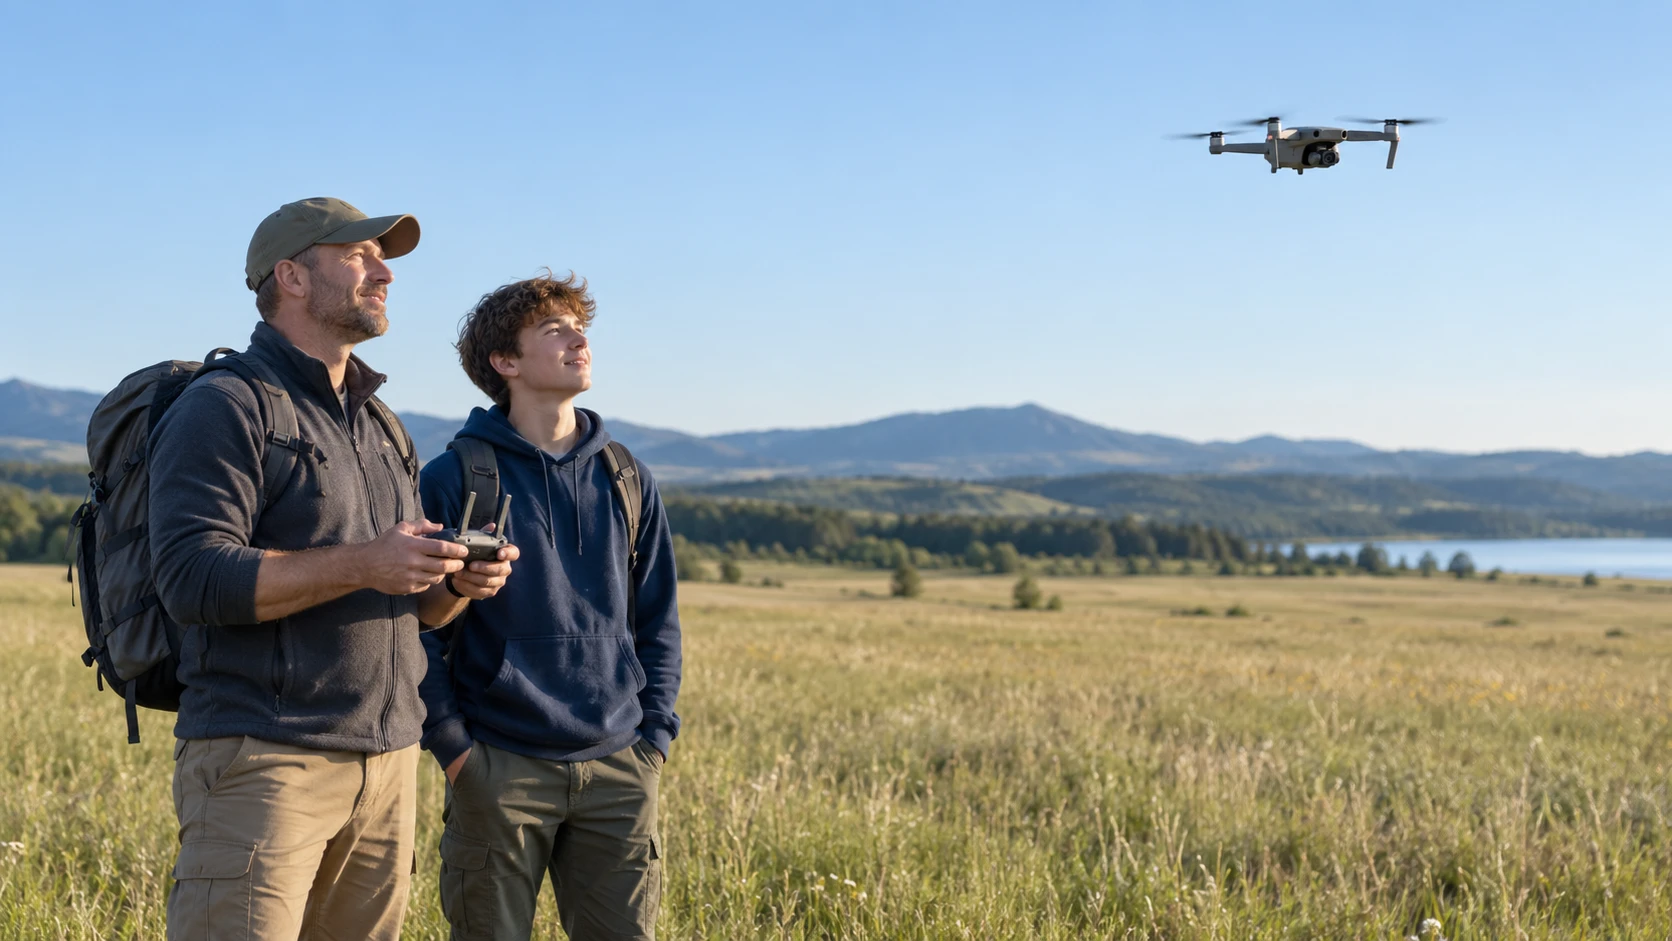
From above, a familiar place can become a picture full of shapes and patterns. Your child can help imagine that photograph and plan a short family film, while an adult takes responsibility for any permitted drone flight. Begin on the ground with the idea, then check the current aviation rules, local restrictions, weather and exact aircraft instructions. Children participate only with close adult supervision and within applicable law. The interesting view never comes before safe, lawful operation.
1. Learn the rules before choosing a location
Confirm registration, identification, training, and operating requirements with the current aviation authority. Check controlled airspace, temporary restrictions, parks, local ordinances, and property permission. Do not assume an open field is automatically legal.
2. Use a written preflight check
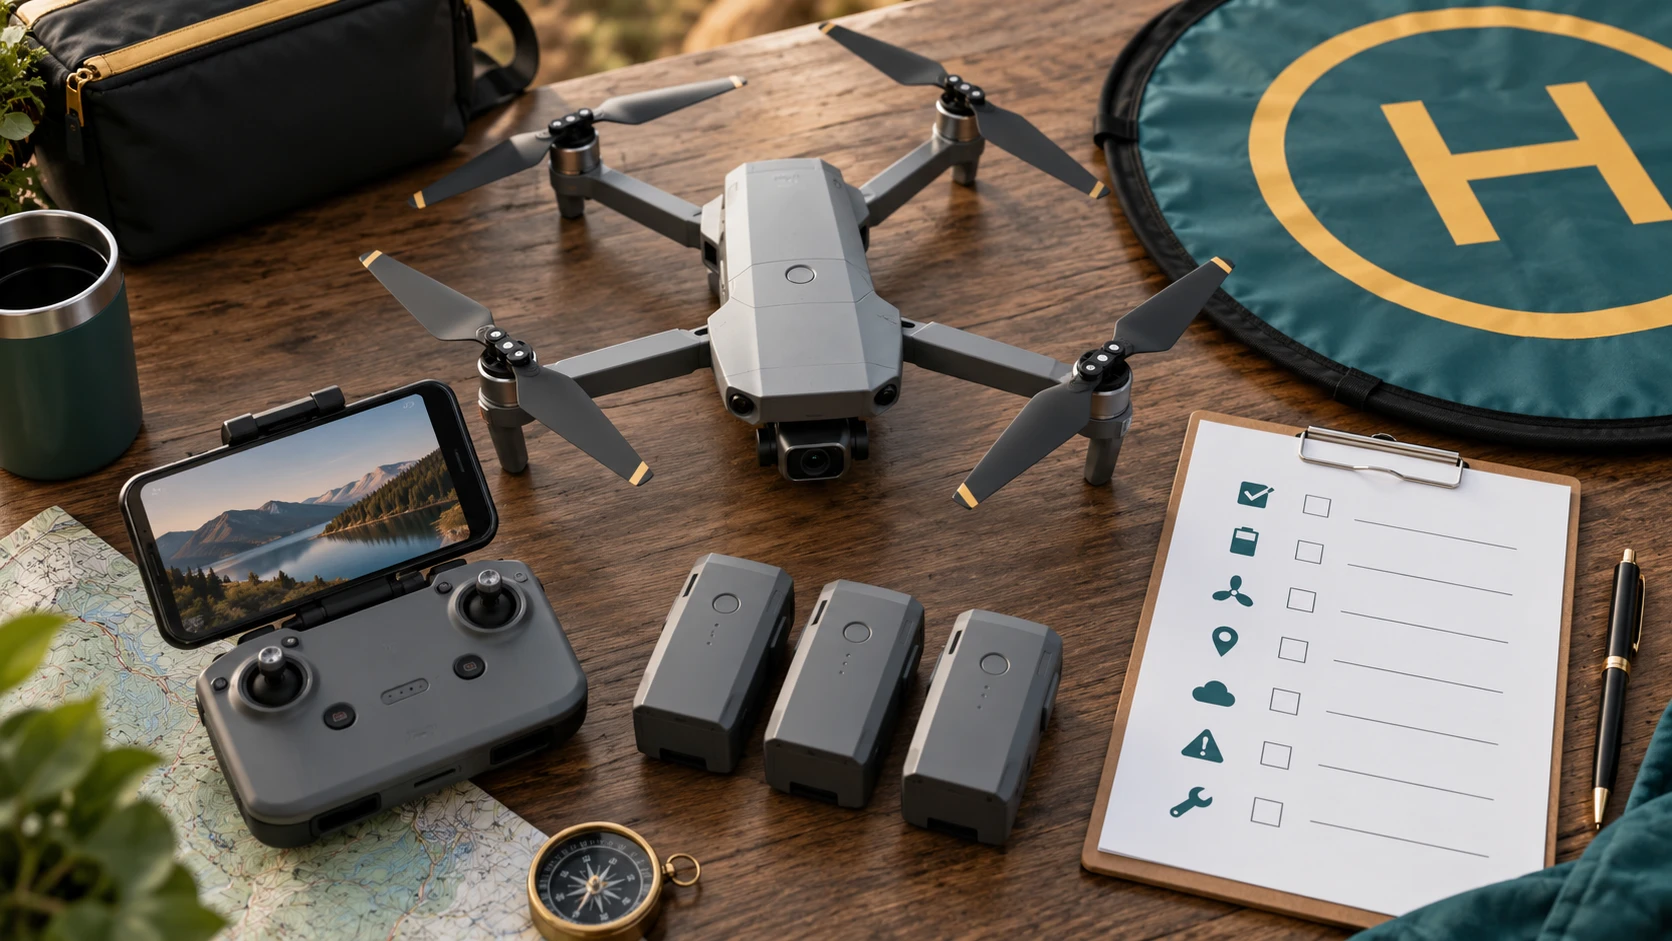
Inspect propellers, arms, batteries, memory card, controller, firmware status, home point, compass warnings, and return-to-home settings. Remove the gimbal cover and confirm that the camera view is clear. A repeatable checklist prevents avoidable losses.
3. Respect people and privacy
Do not fly over uninvolved people or create noise near homes, wildlife, emergencies, or sensitive events. Ask permission before making identifiable close views of private property or individuals. Follow rules for visual line of sight and keep a safe buffer.
4. Watch weather, wind, and light
Check ground and higher-altitude wind, temperature, precipitation, visibility, and sun direction. A drone may travel quickly downwind and struggle to return. Begin with calm conditions and keep a larger battery reserve than the app’s optimistic estimate.
5. Plan the photograph on the ground
Plan the picture before launch. The adult pilot decides the suitable takeoff point, flight path, altitude and background, with safety and legal access settled first. Your young photographer can help notice a repeating shape or suggest which part of the scene should be important. A clear plan reduces time spent hovering without a purpose. It also means the family has a useful picture idea even when conditions make flying unsuitable.
6. Set exposure deliberately
Use the histogram and highlight warnings if available. Protect bright clouds and reflective water from clipping. A lower ISO generally gives cleaner detail, while shutter speed must remain fast enough for aircraft movement and wind. Capture RAW plus JPEG when the camera supports it and you plan to edit.
7. Move slowly for sharper results
Stop aggressive movement before taking a still picture. Allow the gimbal and aircraft to settle, then make a short burst or bracketed sequence. Smooth inputs also produce more usable video and reduce the risk of losing orientation.
8. Build depth with layers
Look for a foreground shape, a clear subject and enough background to explain the place, when the scene supports those layers. A straight-down view may tell its story through patterns; an angled view can show scale and distance. Compare the ideas using existing photographs before a flight. Your child can describe which view feels like a map and which feels like an adventure, without needing to operate the aircraft to join the creative decisions.
9. Monitor battery and connection
Turn back early when flying against wind. Never use the last portion of the battery as the plan. Watch aircraft position directly rather than relying only on the screen, and know the programmed behavior for lost signal and low battery.
10. Land before conditions become uncertain
The adult pilot should return when weather changes, people enter the area, equipment reports an error, concentration fades or orientation becomes uncertain. A missed photograph is a reason to make another plan, not push the flight. Look at the images and log afterwards when it is safe to do so. Your child can help select a favourite while the adult reviews the operational side, keeping the two responsibilities clear.
Plan the aerial picture on the ground
Before an adult-approved flight, sketch the picture you hope to make. A path might lead through the frame, a field might form a pattern or a familiar building might sit within a wider landscape. Decide what the image is about without launching the aircraft first. Ground planning helps you spot privacy, location and access problems before they become distractions during a flight.
Keep the learner’s role appropriate to the rules, manufacturer guidance and supervision available. A child who is not ready to operate can help plan the composition and review pictures afterwards while an appropriately qualified adult handles the aircraft. Do not promise that a small drone, a camera mode or a safety feature removes operator obligations. The aircraft and everyone around it come before getting the planned photograph.
A clear purpose also helps you know when not to fly. If the light, weather or surroundings make safe control doubtful, postpone the picture. You can discuss patterns using existing permission-appropriate images or practise composition with a ground camera instead. The lesson is still about seeing, and it does not depend on forcing an aerial result that day.
Read the picture before adding another flight
After landing and securing the aircraft, look at one image together. Ask where the eye goes first, whether the main subject is clear and what the edges reveal. A distracting object may be easier to solve with a modest crop on a copy than another flight. Preserve the original and avoid edits that misrepresent a location or erase something important to the picture’s meaning.
Let your child give the photograph a title that describes what they discovered: a winding path, stripes in a field or a tiny-looking familiar place. That reflection connects the aerial viewpoint to ordinary photography skills. Better pictures come from purposeful decisions, not simply from getting the aircraft higher or farther away.
Give the viewpoint a purpose
Ask what the aerial view reveals that a ground picture would not. If the answer is only ‘it is higher,’ look for a clearer subject before planning another flight. A pattern or relationship gives the photograph a reason to exist.
Plan an aerial frame from the ground
Draw a rectangle around the picture you imagine and sketch its near, middle and far parts. Mark where a path or shoreline would enter the frame. After a lawful, supervised flight, compare a suitable still with the drawing and ask which line leads toward the subject. If flying is not appropriate, use an existing aerial photograph for exactly the same game. Planning and reading a picture are creative skills your child can practise from the ground.
Adults should adapt activities to the child’s age, device, and supervision needs.