
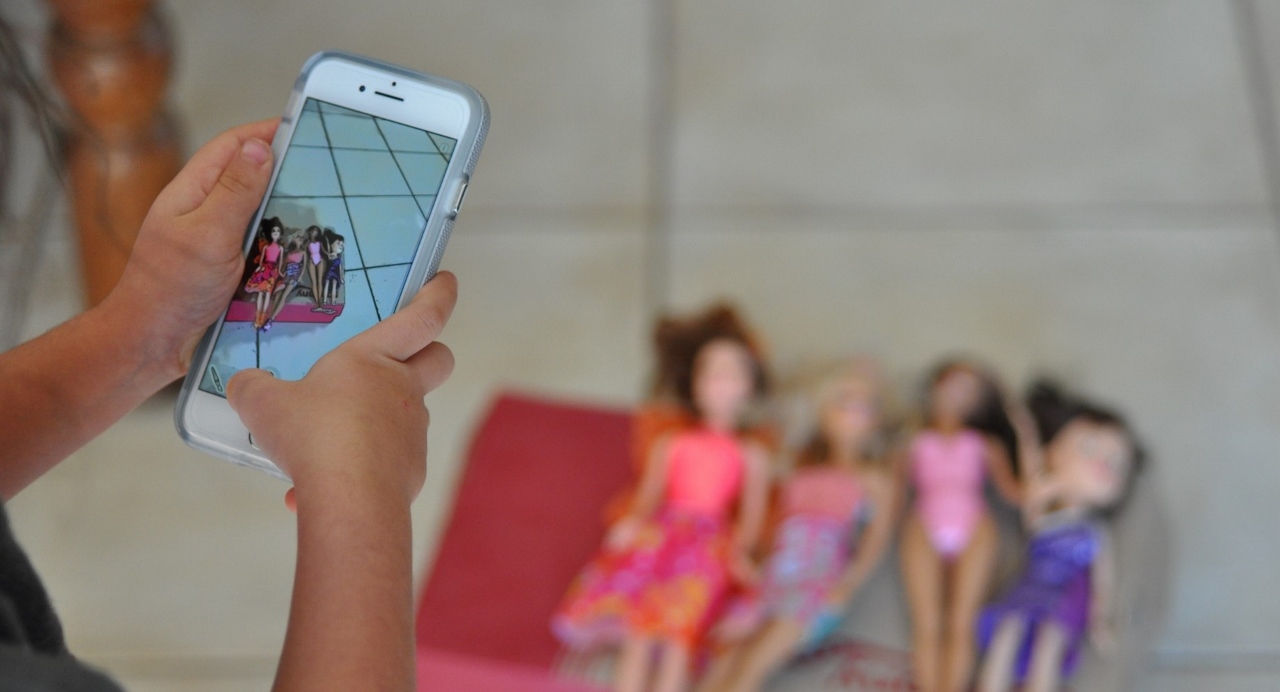

How to Teach Kids Photography With an iPhone
An iPhone can be a capable teaching camera because the child can see the result immediately and practice without buying film. The adult should prepare the device first: use a supervised phone, protect personal accounts, review location and sharing settings, and make a dedicated album for the lesson.
Prepare a safe camera setup
Use Guided Access or other parental controls when appropriate so the child stays in the intended app. Turn off location tagging if you do not want coordinates in new images. Hide sensitive notifications, check available storage, and clean the lens with a proper soft cloth.
Teach focus and exposure together
Tap the subject on the screen to set focus. Drag the exposure control when the face or object looks too bright or dark. Let the child make two versions and compare them. This connects a visible screen change to the final photograph without requiring technical vocabulary.
Turn on the grid
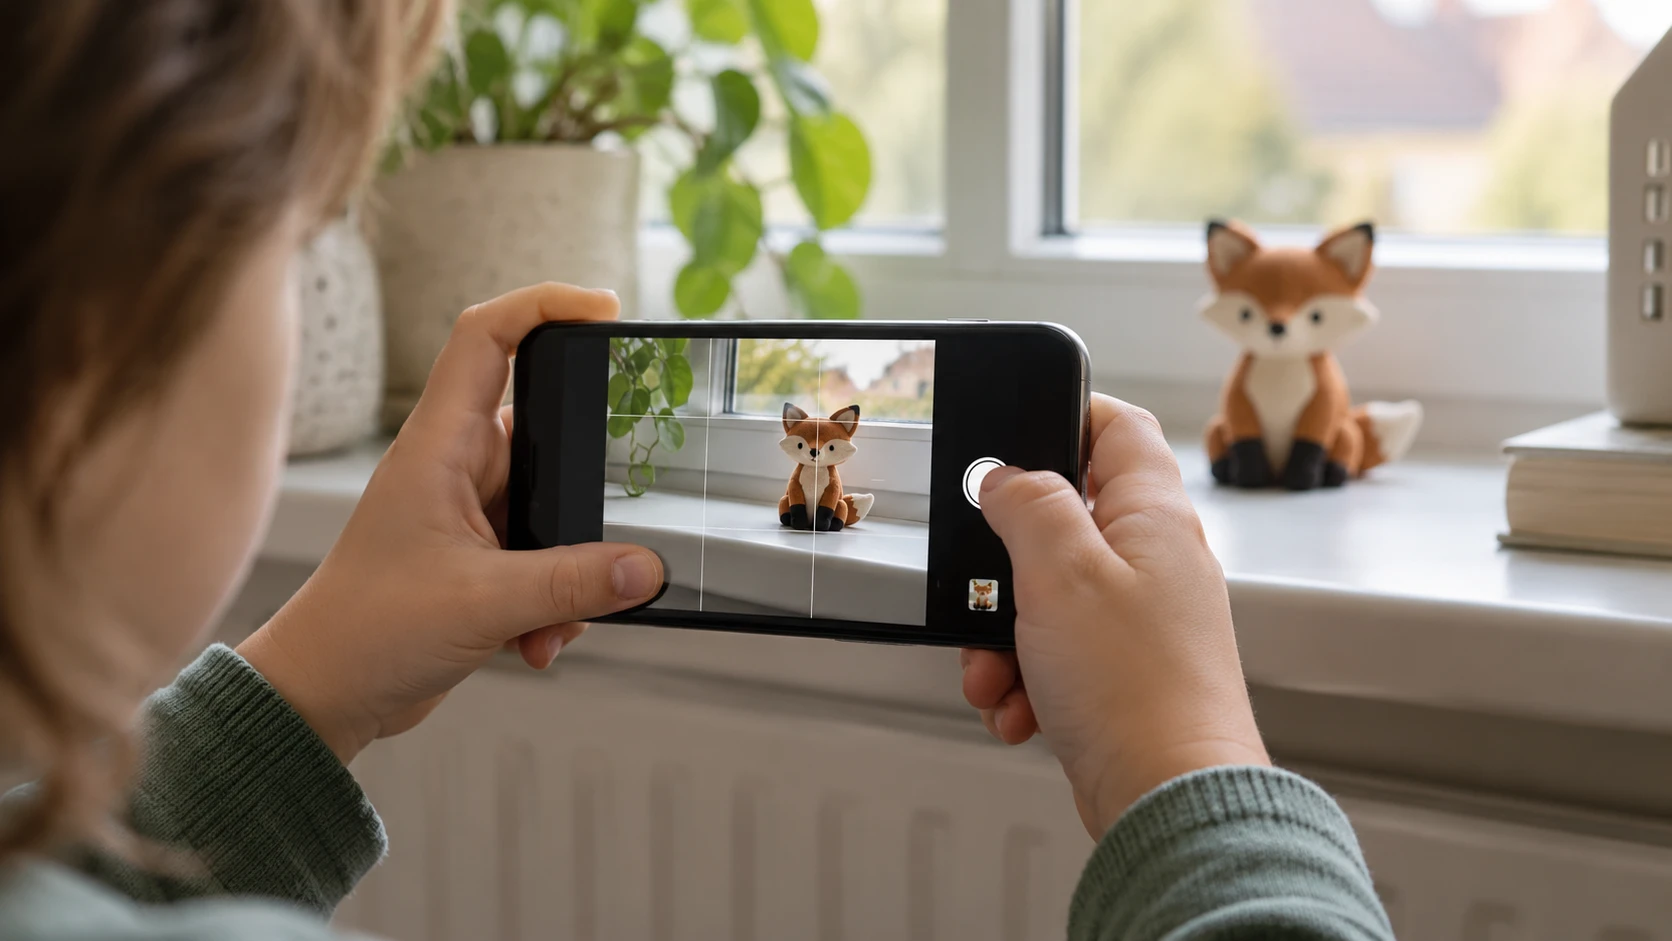
The grid helps children notice level horizons and subject placement. Begin with a centered subject, then place it near an intersection and discuss the difference. The grid is a guide rather than a rule, so it should support the picture’s idea instead of forcing every frame into the same pattern.
Use feet before zoom
Move closer when it is safe and compare that result with a digitally zoomed frame. Newer phones may switch among physical lenses, but pinching far beyond the optical choices can reduce detail and amplify movement. Keep extra space near a face or fast subject, then crop modestly later.
Control motion with timing
Hold the phone with two hands and keep elbows comfortable. For a moving person or pet, track the subject and press slightly before the expected peak. Burst or Live Photo features can help, but the child should still decide which single frame communicates the moment best.
Look for soft light
Window light and open shade are reliable. Tap a face and adjust exposure so skin is not washed out. Avoid staring at or photographing the sun through the screen. At night, brace the phone on a stable surface and use the timer to reduce shake.
Edit copies, then select
Use the Photos app to crop, straighten, and make small light or color changes. Preserve the original or duplicate it first. Ask the child to explain why each adjustment helps. Finish by choosing five pictures for the dedicated album rather than keeping every near-duplicate.
What still matters from the original guide
If your kid is curious about photography, or if you, as a parent, are interested in giving this point & shoot exercise some extra meaning, you need to guide your kid: Teach them the basics, explain how the camera operates and provide feedback on their technique and photos. This will make a difference: your kids will improve their photography skills, and all of you will enjoy this time together. Teaching Kids Photography With Your iPhone – Main Advantages One of the essential things you need in order to teach photography to your kid, is obviously a… camera – a toy camera (if your kid is very young, 3-6 years old), a Polaroid camera, a digital camera or just your iPhone or iPad. The reason you need a camera is not only because photography is all about cameras, or because this is the only way to take photos, but also because the camera itself has a key role in the teaching process. Did you read our articles about teaching photography to your kids? you can find it here: Basic Photography Terms For Kids and Beginners Photography For Kids – How to Teach Your Kids the Basics Teaching Photography to Kids: Selecting the Right Approach How to Teach Kids Photography – 11 Tips 5 Great Ideas for Photography Projects For Kids When considering the camera as a tool for teaching, you may find out that your iPhone can be a very useful tool. Why? Because iPhones have some very valuable features that can make the teaching much easier a lot more productive:
Keep the lesson short and specific
A short session with one clear goal usually works better than a long explanation. Tell the child what they are practicing, demonstrate it once, and then let them make several attempts. Stop before attention fades. A ten-minute exercise repeated next week builds stronger habits than a single hour packed with rules.
Review pictures with useful questions
Let the young photographer choose a favorite before offering feedback. Ask what they noticed, what they wanted the viewer to see, and what they might change next time. Point to one successful choice and one possible experiment. This keeps review connected to decisions rather than turning it into a judgment of whether a picture is simply good or bad.
Protect privacy while sharing
Children should ask permission before photographing people. Before any image leaves the family device, an adult should check the background for school names, house numbers, mail, screens, location clues, or other private details. A printed album, private family folder, or classroom display can provide an audience without requiring a public social account.
Build a simple progress habit
At the end of a project, save five photographs and add a short caption about the idea or technique. Revisit the folder after a month and compare the child’s new choices with earlier work. Progress becomes visible without comparing one child with another, and the captions help adults understand what the photographer intended.
Use mistakes as experiments
A blurred frame, dark face, tilted horizon, or awkward crop can become the start of the next attempt. Identify the likely cause, change one thing, and make another photograph. This process teaches observation and problem solving. It also shows that experienced photographers improve pictures through repeated decisions rather than getting every frame right the first time.
Before the activity begins, check the battery, storage space, strap, lens, and the place where everyone will stand. A calm setup prevents the lesson from being interrupted by equipment problems. It also gives children a repeatable preparation habit they can use whenever they pick up a camera.
Ask the photographer to predict what will change before making the next frame. They might expect a closer position to remove background clutter or side light to reveal more texture. Comparing the prediction with the result turns a casual picture into an observation exercise.
Keep the final selection small enough to discuss carefully. Five well-chosen photographs can show more intention than fifty similar attempts. Have the child arrange the pictures in an order, give the set a title, and explain why one frame opens or closes the sequence.
Return to the same subject on another day or in different light. Familiar subjects make technical changes easier to recognize because fewer variables are new. A second session can test one improvement while preserving the child’s original idea and sense of ownership.
Editorial note: This educational guide intentionally contains no affiliate product links. Adults should adapt activities to the child’s age, device, and supervision needs.