
Reviewed and updated: October 31, 2026
A rainy afternoon can be a useful photography lesson without taking anyone outside. One closed window, a clear tabletop, and a few familiar objects give children enough material to explore light, viewpoint, and backgrounds. The aim is to notice how a photograph changes when the setup changes, rather than to produce a perfect picture on the first attempt.
Use the camera your family already has. A child-friendly camera, a supervised phone, or another familiar device can work. Start with a charged battery and enough storage, then keep the technical choices simple. This project is about looking carefully. An adult can handle menus while the child chooses what to photograph and explains the choices.
Set up a safe place to stand
Choose a closed window with comfortable daylight and a stable table nearby. Keep the activity away from blind cords, open windows, balcony edges, water, and climbable furniture. Nobody needs to stand on a chair or lean over a sill to find a good angle. Leave a clear walking space around the camera and the subjects.
Check what appears beyond the glass too. A photograph might reveal a house number, a neighbor, or a recognizable school sign. Keep the lesson focused on the tabletop when privacy is uncertain. The child can still learn plenty from the direction of light without making a photograph of the view outside.
Choose three subjects with different surfaces
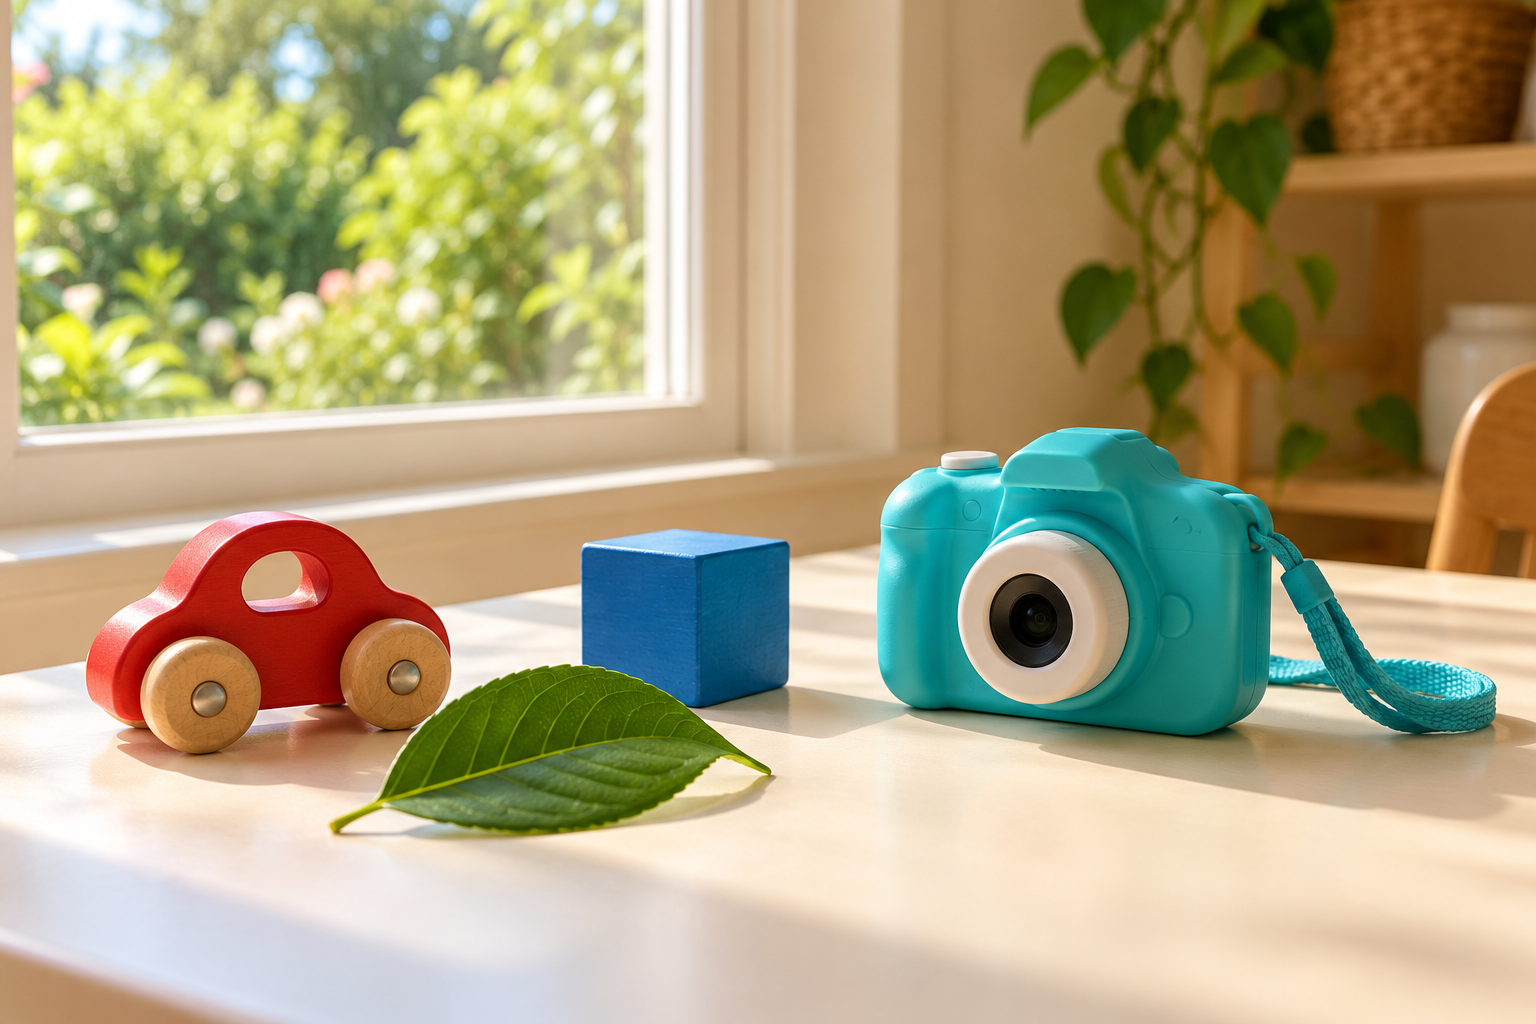
Try a wooden toy, a leaf, and a plain block or cup. Pick objects large enough to handle safely and appropriate for the child’s age. Different surfaces help reveal what light does: a leaf has fine lines, a toy may have shiny paint, and a plain block makes a simple shape. Avoid breakable or valuable objects for the first session.
Let the child choose a favorite and explain why. Perhaps the toy has a funny shape, or the leaf looks almost transparent. That small conversation gives the pictures a purpose. If choosing becomes difficult, offer two options instead of emptying a whole toy box onto the table. A short, focused choice keeps the activity moving.
Make one starting photograph
Place the subject on a plain background and take a picture from a comfortable position. Leave room around it rather than filling the frame immediately. Check that fingers are clear of the lens and that the camera is held steadily. With a phone, help the child tap the intended subject if the device supports that focus method.
Look at the photograph together. Ask what is easy to see and what is distracting. Avoid opening with “That is too dark” or “You cut it off.” A more useful question is, “What would you like someone to notice first?” The answer can guide the next photograph without turning the activity into a list of corrections.
Move the subject before changing settings
Slide the subject a little closer to the window, then a little farther away. Take a picture at each position while keeping the camera view broadly similar. Compare the bright side, the shadow, and the background. The changes may be subtle on a cloudy day, which makes looking back and forth between the pictures especially useful.
Explain that the exercise is not a competition to find the brightest photograph. Sometimes a softer, darker side helps a shape stand out. Let the child choose the version that best suits the subject. Our shadow-photography project offers another way to explore that idea once this simpler window exercise feels familiar.
Try three viewpoints without climbing
Photograph from the front, from one side, and from a little above the tabletop. Keep every position reachable from the floor. Moving around a subject can change what overlaps behind it, how large it appears, and which details are visible. Ask the child to predict a change before taking the next picture.
A toy car makes this easy to understand. From the front, its wheels may almost disappear; from the side, its shape becomes clearer. A leaf may show more veins when the light comes across it. Use these ordinary observations before introducing technical terms. The child is already learning composition by deciding where to stand.
Simplify the background one thing at a time
Look for items that accidentally compete with the subject: a bright shopping bag, a chair leg, or the edge of another toy. Move one distraction or change the viewpoint and take another photograph. A plain sheet of paper or folded cloth can help, but it does not need to become a homemade studio with lots of equipment.
Keep the child’s original picture so the comparison remains visible. Ask which change made the biggest difference. If the child prefers the busy version, talk about what it communicates rather than insisting on a blank background. A photograph of a favorite toy in its usual play area can tell a different story from a clean close-up.
Make a tiny picture story
Choose three photographs that belong together. They might show the whole toy, a close detail, and the toy beside the window. Another sequence could show three viewpoints of the same leaf. The pictures do not need to document an elaborate event. A simple beginning, detail, and ending is enough for a first attempt.
Let the child arrange the order and give each picture a short spoken caption. Write down the words if they would like you to. Our guide to telling a story with photos can help you extend the sequence later, but three deliberate pictures are a complete project for today.
Review choices without judging the child
Talk about the pictures as decisions: where the camera stood, what the frame included, and how the light fell. Praise a specific observation, such as noticing a reflection or removing a distracting edge. Avoid comparing siblings or describing one child as naturally talented. The useful skill is paying attention, and everyone can practice it.
If the device struggles to focus close up, move back and crop later with adult help. If the light is too dim for a steady picture, move the activity to a brighter time rather than demanding more stillness. A short successful session is better than a long struggle with a camera setting the child cannot yet control.
Finish with a choice and a saved copy
Ask the child to choose one favorite and explain what they like about it. Save the original files before editing or deleting anything. If you share the result, check the whole frame for private details and follow your family’s sharing rules. Printing or making a small private album can be just as satisfying as posting online.
Put the camera away together and return the subjects to their places. End with one question for next time: would the same object look different at another window, on another background, or in morning light? That gives the child a reason to return to photography. One window can support many experiments when the lesson stays small enough to enjoy.