

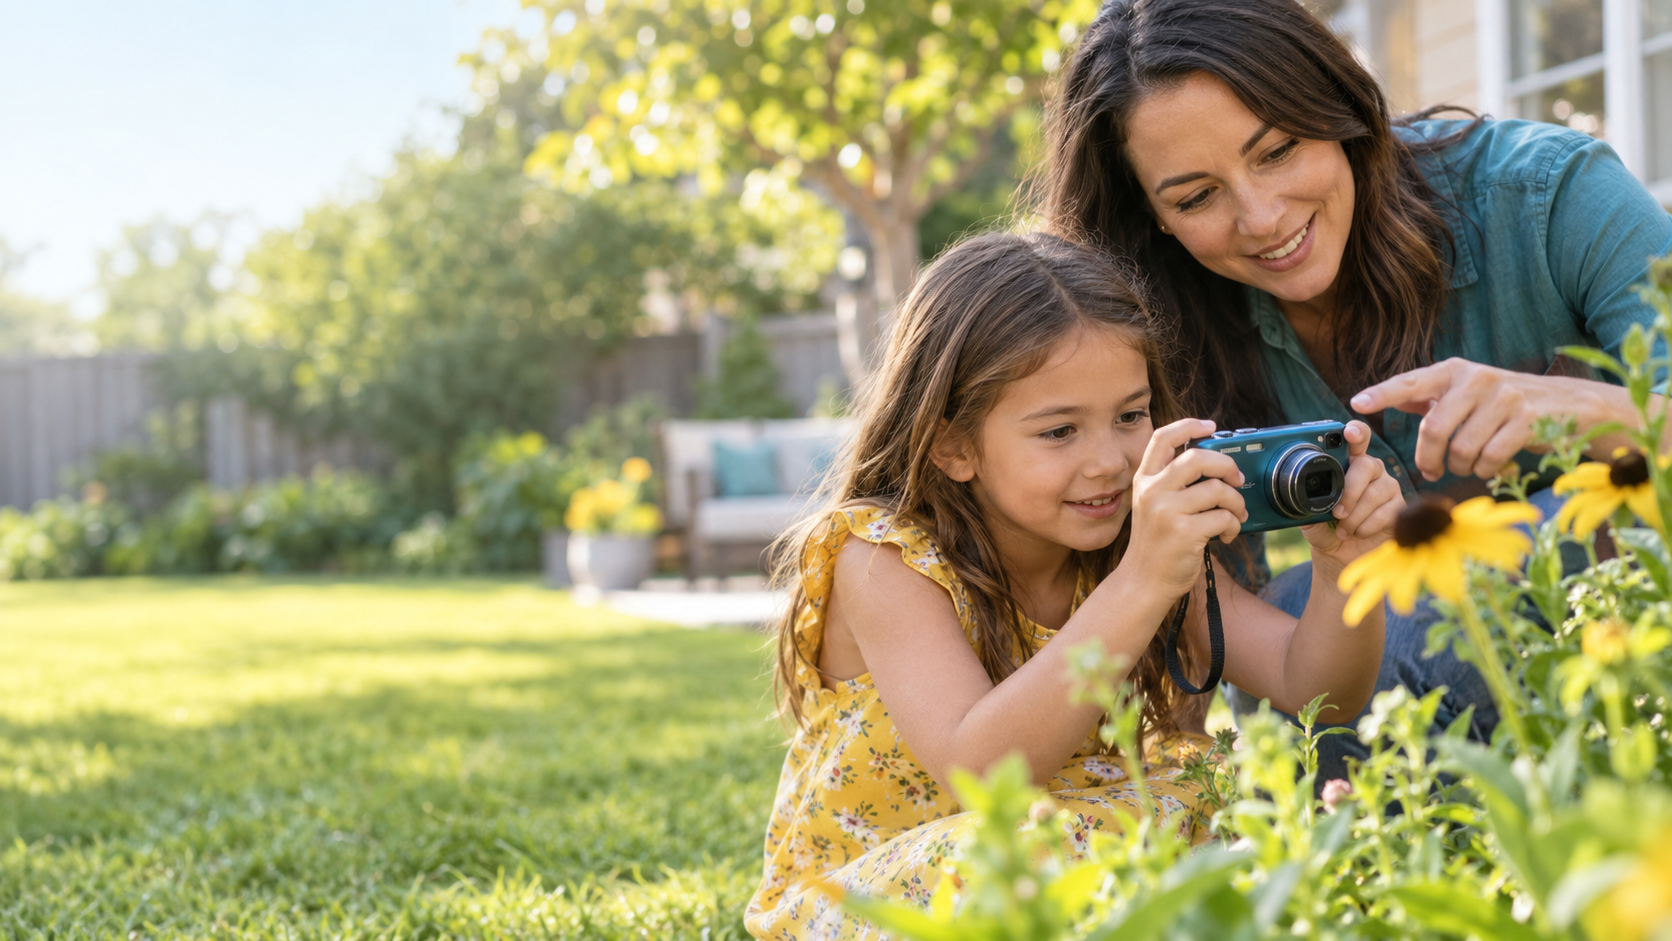
Photography for Kids: A Simple Way to Teach the Basics
Photography gives children a reason to slow down, look closely, and decide what matters inside a frame. A first lesson does not need technical jargon or expensive equipment. A compact camera, an older phone used with supervision, or a simple instant camera can all work. The goal is to help a child make intentional pictures while keeping the experience playful.
This guide offers a practical sequence for parents and teachers. Each step can become a short lesson on its own, so younger children do not have to absorb everything at once.
Begin with curiosity, not camera settings
Start by asking what your child wants to photograph. Pets, toys, flowers, family members, and neighborhood details are easy subjects because children already care about them. Look at a few photographs together and ask simple questions: What did you notice first? Where is the light? What makes the picture interesting? There is no single correct response. The conversation helps a child connect visual choices with feelings and stories.
Keep the first session short. Ten or fifteen focused minutes usually teaches more than a long lecture. End while the child is still interested, and give them a small goal for the next session.
Teach safe, steady camera handling
Show the wrist or neck strap first. Explain that the strap goes on before the camera is carried. Demonstrate a two-handed grip with elbows resting naturally near the body. Children often press the shutter forcefully, which moves the camera. Have them squeeze the button gently and hold still for a moment after the picture is made.
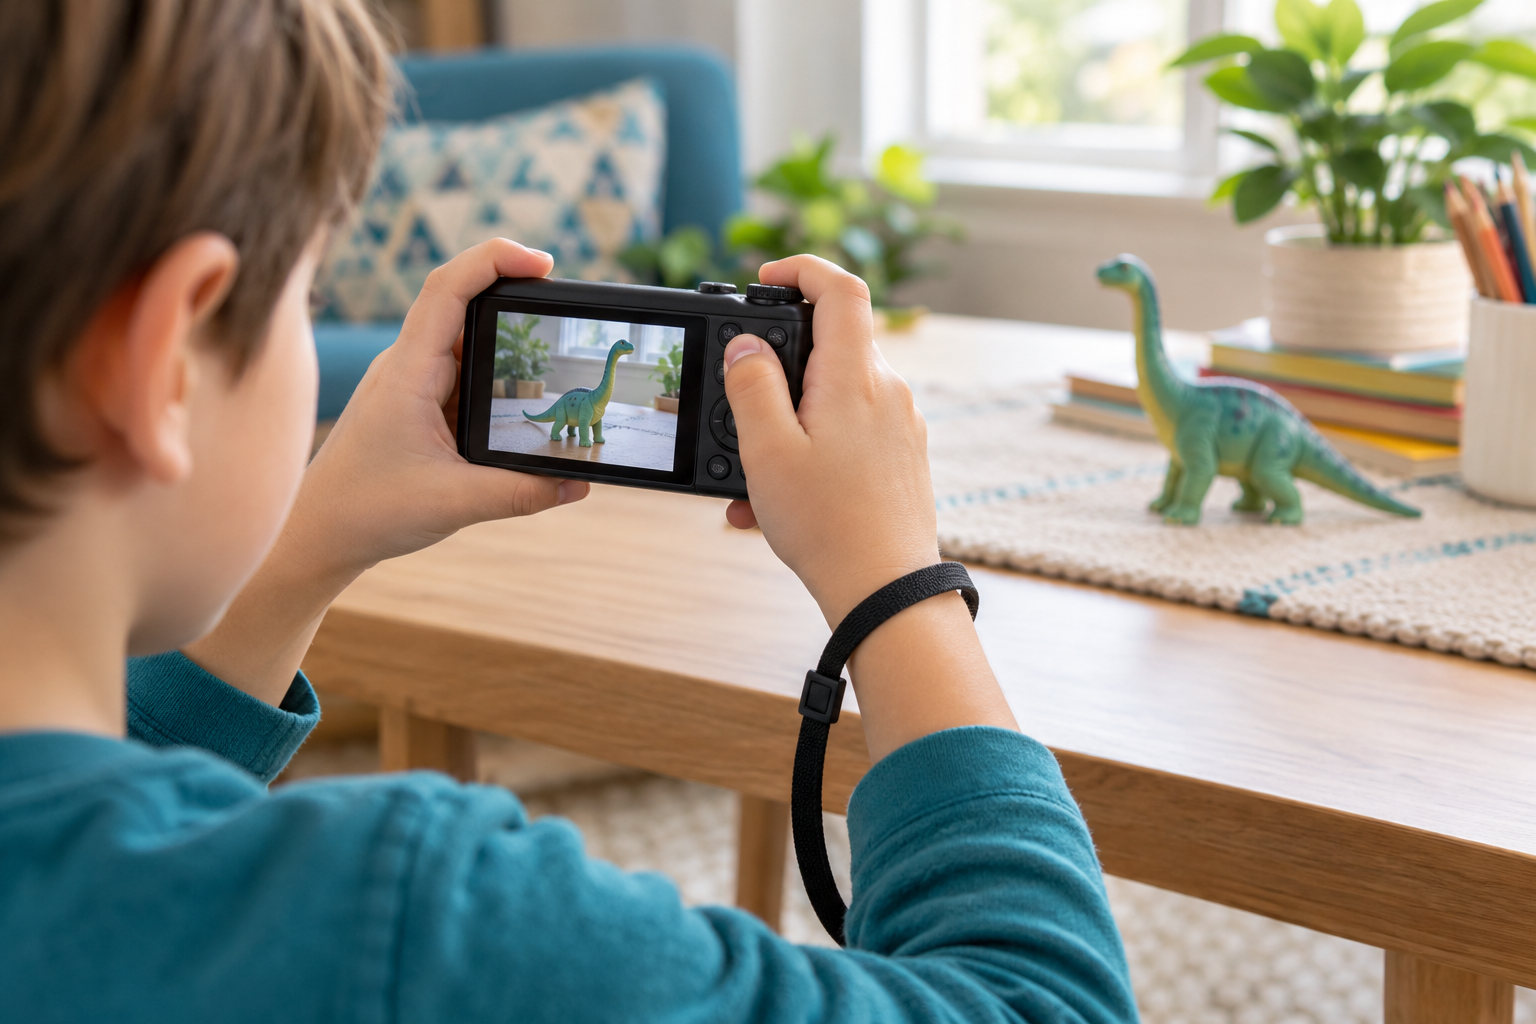
Clean the lens with an appropriate soft cloth and point out where fingers can accidentally block it. If the camera has a screen, teach the child to check the edges of the frame before pressing the shutter. These small habits prevent many disappointing pictures.
Choose one clear subject
A beginner’s photograph becomes easier to understand when it has one obvious subject. Ask, “What is this picture about?” Then help the child remove distractions by moving closer, changing position, or choosing a simpler background. Encourage them to walk instead of relying on digital zoom, which often lowers image quality.
Once the subject is clear, experiment with placement. Put it in the center for a direct portrait, then move it slightly to one side and compare the results. You can mention the rule of thirds later, but children usually learn faster by seeing two versions and describing which one feels more balanced.
Look for useful light
Bright shade and light from a window are friendly starting points. They are softer than direct midday sun and make it easier to see facial expressions and detail. Ask the child to notice which side of the subject appears brightest. Move around together and watch how the picture changes.
Avoid telling children that light must always come from behind them. Backlight can create beautiful outlines, while side light can reveal shape and texture. The better rule is to notice the light, check the screen, and move when the subject is too dark or uncomfortable.
Focus, distance, and sharp pictures
On a phone or touch-screen camera, tap the subject to set focus. On many compact cameras, pressing the shutter halfway asks the camera to focus before the final press. Practice this without rushing. If a picture is blurry, check three common causes: the child moved, the subject moved, or the room was too dark for the camera to use a fast exposure.
Instead of treating blur as failure, turn it into an experiment. Photograph a stationary toy, then a person walking, then someone running. Compare the results and talk about motion. A stable surface or small tripod can also show how support helps in dim light.
Give feedback that builds skill
Let the child speak first during review. Ask which picture is their favorite and why. Ask what they would change if they made it again. Then offer one specific observation rather than a long list of corrections. “I can see the dog’s expression clearly because you moved closer” is more useful than simply saying a picture is good.
Choose a small number of photographs to review. Looking at ten thoughtful images is usually more productive than scrolling quickly through hundreds. Delete obvious accidents together only after the child has chosen the pictures they want to keep.
A five-photo first assignment
A simple assignment gives the session a beginning and an end. Ask for five pictures: something red, something tiny, a face showing an emotion, a pattern, and an object photographed from an unusual angle. This encourages observation without requiring manual controls.
For a follow-up project, tell a story with three frames: a beginning, a change, and an ending. The story might show a snack being prepared, a block tower being built, or a pet getting ready for a walk. Sequencing helps children think beyond isolated snapshots.
Privacy and sharing
Teach children to ask before photographing another person. Review backgrounds for school names, house numbers, mail, computer screens, or other private information before sharing an image. Adults should control public accounts and location settings. A printed album, private family folder, or classroom display can give children an audience without making every photograph public.
What to teach next
When the child can hold the camera safely, choose a clear subject, and notice light, introduce one new idea at a time. Useful next lessons include perspective, patterns, color, action photographs, and simple editing. Older children can begin exploring aperture, shutter speed, and ISO, while younger learners may benefit more from games and themed photo walks.
A simple progress folder can help without turning photography into a competition. Once a month, let the child choose five favorites and add a short caption about what they tried. Looking back at earlier pictures makes improvement visible and gives the child ownership of the learning process. Keep comparisons focused on past work rather than the results of other children.
The strongest photography lesson is repeatable: notice, choose, photograph, review, and try again. Keep the camera accessible, celebrate careful observation, and allow room for strange angles and surprising ideas. Technical skill grows with practice, but curiosity is what keeps a young photographer returning to the camera.
Editorial note: This is an informational teaching guide. It intentionally contains no affiliate product links. Recommendations are independent and should be adapted to the child’s age and supervision needs.