

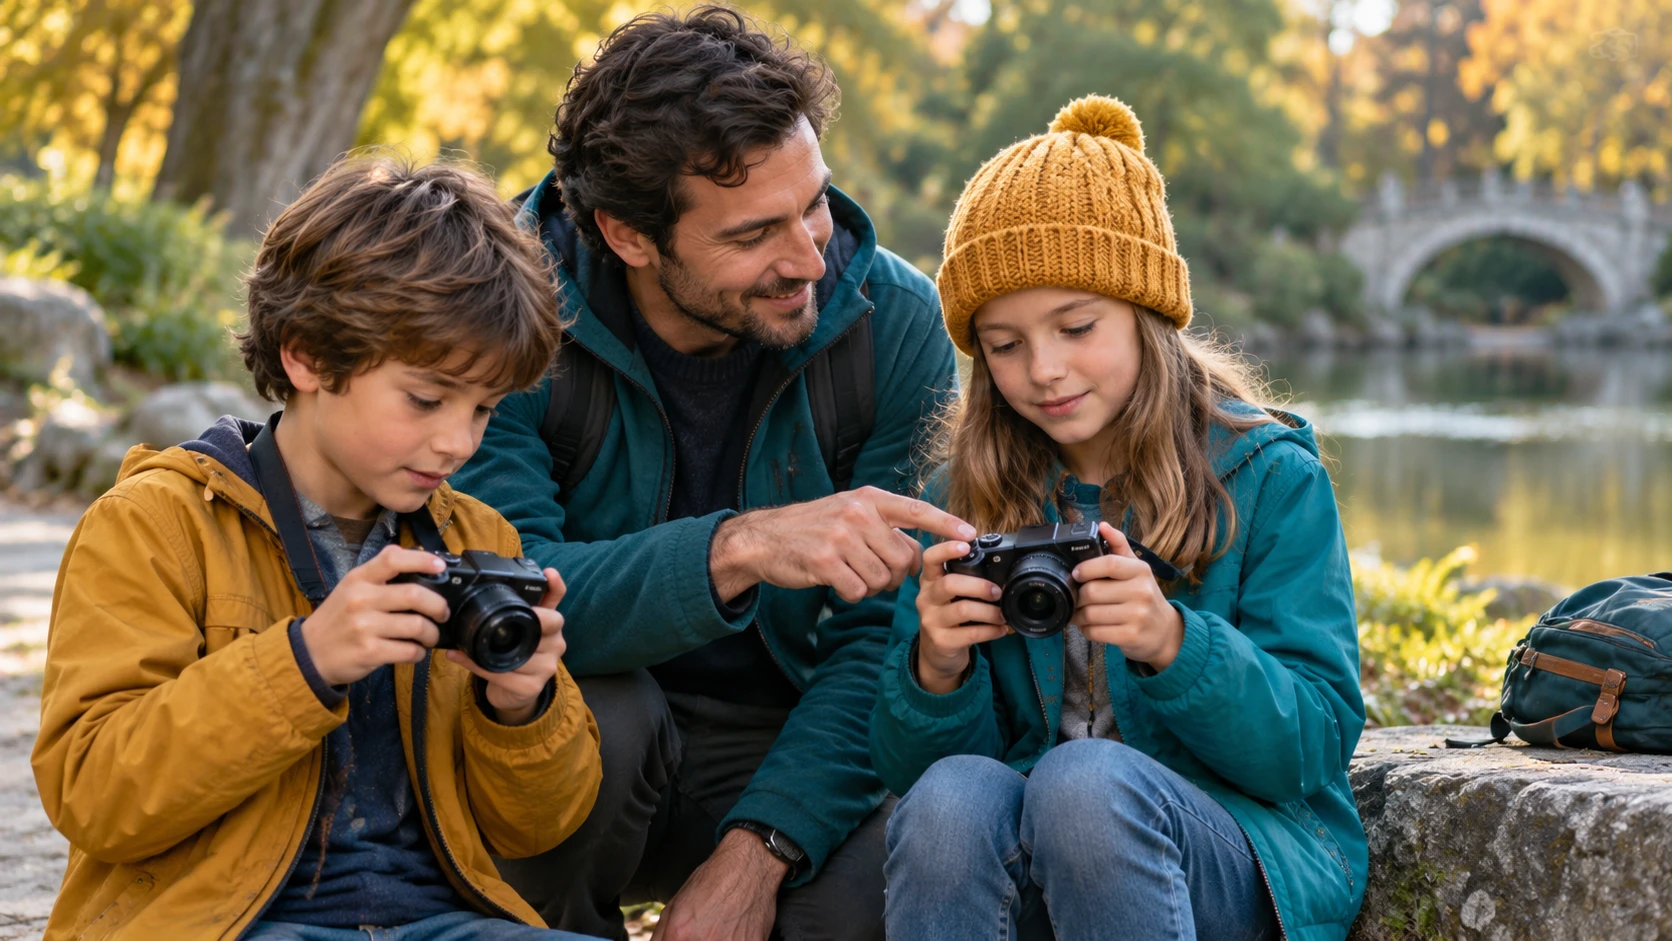
Teaching Photography to Kids: Find What Sparks Their Curiosity
One child wants to photograph the dog’s funniest face; another imagines a whole toy adventure. Begin there. A camera becomes more interesting when it helps your child make something they care about. You can introduce the grip, light and settings as those ideas need them, rather than asking every young photographer to follow the same lesson. Their age, attention and confidence help you decide how much to show and when to step back.
Start with the child’s reason
Ask what your child would love a picture of and why. A little pet album gives you a reason to explore patient portraits, while a toy story introduces viewpoint and sequence. Action pictures make timing relevant; flowers invite a closer look at focus and background. The goal gives the technique a job. You do not need to start by naming every camera part when your child already has an idea they want to try.
Match instruction to development
Younger children may enjoy copying one small action and seeing the picture straight away. Older children may want to plan a scene, compare versions or find out how a control works. Reading ability, hand size and patience matter alongside age. Give one direction at a time and look at the result together. A short, clear discovery is a better starting point than deciding what every child of a particular age ought to master.
Demonstrate, then step back
Show safe strap use, the grip, focus and shutter with one example, then give the creative choices back. Your child can decide what belongs in the frame while you keep an eye on the equipment and surroundings. Ask what they are trying to show before correcting the picture. A strange angle might be the beginning of an interesting idea, and making their own decisions is part of what makes the camera worth picking up again.
Choose a playful or structured path
Try the form of lesson your child enjoys. A scavenger hunt, a silly size trick or a short photo walk can teach the same skill as a clear little checklist. Some children like a defined assignment; others want a character and a story. Change the approach when interest fades, rather than assuming photography is not for them. You can keep the next attempt smaller and closer to something they already enjoy.
Adjust feedback to confidence
Begin feedback with what the picture communicates, then offer one change your child can try. There is no need to correct every tilted edge or cut-off detail. A confident young photographer may ask for more suggestions, while a hesitant beginner may need time to explain an unusual choice. Let the conversation stay about the photograph and the idea. The next attempt should feel possible, rather than like a list of mistakes to remember.
Know when to add camera controls
Automatic mode is appropriate while a child learns framing, light, and timing. Add exposure compensation when pictures are consistently too bright or dark. Introduce shutter speed for motion and aperture for depth only when the camera supports those controls and the child has a reason to use them.
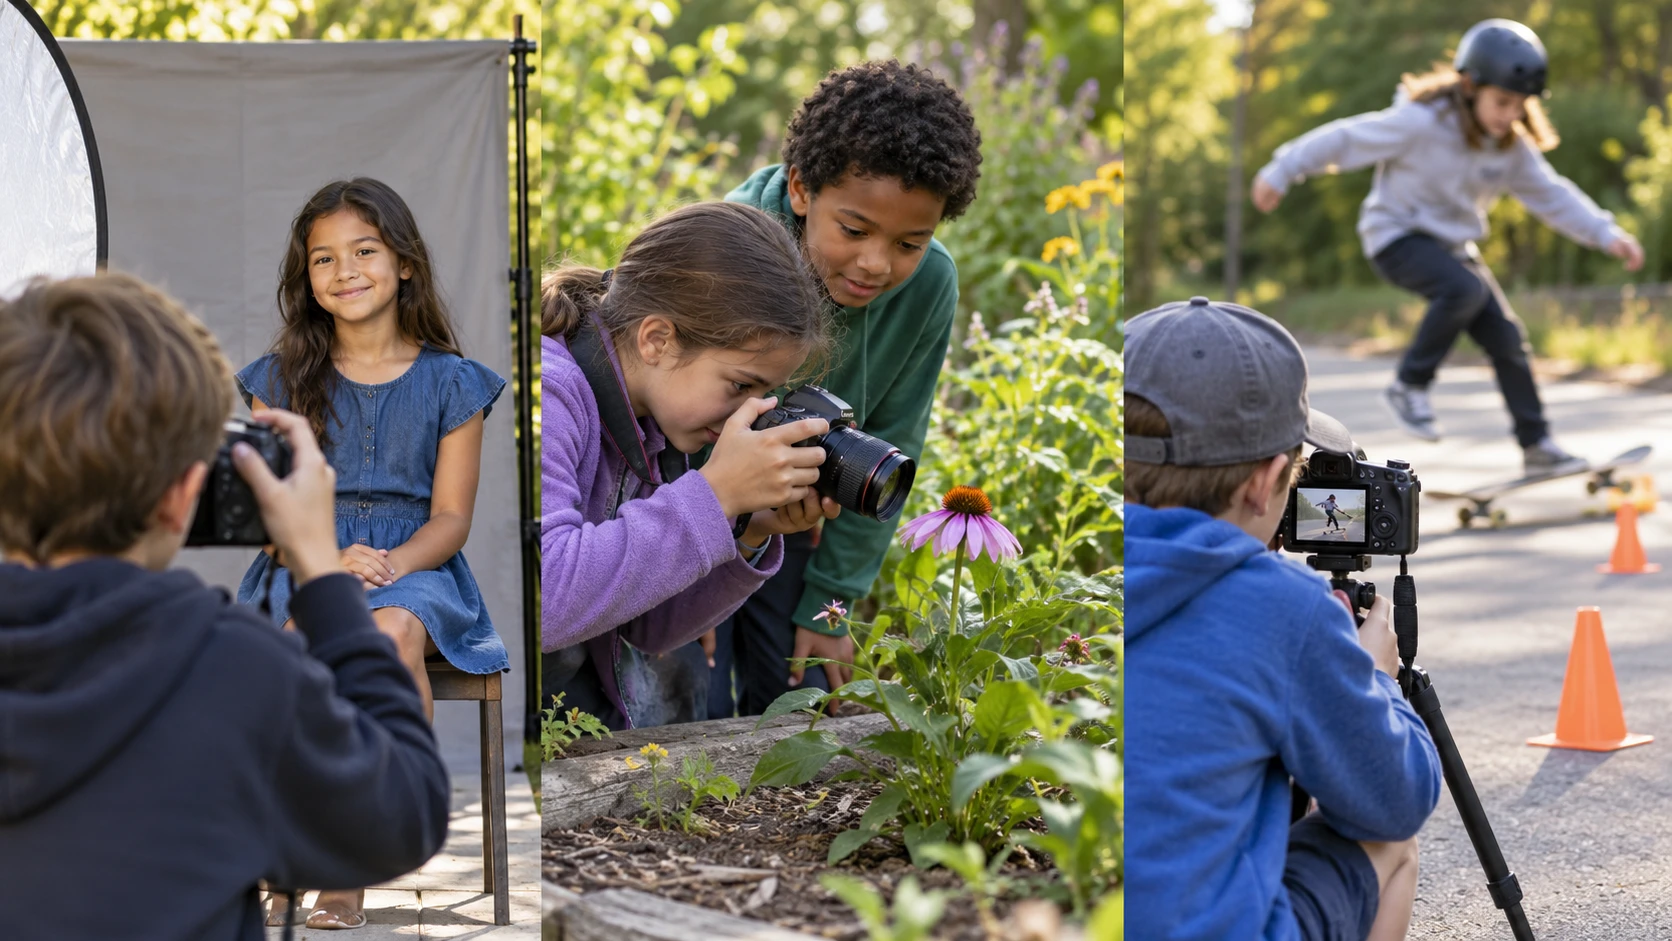
Follow an interest through three small sessions
Imagine your child wants a photo diary for a favorite stuffed animal. In the first session, make a portrait and learn the grip and shutter. In the next, show where the toy lives using a wider view. A third session can tell a little journey in three pictures. The project grows because the story needs another skill, rather than because a lesson plan says it is time to cover a new camera setting.
For a teen interested in portraits, the same approach can be more mature. Begin with a willing subject and comfortable light, compare backgrounds in a later session, then discuss a control when there is a specific result they want to change. Keep permission and the subject’s comfort central. Curiosity deserves a useful next step without turning a hobby into an imitation professional shoot.
Some children enjoy knowing the goal in advance; others respond better to an open prompt. You might offer ‘make the toy look brave’ rather than prescribe the exact angle. Let your child explain how the picture creates that feeling. Their reasoning may reveal that they understand a composition idea before they know its formal name.
Notice when the method needs a change
If interest fades, check the task before assuming the hobby is a poor fit. The equipment may be awkward, the assignment too long or the subject uninteresting. Return to a smaller idea, offer suitable support or give the camera a rest. You do not need a finished album from every session. One picture your child wants to show you is a useful result.
Avoid taking over the camera to fix every frame. Demonstrate on a separate example when you need to, then return to the child’s idea. Ask permission before editing or deleting their pictures, while keeping safety and storage decisions under adult control. A photograph you would reject may record a detail that matters to them.
Keep a note of questions rather than a list of mistakes. ‘How can the toy look bigger?’ is an inviting next activity; ‘needs to improve perspective’ sounds like a report. When you return to the camera, use that question to set one manageable experiment. The tone of the lesson helps the technical advice feel like a tool for their imagination.
Write or draw your child’s next idea on a small card kept beside the camera, away from power supplies and small parts. When they return, the prompt is theirs: a giant-looking toy, a quiet portrait or a strange shadow. You can begin with that idea instead of restarting a lesson, making the next session feel like a continuation of their own curiosity.
Match the lesson to the child’s question
A question can choose the next lesson for you. If your child wonders why a pet looks blurry, compare a resting moment and a moving one from the same safe position. If they want the eyes to stand out, compare a quiet background with a busy one. Make sure the pet is comfortable and never chase it for the picture. Let the two images help answer the question, then leave room for your child to ask another.
Adults should adapt activities to the child’s age, device, and supervision needs.