
Reviewed and updated: November 2, 2026
Foreground and background are easier for children to understand when they can move the subjects with their own hands. A few toy animals, a clear tabletop, and any child-friendly camera can become a simple photo game about depth. The child places one toy close to the camera and another farther away, then experiments with focus, framing, and storytelling.
Set up a safe miniature scene
Choose two or three toys that can stand without being held. Put them on a table near a bright window or in open shade outdoors. Avoid direct glare on the camera screen. Clear away cups, cords, and small pieces that could be swallowed by younger children.
Place one toy near the front edge of the scene and another several feet behind it. The child should stay in one safe position rather than walking backward while looking through the camera. A wrist strap can help prevent drops if it fits correctly and the camera instructions allow it.
Our beginner camera guide for kids covers simple controls to learn before starting a photo project.
Name the three layers
Point to the closest toy and call it the foreground. Point to the farther toy and call it the background subject. Everything between them is the middle ground. The names matter less than the idea: photographs can contain near, middle, and far information at the same time.
Ask the child which toy they want viewers to notice first. That toy becomes the main subject. Move it rather than changing camera settings at first. A bright toy in front may dominate the picture, while the same toy in back may feel like part of a larger scene.
Take the first comparison pair
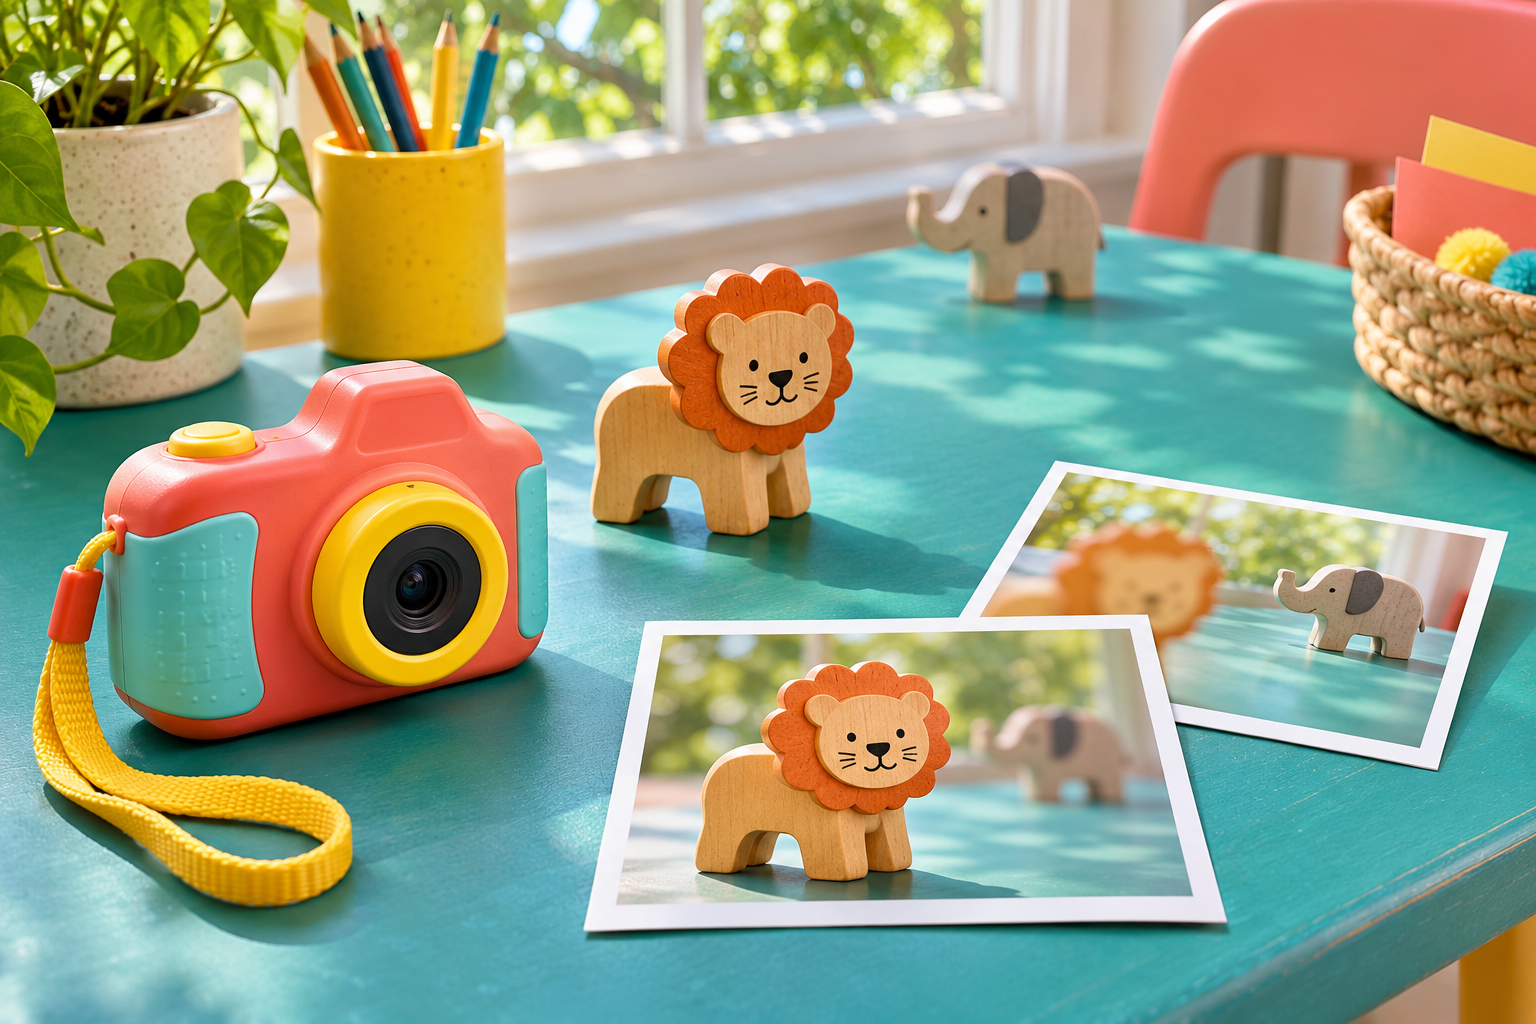
For picture one, place the lion close to the camera and the elephant farther away. Ask the camera to focus on the lion by using the normal focus control or touchscreen according to the camera manual. Take one steady photo.
For picture two, keep the toys in place but focus on the elephant. Some basic children’s cameras use fixed focus and cannot choose between the two. That is fine—the child can still compare how size and placement change attention.
Review both pictures. Which toy looks more important? Does the near toy hide part of the far toy? Can the child tell where the scene begins and ends? Use descriptive questions instead of calling one result right or wrong.
Swap the characters
Move the elephant to the foreground and the lion to the background. Take another pair. A small object close to the lens can appear larger than a physically bigger object farther away. This is perspective, and children usually discover it quickly through play.
Try a silly story: the foreground elephant looks enormous beside a distant lion, or the near lion seems to guard a tiny faraway elephant. The goal is to notice that the camera records apparent size based on distance.
Change only one thing at a time
Children learn more when the comparison is clear. Keep the camera in the same place while moving one toy. Then keep the toys in place while changing the camera height. Finally, move closer or farther only after an adult confirms the walking path is clear.
Take a maximum of two pictures for each change. Limiting the number encourages observation and keeps the activity from becoming an endless burst of nearly identical frames.
Our photo scavenger hunt guide offers more short missions that work after this lesson.
Use overlap to show depth
Place the foreground toy so it covers a small part of the background toy. This overlap is a strong depth clue. Move it sideways until the far toy becomes fully visible, then compare the two pictures.
Ask which version feels crowded and which feels open. A little overlap can make the scene feel layered, while too much can hide the story. Children can decide how much is useful based on what they want viewers to understand.
Add a middle-ground object such as a block, leaf, or small book. Three layers can make a richer picture, but keep the background simple enough that the toys remain easy to find.
Explore camera height
Take one photo from the child’s normal standing height, one from toy-eye level, and one from slightly above. An adult should help with positioning and make sure the camera is not placed where it can fall.
Toy-eye level often makes the scene feel like a small world. A higher view shows the distance between objects more clearly. A very low angle can make the foreground subject appear dramatic. These effects come from viewpoint, not from expensive equipment.
Build a three-photo story
Once the child understands the layers, create a beginning, middle, and ending. In the first photo, the lion is far in the background. In the second, it moves into the middle ground. In the third, it reaches the foreground and meets the elephant.
Keep the camera position similar so the movement is easy to see. Arrange the three images in order on a screen or print them with adult help. Add a short caption to each if the child enjoys writing.
See our guide to telling a story with photos for ways to expand from three frames to a complete family project.
Try the game outdoors
In a safe yard or park, use a leaf, rock, or flower as the foreground and a tree or building as the background. Do not pick protected plants or place toys near roads, water, ledges, or crowded paths. The child should stop walking before looking through the camera.
Natural scenes add wind and changing light, so begin with still subjects. A leaf held by an adult can create a foreground frame around a distant tree. Make sure hands and faces are photographed only with permission.
Review the results together
Ask the child to choose one photo with a strong foreground, one with a clear background, and one that tells the best story. Let them explain the choices before offering suggestions. Their reason may be color, expression, apparent size, or a funny relationship between toys.
Point out one specific success: “The lion overlaps the elephant just enough to show it is closer,” or “The lower camera angle makes the scene feel like the toys’ world.” Specific feedback teaches more than a general “good job.”
Adapt for different ages
For preschool-age children, keep the language to “near toy” and “far toy.” For elementary-age children, introduce foreground, middle ground, and background. Older children can experiment with aperture or portrait mode under adult supervision, comparing how much of the scene remains sharp.
Do not require a blurred background. Many cameras keep everything fairly sharp, especially with small sensors. Depth can still be shown through overlap, apparent size, placement, and viewpoint.
Finish by printing a favorite or placing the three-photo story in a family album. The lesson is successful when the child begins asking where to put a subject—not when every picture looks professional. A simple toy scene gives them a safe, playful way to see how distance changes the story inside a frame.