instax mini 12 vs. mini 41: Which Should You Buy for a Child?

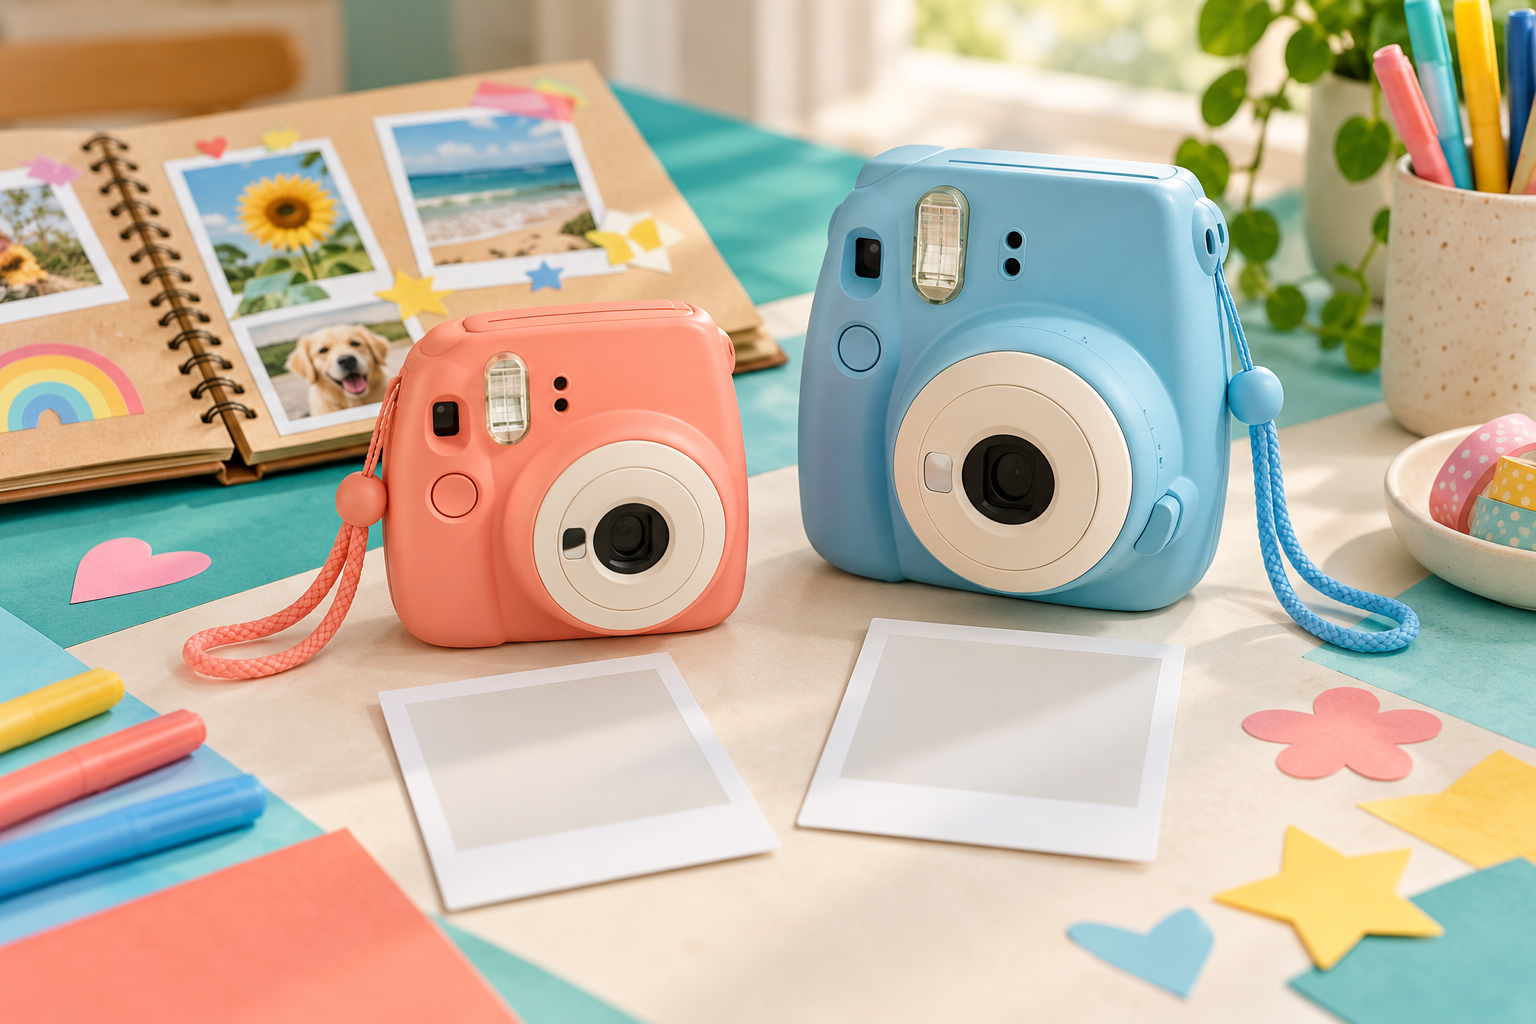
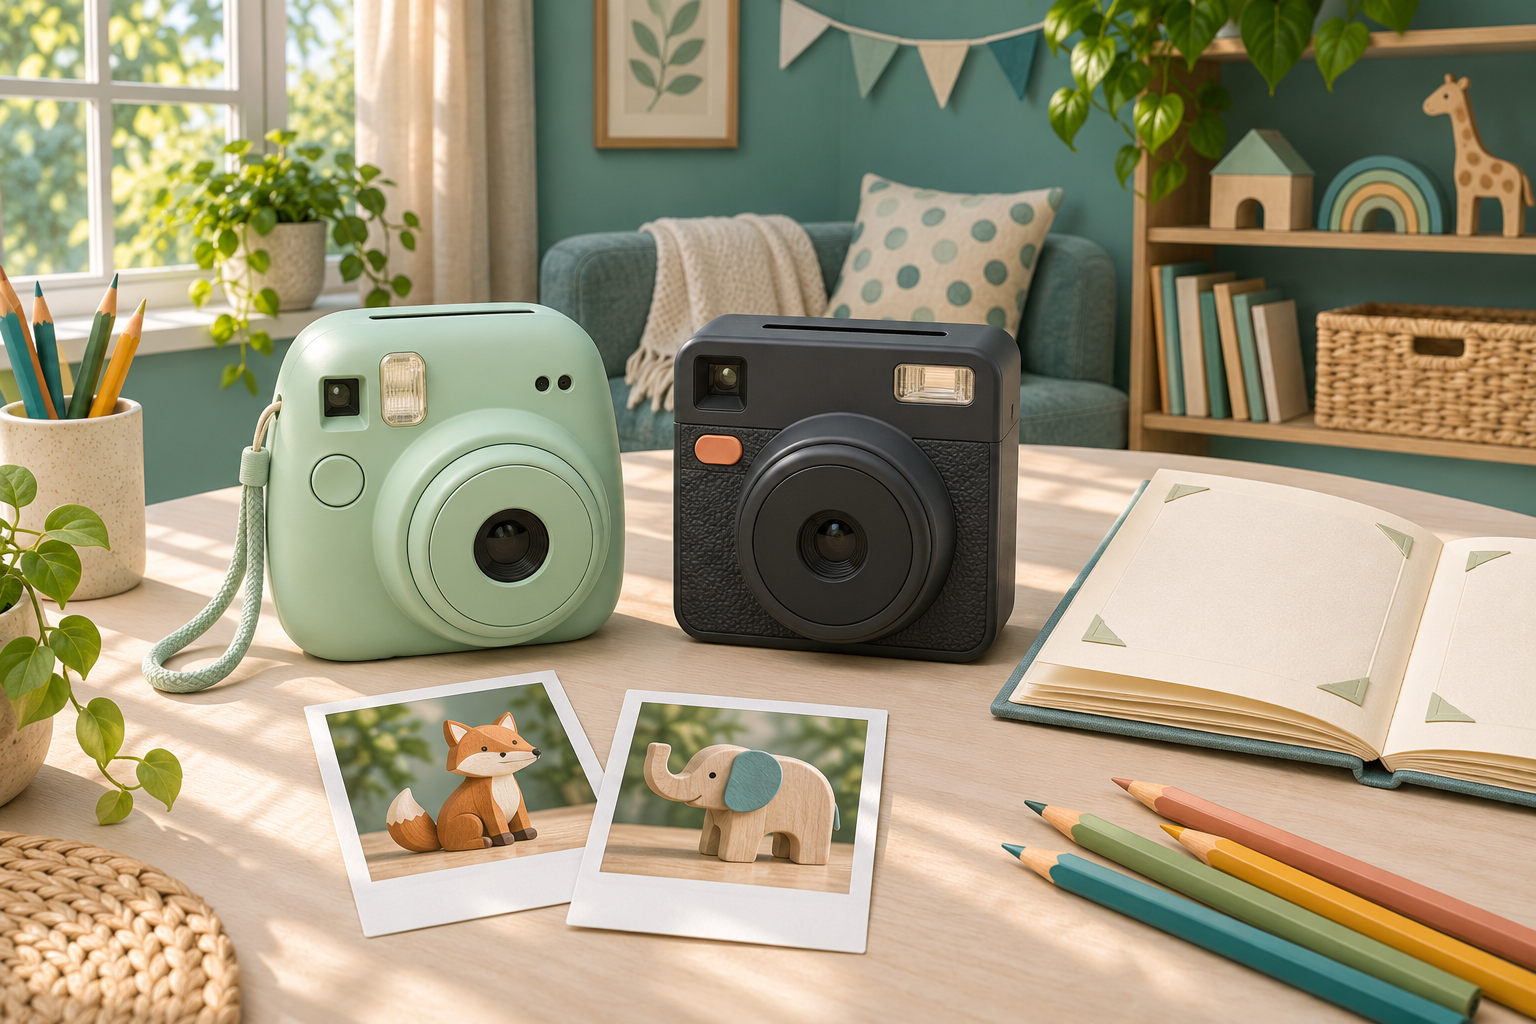
Conceptual illustration of pastel and dark unbranded instant cameras beside an album and toy photographs
Conceptual editorial illustration; not a photograph of the compared cameras.

Reviewed and updated: November 8, 2026

Choose the Fujifilm instax mini 12 for its lighter body and playful pastel styling. Choose the instax mini 41 if the recipient prefers a textured, retro-looking camera. Their core shooting specifications are remarkably similar, so the mini 41 is a style choice rather than an obvious step up in photographic capability. Both suit a child who wants a physical keepsake from each carefully chosen shot.

Which instant camera should you buy?

This comparison uses Fujifilm’s published specifications and product descriptions, without hands-on testing or measured image-quality claims. These are analogue instant cameras: buying one means committing to film for the pictures your child takes. Start with the recipient’s interest in making paper photographs, then compare handling, appearance and the complete package. Neither camera is a substitute for a digital camera when the aim is lots of practice shots.

01

Fujifilm instax mini 12 Instant Camera

Choose for: a child who prefers a rounded pastel camera and a lighter body. Fujifilm lists automatic exposure, close-up parallax correction and a 306 g unloaded weight. Skip if: digital preview or selectable flash-off operation is essential.

View current Amazon search results for Fujifilm instax mini 12 Instant Camera (paid link) (paid link)

02

Fujifilm instax mini 41 Instant Camera

Choose for: a recipient who specifically prefers dark retro styling and a textured body. It uses the same mini film format and shares the mini 12’s key shooting specifications. Skip if: you expect a larger print or a major capability upgrade.

View current Amazon search results for Fujifilm instax mini 41 Instant Camera (paid link) (paid link)

Start with the pictures, not the model number

Imagine a birthday guest book, a small family scrapbook or a collection of portraits of favourite toys. Both models make sense for projects where the print itself is part of the pleasure. A child can choose a subject, make a picture and decide where that single photograph belongs. The activity is quite different from taking many digital pictures and choosing favourites later.

Skip both if your child expects a screen for checking each shot before committing to a print. A digital-camera-and-printer routine is a better purchase brief for that preference. Our SELPHY QX20 versus CP1500 comparison explores two printing approaches for family projects. Decide which workflow you want before choosing a camera by its colour.

The shared features matter more than the differences

Fujifilm specifies the same instax mini film format and 62 × 46 mm picture area for both. Each has automatic exposure, a 60 mm f/12.7 lens and a close-up mode for subjects 0.3–0.5 m away. Both include close-up parallax correction, which adjusts viewfinder framing for nearby subjects. Those similarities are good reasons to resist reading “41” as a promise of more advanced results than “12.”

For a family purchase, the useful conclusion is straightforward: choose either for simple, deliberate instant photography. Do not buy the mini 41 expecting a larger print or a digital preview. Do not dismiss the mini 12 because its softer styling looks less traditional. Appearance can influence whether a child wants to carry a camera, but it does not establish the quality of the photographs.

Choose mini 12 when lighter handling appeals

The mini 12’s rounded shape and pastel colour choices make it an appealing gift for someone who enjoys playful design. Fujifilm lists its weight as 306 g without batteries, strap or film. That is a useful comparison point, although it cannot tell you whether your particular child can comfortably hold it, reach the shutter and keep fingers clear of the lens.

If possible, let the intended user handle the camera before buying. Ask them to hold it steadily with both hands and find the shutter while looking through the viewfinder. Watch whether they need to shift their grip awkwardly. Choose the mini 12 when its shape and appearance work for the recipient; skip it if the rounded body feels uncomfortable or the child actively dislikes the styling.

Choose mini 41 for a preferred look and texture

The mini 41 uses a dark, textured body with a metallic-like finish and orange accents. Fujifilm describes the texture as helping grip. It lists a weight of 345 g without batteries, film or strap, making it 39 g heavier than the mini 12 on the manufacturers’ unloaded figures. A textured surface is worth considering, but it cannot guarantee a secure grip in small hands.

This model has a clear audience: a recipient who wants a more traditional-looking camera and will enjoy taking it to family gatherings or building a personal scrapbook. Paying extra for that preference, if the offers you compare differ, is a personal decision. Skip the mini 41 when the child is indifferent to its design or expects the purchase to unlock a different film size, a preview screen or more sophisticated exposure controls.

Understand the flash before planning an activity

Both specifications describe a flash that fires for every shot with automatic light adjustment. Their stated effective flash range is 0.3–2.2 m. That gives a family a useful planning limit: a nearby portrait is a more suitable starting activity than expecting the flash to light a distant stage. Neither model offers the flash-off choice some buyers may assume is standard.

Choose another camera brief if a no-flash setting is essential for the places you intend to photograph. For ordinary home projects, keep the first session simple and give each picture a purpose. Ask the child to name the subject, check the edges of the frame and pause before pressing the shutter. A few planned photographs make the film commitment easier to manage than an open-ended burst of snapshots.

Make the film budget part of the gift

Both cameras use instax mini film, sold separately according to Fujifilm’s specifications. Check the actual package you are considering rather than assuming that every camera offer includes film. A useful gift needs a plan for the next pack too. Agree on a comfortable number of photographs for an activity before handing over the camera, and let the child help decide which moments deserve a print.

For a first project, choose three different subjects rather than repeating one portrait until it feels perfect. A favourite object, a family member and a detail from home can become a small album page. Our photo scavenger hunt for kids offers prompts you can narrow to a small selection. Avoid buying extra accessories until the recipient has shown how they want to use the prints.

Check the complete package and first-session routine

Fujifilm specifies two AA alkaline LR6 batteries for each model. Follow the exact model’s instructions for battery and film handling, with an adult managing setup. Confirm the named camera, colour, included film and accessories in the offer you choose. A large bundle picture is not a reliable checklist of what your family actually needs.

Give the camera a regular storage place and choose a simple destination for the first prints, such as one album page. Neither recipient needs a complicated photography lesson on gift day. Establish how to switch on, frame and take a picture, then make time to look at the result together. The goal is a repeatable activity the child wants to return to.

The buying decision

Choose mini 12 for the lighter, pastel design when it fits the child’s hands and taste. Choose mini 41 for someone who specifically prefers its dark, textured retro styling. Skip both when digital review, unrestricted practice shots or selectable flash-off operation are central requirements. Their shared fundamentals make the recipient’s preferences and the ongoing film plan more useful deciding factors than the model numbers.

The buttons open Amazon search results for the full named models, rather than exact product listings. Check each result’s model, seller and package contents before deciding. Buy the camera the child will enjoy handling, alongside a realistic plan for film and a first project. A well-matched activity will do more for this gift than a long accessory bundle.
TG-7 vs. WPZ2: Which Rugged Camera Fits Your Family?

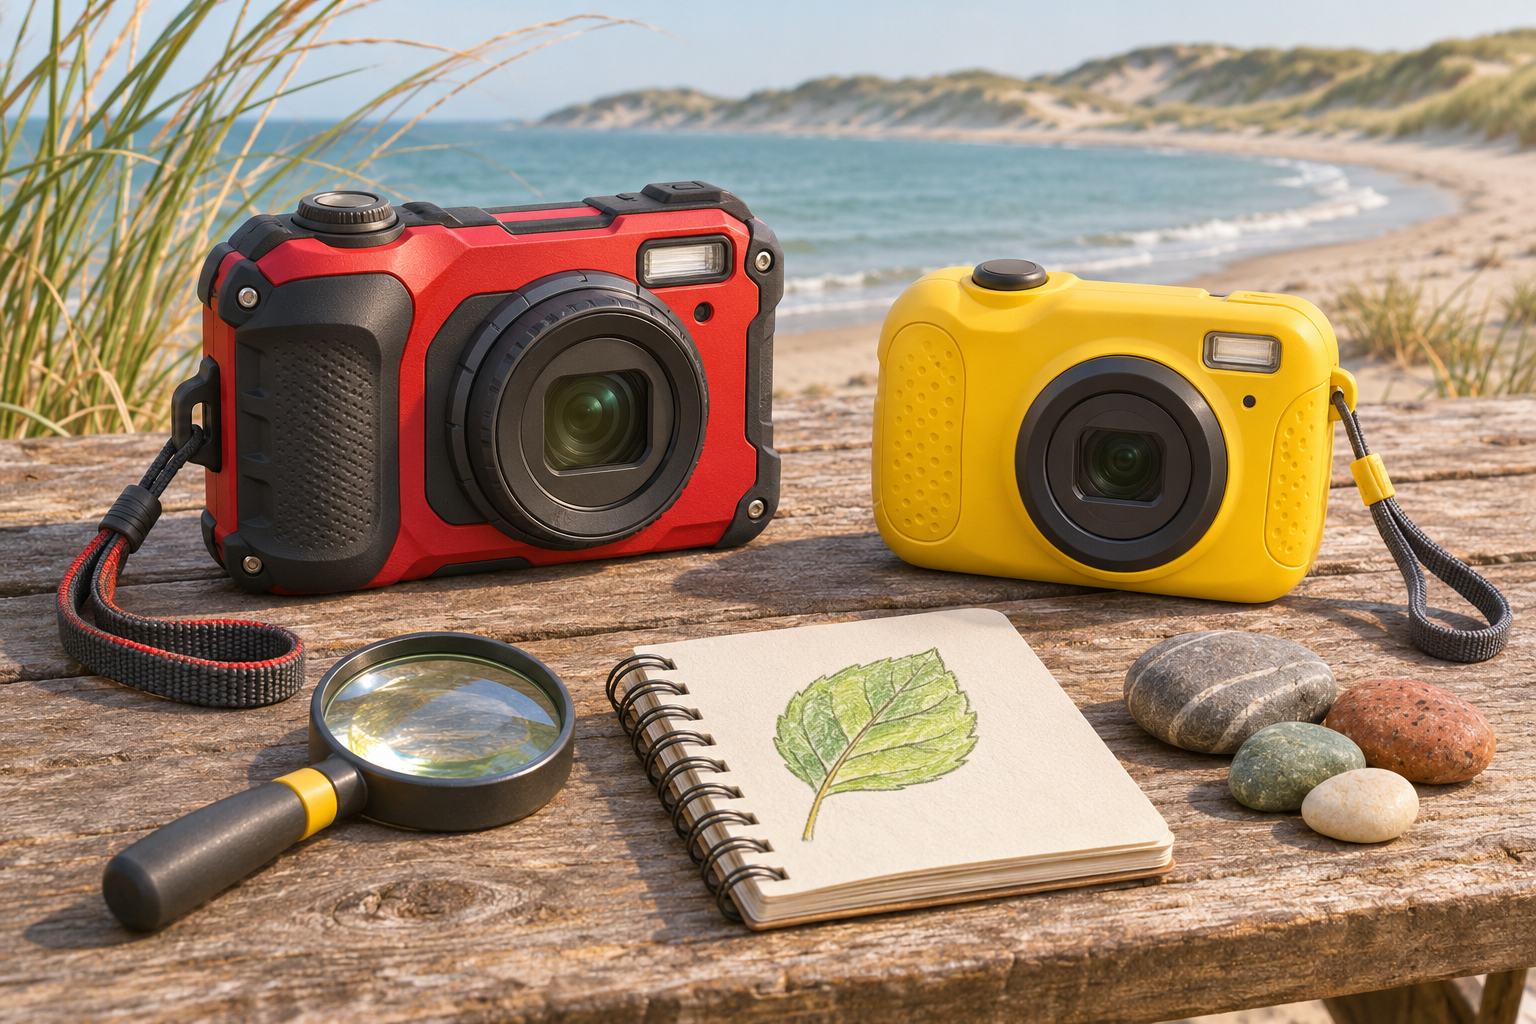
Conceptual illustration of two unbranded rugged cameras on a dry table beside a nature sketchbook
Conceptual editorial illustration; not a photograph of the compared cameras.

Reviewed and updated: November 7, 2026

Choose the OM SYSTEM Tough TG-7 when close-up nature projects, RAW files or 4K video give your family a clear reason to use its extra features. Choose the KODAK PIXPRO WPZ2 when the brief is ordinary outdoor photographs and Full HD clips. For a child using either camera, handling and adult-managed care matter more than the word “rugged.”

Two rugged cameras with different priorities

This comparison uses current manufacturer specifications and instructions rather than hands-on testing. The recommendations interpret those features for supervised family photography; they do not rank measured image quality. Neither model is a toy camera, an instant printer or a substitute for supervision around water. A parent should decide whether the child can manage a real camera before choosing between these two.

01

OM SYSTEM Tough TG-7 Digital Camera

Choose for: supervised close-up nature projects and a growing interest in image editing. OM SYSTEM lists a 12-megapixel sensor, RAW capture, 4K video and specialised close-up modes. Skip if: you only want occasional snapshots and will not use those extra functions.

View current Amazon search results for OM SYSTEM Tough TG-7 Digital Camera (paid link) (paid link)

02

KODAK PIXPRO WPZ2 Digital Camera

Choose for: a family brief centred on ordinary outdoor pictures and Full HD clips. KODAK PIXPRO lists a 16-megapixel sensor, 4x optical zoom, 1080p video and a 2.7-inch display. Skip if: RAW stills or 4K recording are requirements.

View current Amazon search results for KODAK PIXPRO WPZ2 Digital Camera (paid link) (paid link)

Start with three pictures your child wants to make

Ask for a short wish list before opening a specification sheet. A family portrait, a wide view of a campsite and a toy on a picnic table call for a different routine from detailed photographs of leaf veins. If the child simply wants a camera of their own for outings, extra specialist modes may become settings an adult has to manage.

For ordinary pictures, both offer 4x optical zoom. That shared number does not make their lenses or results identical, but it does mean neither is a long-reach wildlife camera. Choose a safe viewpoint and frame what is already nearby. Our photo scavenger hunt for kids gives a first outing a purpose without requiring advanced equipment.

Choose TG-7 for a developing interest in details

TG-7 has the more specific case for a child who repeatedly wants to photograph small subjects. OM SYSTEM lists a 1 cm closest focusing distance in its close-up system, Microscope mode, focus bracketing and focus stacking. These are reasons to explore the model when an adult is willing to learn alongside the child, rather than simply buying the longer list of functions.

Begin with a stationary object on a dry table: a leaf, a textured stone or a toy figure. Let the child describe which detail matters before adjusting the camera. Very close framing makes careful positioning important, so start with one subject and a simple background. Avoid disturbing wildlife or approaching something unsafe merely because the camera can focus closely.

Choose WPZ2 when ordinary snapshots are the job

The WPZ2’s published 16-megapixel specification, 4x optical zoom and 1080p video cover a straightforward stills-and-clips brief. Its 2.7-inch display is another concrete detail to consider when looking at the controls. Choose it because those capabilities match your plans, not because a larger megapixel number establishes better photographs than TG-7’s published 12-megapixel specification.

A useful test of the purchase idea is whether your child enjoys taking a few pictures and reviewing them. Ask them to make a wide view, a medium view and a detail of the same familiar subject. If that activity is enough, buying for RAW processing or specialised close-up work may add little to the experience. If those are firm requirements, skip WPZ2 and examine TG-7 instead.

Decide whether RAW files or 4K video matter

OM SYSTEM lists RAW capture and 4K recording for TG-7; WPZ2’s specification lists JPEG stills and 1080p recording. RAW support is useful only when someone wants to manage and process those files. Similarly, choose 4K because the family has a use for the footage and a way to store and edit it, rather than treating the label as an automatic requirement.

For a first photography routine, a small collection of clearly framed images can be more useful than many large files nobody reviews. Agree on who will copy the pictures, where originals will live and which images the child can delete. Our guide to organising a child’s photo library helps make that handover repeatable.

Read water-resistance claims as conditions

Both manufacturers publish a 15 m waterproof specification. That does not settle the purchase by itself. OM SYSTEM’s manual explains that resistance ratings depend on specified pressure, time and test conditions, and do not guarantee against damage or failure. Read the exact model’s complete care instructions before planning wet use; a depth figure is not permission to use a camera in every watery situation.

An adult should handle covers, seals, charging and card changes, and keep that work in a clean, dry place. Follow the manufacturer’s preparation, cleaning and drying instructions rather than improvising from another camera’s routine. Do not encourage deeper water, rougher play or deliberate drops to test the claim. If the family will not keep up with the care routine, skip both and rethink how the outing will be photographed.

Check grip and controls before committing

Specifications cannot tell you whether your child’s fingers can reach the shutter without covering the lens. Look carefully at the grip, button layout and playback controls. If possible, let the intended user handle the model in a suitable setting before buying. Ask them to hold it with two hands, find the shutter and explain how they would review the last picture.

Skip either camera if it feels awkward or the child expects a touch-driven toy interface. Extra resistance does not remove the consequences of losing a real camera. Plan a calm first session on dry land with an adult nearby. Keep the lesson to switching on, taking a picture and reviewing it before introducing zoom, scene modes or wireless transfers.

Compare the complete kit and storage routine

TG-7 uses SD-family removable media, while WPZ2 specifies microSD-family media. Check the manual’s supported type and recording requirements before reusing a card from another device. Do not assume an adapter, spare battery, charger or memory card pictured in a search result is part of the package. Match included items against your actual setup needs.

Both use rechargeable batteries, so plan adult-managed charging before the first outing. Keep a separate place for the camera and accessories, and check that the child knows where the camera goes when the activity ends. A clear routine for packing and returning it may matter more than adding accessories immediately. Start with what the manufacturer requires, then add equipment only for a demonstrated need.

Which should your family buy?

Choose TG-7 for an adult-supported move into close-up nature work, RAW processing or 4K clips. Choose WPZ2 when its stated JPEG-and-Full-HD feature set fits a straightforward outdoor snapshot routine. Skip both if the recipient needs a simpler toy camera, immediate paper prints or a device the family can treat as maintenance-free. Neither camera solves an unclear gift brief.

The two buttons open Amazon searches for the full named models, not exact listings. Check the generation, colour, package contents and accessory requirements in any result you consider. Buy for the photographs your child wants to make and the care routine an adult will actually support. Begin with one manageable outing and review the pictures together before planning the next project.

Canon SELPHY QX20 vs. CP1500: Photo Printers for Family Projects

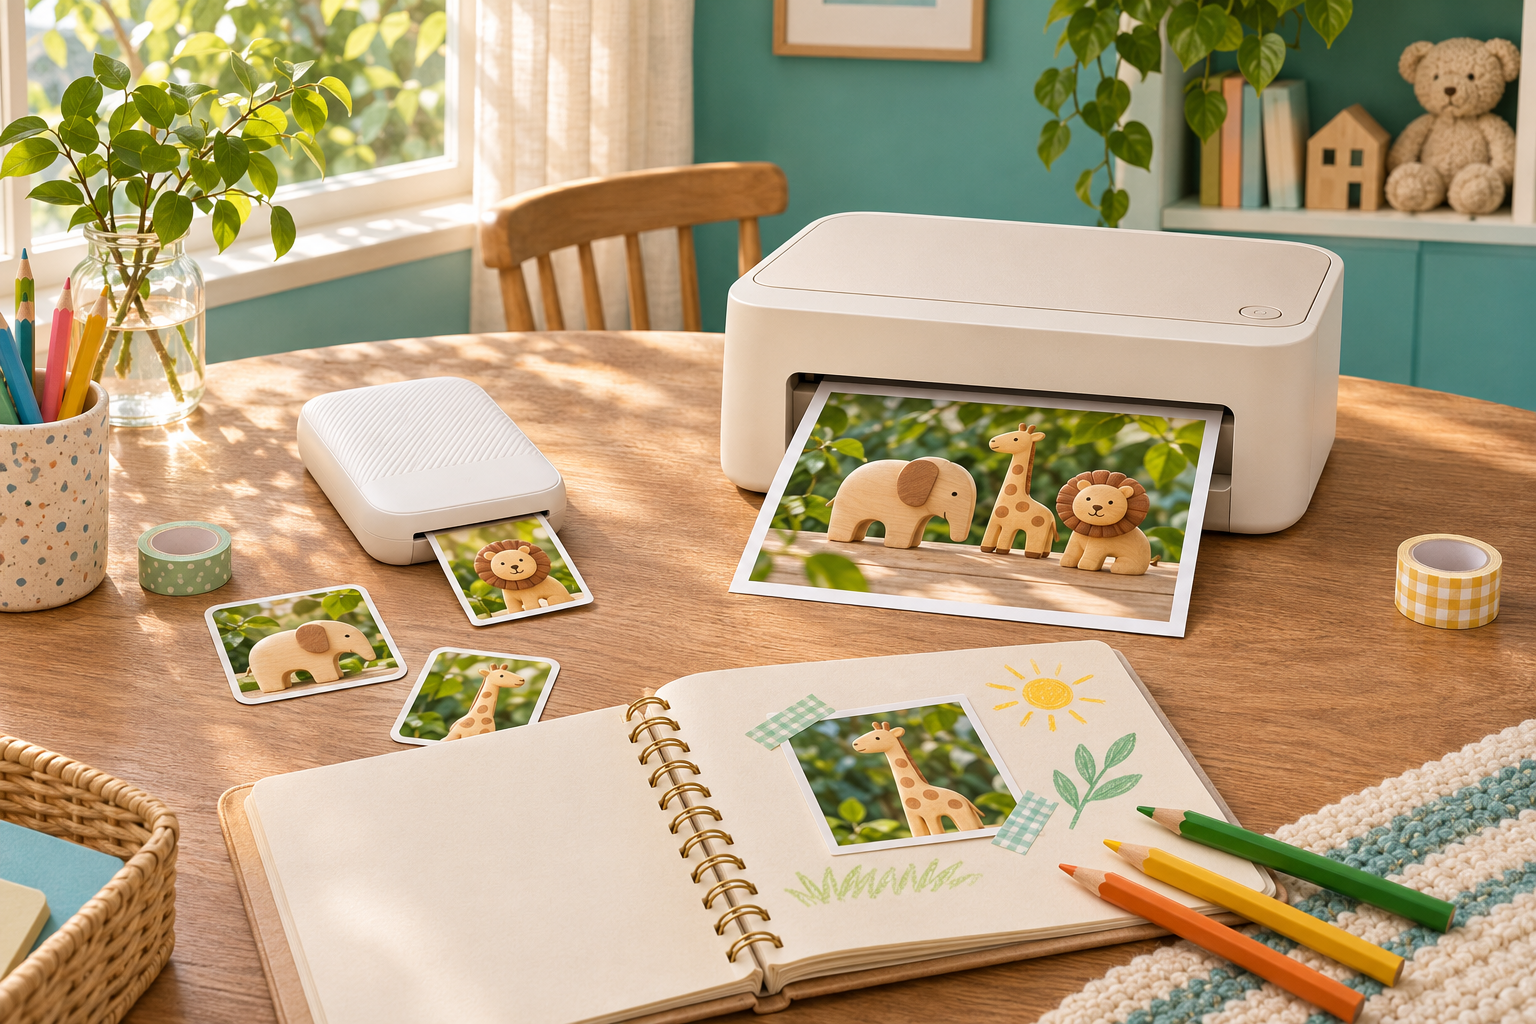
Conceptual illustration of small and tabletop photo printers beside toy-animal prints and a scrapbook
Conceptual editorial illustration; not a photograph of the compared printers.

Reviewed and updated: November 6, 2026

Choose the Canon SELPHY QX20 for small photo stickers in a child’s journal. Choose the SELPHY CP1500 for a family printing station built around larger 4-by-6-inch photographs. The important decision is where the finished pictures will go: a scrapbook corner and a conventional photo album ask different things of a printer.

Which printer fits your family project?

These are adult-managed photo printers, not children’s cameras or toys. This comparison uses Canon’s published specifications rather than hands-on testing. Our recommendations interpret those features for family projects; they are not claims about measured print quality. Neither printer takes photographs. You first need a usable digital image and a compatible way to send it to the printer.

01

Canon SELPHY QX20 Compact Photo Printer

Choose for: small sticker pictures for journals and family crafts. Canon lists a built-in rechargeable battery, USB-C charging and square or card-format sticker media. Skip if: you want 4-by-6-inch prints or printing directly from a memory card.

View current Amazon search results for Canon SELPHY QX20 Compact Photo Printer (paid link) (paid link)

02

Canon SELPHY CP1500 Compact Photo Printer

Choose for: an adult-managed family photo station. Canon lists 4-by-6-inch printing, a 3.5-inch display, direct SD-card input, Wi-Fi and USB connectivity. Skip if: you want a small printer with an included built-in battery for phone-led sticker projects.

View current Amazon search results for Canon SELPHY CP1500 Compact Photo Printer (paid link) (paid link)

Decide the print size before the printer

Put a blank sheet beside the album, notebook or frame your child wants to fill. Mark the intended picture area and leave space for a caption. A small sticker can be a useful accent in a journal but feel lost on a large page. A larger photograph can tell a clearer story on its own, yet leave little room for drawing around it.

QX20 supports square and card-format sticker media; CP1500 supports postcard-size 4-by-6-inch prints among its formats. That difference is the strongest reason to favour one over the other. Do not buy the smaller printer expecting a future setting to produce larger sheets. If the family mostly wants conventional album prints, begin the decision with CP1500.

Choose QX20 for journals and small keepsakes

QX20 makes sense for a parent and child who want to select a few pictures on a phone and place them into a craft project. Canon lists XS-20L square sticker paper and XC-20L or XC-60L card-format sticker sets. Its SELPHY Photo Layout workflow supports iOS and Android. Check the app’s current requirements against the adult’s actual phone before ordering.

A useful first project is a page about one ordinary afternoon: a toy scene, a leaf found outside and the finished drawing. Ask the child to choose which picture needs the most space. Use scrap paper to plan the arrangement before committing the stickers. Our photo-story sequence guide can help turn a handful of favourites into a beginning, middle and end.

Choose CP1500 for a shared photo station

CP1500 is the stronger fit when several family members want pictures for an album or display. Its built-in 3.5-inch display and direct SD-card support offer a different working pattern from an app-centred pocket printer. Canon also lists Wi-Fi, AirPrint and USB connections. Those options matter when the photographs start on different devices, though you still need to check file and device compatibility.

Imagine a weekly routine in which a parent gathers a small selection and the child chooses one image to print. The printer can stay in one supervised workspace rather than travelling with every outing. Skip this model if the real attraction is making little peel-and-stick journal pictures wherever you sit; a conventional album workflow may feel unnecessarily involved for that goal.

Check how the photographs reach the printer

The camera is only the first part of the purchase. A toy camera may need its pictures transferred to an adult’s computer or phone before printing. Do not assume that a printer’s card slot can read every camera’s storage or that every cable can connect the two devices directly. Trace one complete route from the camera you own to the printer you intend to buy.

QX20 has no card slot, and its USB-C port is for charging only. CP1500’s USB-C connection does not support charging. Similar-looking sockets therefore have different jobs here. Before choosing, list the device holding your pictures, the connection you will use and any required adapter. Our guide to organising a child’s photo library helps keep originals separate from the smaller selection prepared for printing.

Match the paper system as carefully as the model

The QX20 sticker sets and CP1500 supplies are separate systems. Treat the printer name, paper format and matching ink as one purchase decision. A packet described only as SELPHY paper is not enough information. Check the compatibility list for the exact printer and the cassette required for your chosen size; do not assume an accessory pictured beside a printer is included.

For a first family project, choose one format and learn that routine before adding alternatives. Keep the supply packaging until you are confident replacements match. Store unopened materials as instructed and let an adult load the printer. If the family dislikes managing dedicated consumables, compare that commitment with sending a small batch of images for printing before buying either device.

Portability includes power and a work surface

QX20 has a built-in rechargeable battery and USB-C charging; Canon’s specification sheet says a power adapter is not included. CP1500 includes an AC adapter, with battery operation requiring a separate compatible pack. Decide whether the printer will actually leave the house. A built-in battery is useful only if moving between places is part of the project you want to do.

Both still deserve a clean, stable adult-managed area. Leave the clearances required in the manual and keep fingers away from the paper path while printing. Keep drinks, craft glue and loose glitter elsewhere. Set up power leads so nobody pulls the device from the table. The child can direct picture selection and page design while an adult handles supplies, connections and charging.

Choose the pictures before pressing print

A dedicated printer will not rescue an image that misses the subject. Review faces, sharpness and framing on screen first. Ask the child what should stay inside the picture, then check the crop for the chosen paper shape. A square crop may remove something important from a wide photograph. Keep the original file so you can make a different choice later.

Print one image before committing a whole sequence. Use it to decide whether the picture size suits the project, without promising that the screen and print will look identical. If the child needs a fresh subject, our one-window indoor photography project offers a manageable scene to photograph before choosing favourites together.

Which should you buy?

Buy QX20 when small stickers, a compatible adult phone and portable craft sessions describe the job. Buy CP1500 when 4-by-6-inch family prints and more input choices matter most. Skip both if nobody wants to manage files and supplies, or if the intended gift is a camera that produces a picture immediately after capture. These printers solve a later step in the process.

The buttons open Amazon searches for the named printers, not exact listings. Match the full model, colour, included supplies and power accessories in any result you consider. Start with the finished page or album you want to make, then choose the printer whose format and workflow support it.

Manfrotto PIXI vs. PIXI EVO: Mini Tripods for Kids’ Tabletop Projects

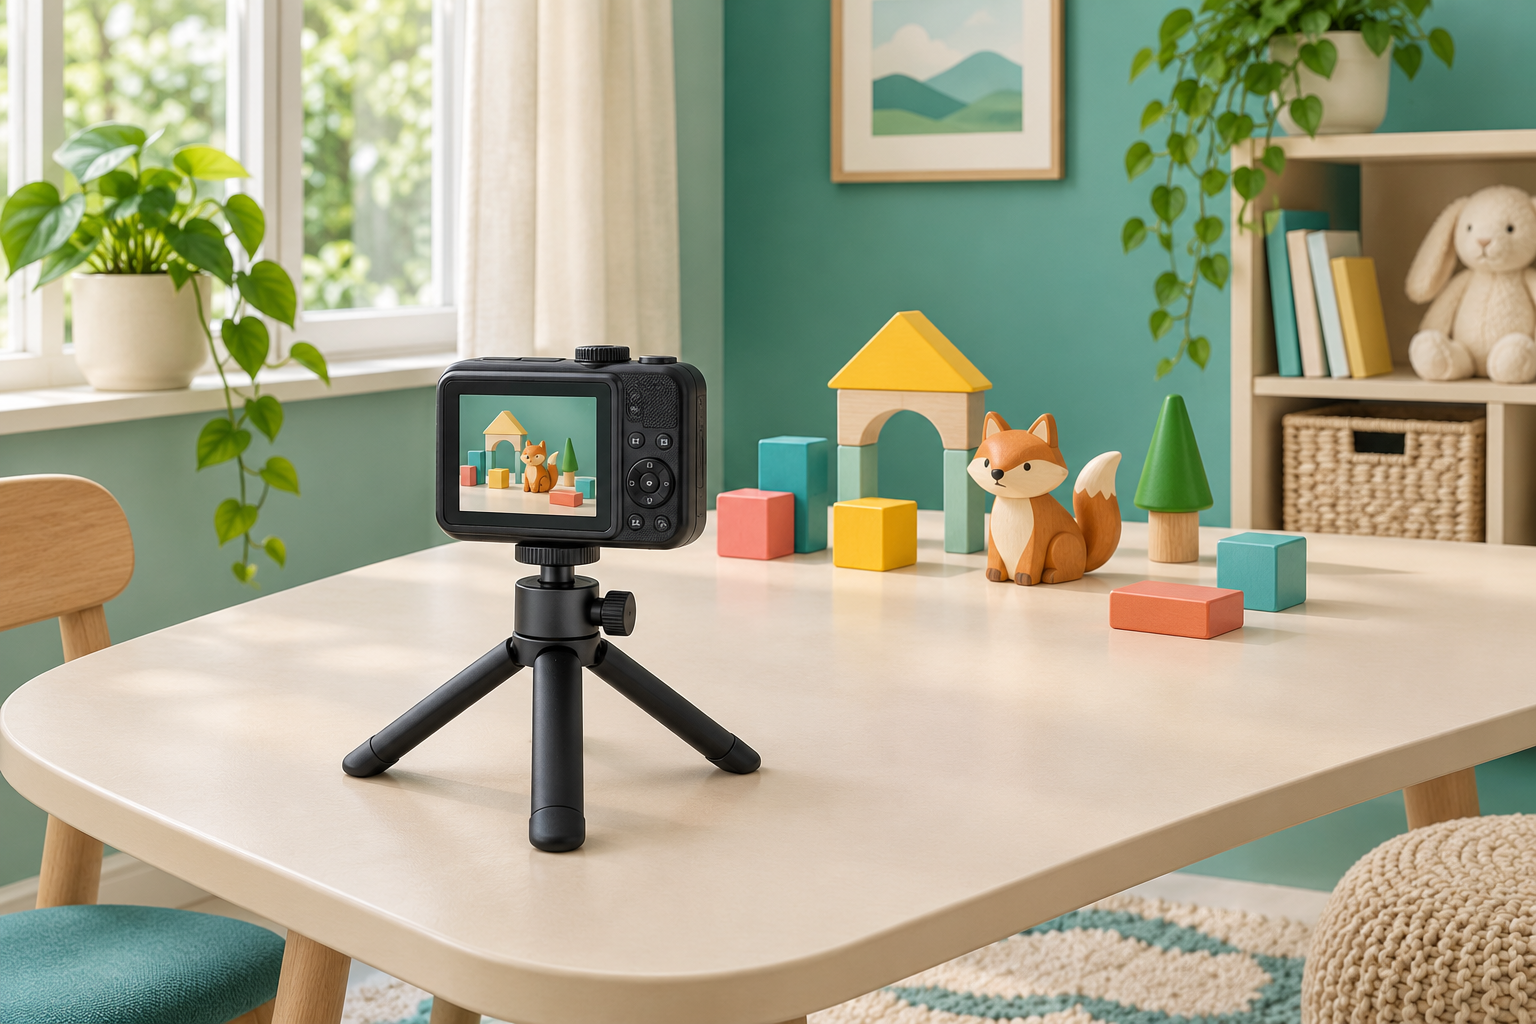
Illustration of a compact camera on a tabletop tripod facing wooden toys
Conceptual editorial illustration of a tabletop photo project; not a specific product photograph.

Reviewed and updated: November 4, 2026

Choose the Manfrotto PIXI for a light camera that will stay at one tabletop height. Choose the PIXI EVO when adjustable legs or vertical framing solve a specific project problem. For children photographing toys, making short animations, or recording a craft, the useful difference is how much setup an adult needs to manage before the child starts creating.

Which mini tripod fits your family?

These are camera supports, not toys or child safety devices. This comparison uses Manfrotto’s published specifications, rather than hands-on testing. The PIXI discussed here is the black Made in Italy model MTPIXIMII-B; the EVO is MTPIXIEVO-BK. Check those codes because similar names appear on older models and bundles. Neither replaces a full-height tripod when the camera needs to stand at a child’s eye level.

01

Manfrotto PIXI Mini Tripod, Black, MTPIXIMII-B

Choose for: a simple, level tabletop setup with a small camera. Manfrotto specifies a 170 g weight, 13.5 cm working height, one-section legs, a 1 kg safety payload, and a quarter-inch camera screw. Its push-button ball-head adjustment keeps the setup straightforward. Skip if: you need adjustable leg length or a full sideways portrait tilt.

View current Amazon search results for Manfrotto PIXI Mini Tripod Black MTPIXIMII-B (paid link) (paid link)

02

Manfrotto PIXI EVO 2-Section Mini Tripod, Black, MTPIXIEVO-BK

Choose for: projects needing more framing flexibility. Manfrotto lists a 260 g weight, 10.5-20 cm height range, 2.5 kg safety payload, two leg angles, and two-section legs with five extension steps. The head allows a 90-degree portrait position. Skip if: you only need one low, level viewpoint and prefer fewer adjustments to manage.

View current Amazon search results for Manfrotto PIXI EVO 2-Section Mini Tripod Black MTPIXIEVO-BK (paid link) (paid link)

Start with the camera connection

Look underneath the camera before choosing either support. It needs a compatible tripod socket, and its manual should permit tripod mounting. Some children’s cameras have a decorative recess rather than a usable threaded mount. Do not force a screw into plastic or assume that every compact camera has the same fitting. An adult should make the first attachment and confirm that nothing obstructs the lens or controls.

A phone requires a suitable separate holder unless the exact package explicitly includes one. Check the holder’s mounting thread, device-size range, and grip arrangement. Include that holder in the total load. The tripod’s name alone does not tell you what comes in a bundle, and a picture showing a phone is not evidence that a clamp is supplied.

Choose PIXI for repeatable toy scenes

The smaller PIXI makes sense when a child wants the camera to remain in one position while the subject changes. Place a toy on a wide table, set the framing with adult help, then let the child move the toy between pictures. The absence of extending legs removes one adjustment from that routine. Its lower carrying weight may also suit a small family project bag.

The compromise is viewpoint. If the camera sits too low for the scene, move the subject to a better location rather than balancing the tripod on books or a narrow box. Our foreground and background toy-photo game works especially well with a consistent camera position. A fixed viewpoint helps the child notice how moving the toys changes apparent size and overlap.

Choose EVO when the angle matters

The EVO’s extra adjustments are useful when the project genuinely needs them. A taller toy scene may benefit from a slightly higher camera, while a low viewpoint can make a small model look more imposing. Vertical framing may suit a portrait-shaped craft or a narrow display. Those are practical reasons to choose the EVO rather than treating its higher load rating as an automatic upgrade.

More controls also mean more setup decisions. An adult should adjust and secure the support before the child takes over. Recheck balance after changing camera orientation, extending legs, or adding an accessory. A camera moved sideways changes where its weight sits. The published payload is a limit to respect, not a promise that any camera shape will remain balanced in every position.

Check the complete camera load

Count the camera, attached lens, mounting accessory, and anything else supported by the head. A compact body with a projecting lens can behave differently from a small, evenly balanced camera even when both weigh less than the stated limit. Keep the setup conservative, follow the equipment instructions, and support the camera while making adjustments. Do not test stability by deliberately pushing it toward a fall.

Neither tripod stops a moving subject from blurring. It supports the camera; the child still needs suitable light and a sensible capture routine. Our one-window indoor photography project gives a simple starting scene. Avoid positioning the table where a child must lean across the camera to reach the toys or shutter.

Plan the first project before buying

For a short animation, ask whether the camera can capture the frames or work with the family’s chosen app. For a craft video, check whether the required view is forward-facing or overhead. These mini tripods do not provide an overhead arm. For a self-portrait, check the camera’s timer and framing before deciding that a tabletop support can achieve the intended picture.

A useful first assignment is six still photographs of a wooden animal moving through a block scene. Keep the camera fixed and move only the subject. Stop to review the sequence before adding more frames. If the child enjoys planning the story, our photo-story sequence guide offers a way to develop that interest without adding more equipment immediately.

Try the controls with adult help

Before ordering, think about who will reposition the camera. A child who wants to work independently may benefit more from a ready-framed setup than from extra adjustments. Ask an adult to handle the head while the child directs the composition: higher, lower, or slightly left. That division gives the photographer creative control without making mounting hardware part of the game. If the project regularly changes between handheld pictures and supported frames, allow time for an adult to detach and remount the camera safely.

Set up where bumps are unlikely

Use a broad, stable surface and keep every foot well inside its edges. Clear drinks, dangling charging leads, and loose straps from the work area. Children should stop handling the tripod once the camera is positioned. An adult should stay nearby and manage mounting, folding, and adjustments, keeping fingers clear of moving joints. Put the camera away before the table becomes a play surface again.

Match the model before ordering

The buttons open Amazon searches for the named models, not exact listings. Match the full model code, color, included accessories, and mounting requirements in the result you choose. Compare camera-only support packages with kits item by item. Choose PIXI for a simple fixed-height setup; choose EVO for a demonstrated need for adjustable height or portrait framing. If the camera lacks a compatible mount or the project needs standing height, skip both.

Instant Camera Sizes for Kids: Compact vs. Full-Size Formats

Coral compact and blue larger instant cameras on a teal and cream craft table

Reviewed and updated: November 1, 2026 Instant cameras can turn photography into a hands-on family activity, but “small” is not automatically better for a child. Compact cameras are easier to pack, while a larger body may provide a steadier grip and clearer controls. The print size, film cartridge, flash behavior, and ongoing film cost matter … Read more

Polaroid Small vs. Go Pocket Photo Album: Match the Film First

A child organizing instant photographs in a generic album; verify actual album and film compatibility separately

Reviewed and updated: October 30, 2026 A child organizing instant photographs in a generic album; verify actual album and film compatibility separately. Polaroid's Small Photo Album and Go Pocket Photo Album serve different print formats. The word small does not mean that the Small album fits the smallest Polaroid pictures. Before buying either one for … Read more

Best Instant Cameras for Family Photo Projects

Best Instant Cameras for Family Photo Projects

Reviewed and updated: October 28, 2026 Instant cameras make each frame tangible, which can help children slow down and plan a shot. Film cost, flash behavior, close-focus limits, controls, straps, and adult supervision matter more than novelty colors. This guide was reviewed against current official product information where a model is discussed. Specifications and packages … Read more

Best Action Cameras for Kids and Family Trips

Best Action Cameras for Kids and Family Trips

Reviewed and updated: October 26, 2026 An action camera for a child should be chosen around supervision, simple controls, durable mounting, privacy, and a realistic editing plan. Current models vary more in workflow than headline resolution. This guide was reviewed against current official product information where a model is discussed. Specifications and packages can change, … Read more