
Teaching Kids Photography With Operation Fish
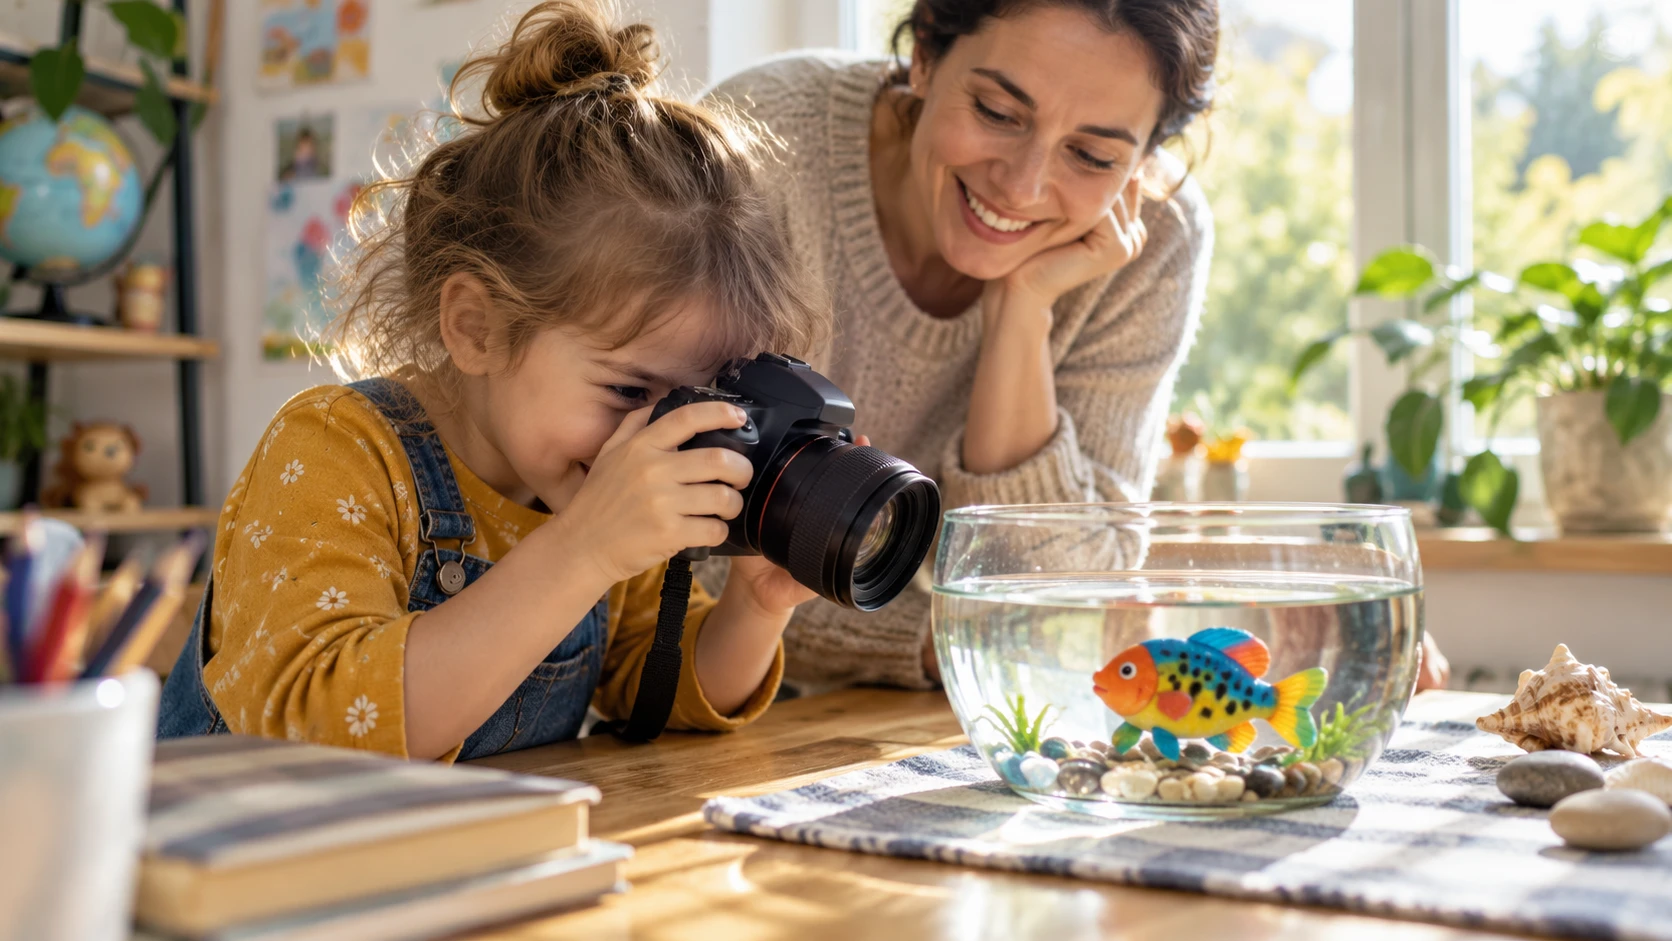
Operation Fish is a focused photography game built around one colorful toy fish. The subject stays simple while the child changes distance, angle, light, background, and storytelling. Use a dry toy fish on a table for the easiest setup. If water is included, keep cameras and charging cables well away from spills and maintain direct adult supervision.
Set up the mission
Choose a toy with a clear shape and expressive details. Place it near a window with a plain towel, paper, or cardboard background. Agree on a small mission: create six different pictures that make the same fish look large, tiny, fast, calm, mysterious, and funny.
Begin with a record photograph
Make one straightforward picture at eye level with the whole fish visible. This becomes the baseline. Check for a finger over the lens, a tilted frame, distracting objects, and blur. Fix only the handling problems before trying creative variations.
Change distance without digital zoom
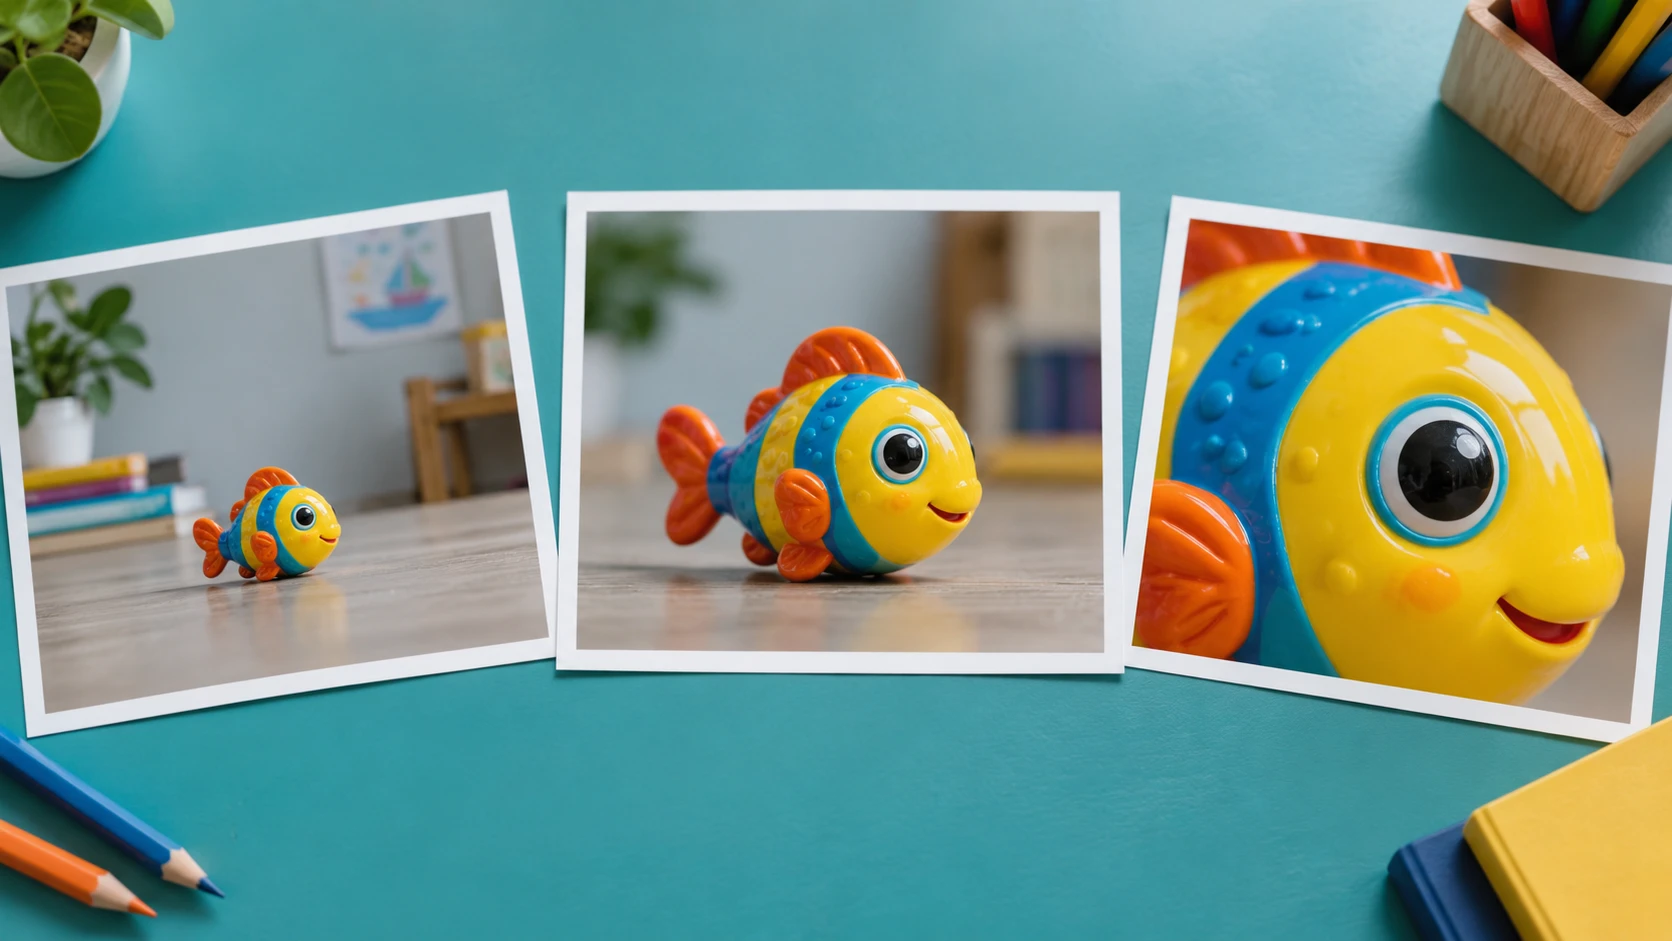
Make a wide environmental frame, a medium portrait, and a close detail of an eye, fin, or texture. When it is safe, move the camera instead of pinching to zoom. Compare how much context each distance gives the viewer.
Explore high, low, and eye-level views
A high view can make the fish seem small, while a low view can make it feel heroic. Eye level often creates the strongest sense that the subject has a personality. Keep the camera strap secure and never climb on furniture for a viewpoint.
Move the light, not the child
Turn the setup so window light reaches the front, side, and back of the fish. Use white paper to bounce light into a dark side. Avoid hot lamps, candles, and unstable fixtures. The goal is to notice how highlights, shadows, and color change.
Create motion without water
Move the toy slightly between frames for a stop-motion sequence, or pan the camera while an adult slides the toy across a dry surface. Try one sharp version and one intentional blur. Describe which treatment feels faster.
Finish with a three-picture story
Choose three photographs that form a beginning, middle, and end. The fish might leave a “cave,” discover a bright object, and return home. Add captions after selecting the pictures. A finished story gives the exercise a clear purpose and teaches editing through selection.
What still matters from the original guide
Photography is great. It’s a marvelous combination of art and technology that we all enjoy and admire. The digital revolution, followed by the smartphones revolution, has taken it a few steps forward and made it extremely popular and accessible for all, including kids. Our kids. How many times did you give your kids your camera or smartphone and just let them take some photos? plenty of times, right? But if you turn it from a meaningless point and shoot exercise to a parent & child photography session, you can double the deal: improve your kid’s photography skills, and spend some great quality time with them. In short, this is what teaching kids photography is all about. So this is exactly what I did. In the past, I’ve published some posts with tips on how to teach kids photography, and a Basic Photography Terms For Kids guide, but in this post I’m putting aside the theories and facing the real world of me, as a parent, and my lovely 7 years old daughter. Before we begin, I should note that this wasn’t my girl’s first photography experience. Besides hundreds of iPhone and iPad pictures she has taken so far, she owns a kids Polaroid camera, a FujiFilm Instax Mini 8, and she had taken a few dozen pictures in the past few months. She’s therefore familiar with the camera operation and its basic features, so a photography / camera terms lesson wasn’t required. Click here for a full Fujifilm Instax Mini 8 Instant Film Camera Review Already have the Fujifilm Instax
Keep the lesson short and specific
A short session with one clear goal usually works better than a long explanation. Tell the child what they are practicing, demonstrate it once, and then let them make several attempts. Stop before attention fades. A ten-minute exercise repeated next week builds stronger habits than a single hour packed with rules.
Review pictures with useful questions
Let the young photographer choose a favorite before offering feedback. Ask what they noticed, what they wanted the viewer to see, and what they might change next time. Point to one successful choice and one possible experiment. This keeps review connected to decisions rather than turning it into a judgment of whether a picture is simply good or bad.
Protect privacy while sharing
Children should ask permission before photographing people. Before any image leaves the family device, an adult should check the background for school names, house numbers, mail, screens, location clues, or other private details. A printed album, private family folder, or classroom display can provide an audience without requiring a public social account.
Build a simple progress habit
At the end of a project, save five photographs and add a short caption about the idea or technique. Revisit the folder after a month and compare the child’s new choices with earlier work. Progress becomes visible without comparing one child with another, and the captions help adults understand what the photographer intended.
Use mistakes as experiments
A blurred frame, dark face, tilted horizon, or awkward crop can become the start of the next attempt. Identify the likely cause, change one thing, and make another photograph. This process teaches observation and problem solving. It also shows that experienced photographers improve pictures through repeated decisions rather than getting every frame right the first time.
Before the activity begins, check the battery, storage space, strap, lens, and the place where everyone will stand. A calm setup prevents the lesson from being interrupted by equipment problems. It also gives children a repeatable preparation habit they can use whenever they pick up a camera.
Ask the photographer to predict what will change before making the next frame. They might expect a closer position to remove background clutter or side light to reveal more texture. Comparing the prediction with the result turns a casual picture into an observation exercise.
Keep the final selection small enough to discuss carefully. Five well-chosen photographs can show more intention than fifty similar attempts. Have the child arrange the pictures in an order, give the set a title, and explain why one frame opens or closes the sequence.
Return to the same subject on another day or in different light. Familiar subjects make technical changes easier to recognize because fewer variables are new. A second session can test one improvement while preserving the child’s original idea and sense of ownership.
Editorial note: This educational guide intentionally contains no affiliate product links. Adults should adapt activities to the child’s age, device, and supervision needs.