
Photography is great. It’s a marvelous combination of art and technology that we all enjoy and admire. The digital revolution, followed by the smartphones revolution, has taken it a few steps forward and made it extremely popular and accessible for all, including kids. Our kids.
How many times did you give your kids your camera or smartphone and just let them take some photos? plenty of times, right? But if you turn it from a meaningless point and shoot exercise to a parent & child photography session, you can double the deal: improve your kid’s photography skills, and spend some great quality time with them. In short, this is what teaching kids photography is all about.
So this is exactly what I did.
In the past, I’ve published some posts with tips on how to teach kids photography, and a Basic Photography Terms For Kids guide, but in this post I’m putting aside the theories and facing the real world of me, as a parent, and my lovely 7 years old daughter.
Before we begin, I should note that this wasn’t my girl’s first photography experience. Besides hundreds of iPhone and iPad pictures she has taken so far, she owns a kids Polaroid camera, a FujiFilm Instax Mini 8, and she had taken a few dozen pictures in the past few months. She’s therefore familiar with the camera operation and its basic features, so a photography / camera terms lesson wasn’t required.
Click here for a full Fujifilm Instax Mini 8 Instant Film Camera Review
Already have the Fujifilm Instax MIni 8? Read our tips here How to Use the Instax Mini 8 | 5 Important Tips
Phase 1: Teaching Kids Photography – Create the Initial Spark in Your Kid’s Eyes…
You know today’s kids – they get bored very quickly… and I didn’t want her to turn me off, so I rehearsed a few times in my head before I reached out to her and asked if she wanted to take a few shots with her FujiFilm camera (and her Dad)… Surprisingly, my sales pitch worked very well. I didn’t need to make too many efforts in order to energize her. As a matter of fact, she was a bit surprised by me reaching out to her about it after “so many times she wanted to take a few photos and neither I nor her mother had the time to watch her… “
Did you read our articles about teaching photography to your kids? you can find it here:
Then, when I told her that I might publish our joint experience in a blog post, she became really excited. A blog post? She started asking questions about blogs and websites and the differences between a newspaper article and a blog post… so many questions… have you ever tried to explain to your kid what the internet is? It wasn’t very easy, reminded me of that afternoon when she asked me who God was…
To cut a long story short – engaging her was easy, plus she has learned a few new things about the World Wide Web. Then phase 2 started…
Basic Photography Terms For Kids and Beginners
Photography For Kids – How to Teach Your Kids the Basics
Teaching Photography to Kids: Selecting the Right Approach
How to Teach Kids Photography – 11 Tips
Phase 2: Pick a Theme – What are we Going to Shoot?
It was a very nice conversation between a blogger and a 7 year old girl. As a matter of fact, it was led mostly by her. She started by asking why we needed a theme, and after she accepted my explanation, ideas started flowing from her until I found myself overwhelmed – a kid photographer, her books, burgers (burgers!?!), one of her toys she liked very much (and probably won’t like in the foreseeable future…), and many more optional themes – so many that I had to stop her and tell her what I think about each and every idea.
At this point I feel I must elaborate a little bit on her first theme idea – a kid photographer, using a Polaroid camera… doesn’t it sound just amazing? A 7 year old girl already writing her biography? I asked her what exactly she meant and she told me that she will take photos, and I will follow her and take photos of her taking photos… oh, I said, you mean we’ll create a short photography guide for kids? Maybe, she responded, but we can also take pictures of burgers…
So we discussed this idea for one more minute, I told her it’s a great idea and maybe one day we’ll do it, but today I’d like her to be the photographer and not the post’s subject. We then discussed a few more options, until we bumped into our aquarium! with the 3 little fish we have there, and we both knew immediately that we found it! Our theme will be fish – real ones, toy fish (I was sure she had at least one – after all she has a room full of toys), and any other fish-oriented item we’d find during our short journey.
Phase 3 – Set up: Before Taking the Photos
She took the camera, turned it on, loaded the film, didn’t forget to put the strap around her wrist (could I be more proud?), and… rushed to the aquarium with her eye already in the viewfinder. Hey, I tried to slow her down, wait a minute, let’s talk about a few guidelines… she looked at me impatiently. I asked her to think before she shoots and tell me what she was aiming to shoot. At this point I decided not to bother her with composition and lighting comments, these will come later, and just let her take her first picture. “Well, I’m going to take a picture of the black and white fish.” She announced.
Phase 4: Let’s Shoot
1st Photo
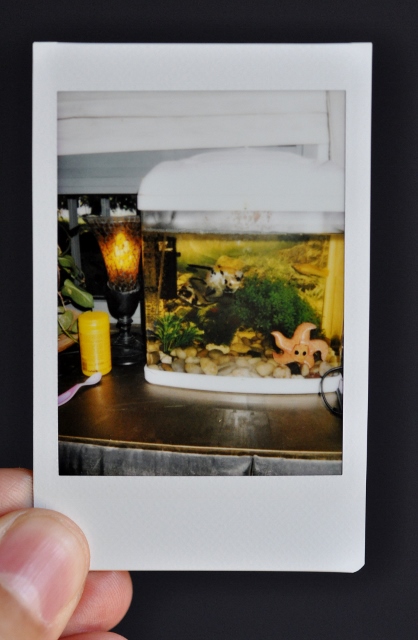
She took a picture of the aquarium. I watched her as she was taking the picture and noticed she held the camera until the picture was produced. You don’t need to do that, I told her, and explained to her that she needs to hold the camera still only when the shutter button is pressed. Then, she took the camera again and took her second photo.
2nd Photo

Again, the aquarium, from a closer point. What we missed between the two first shots was a brief review of the first photo. She took the second one before the first picture was fully developed. Don’t rush – this is something I highly recommend you do with your kid. Wait for a minute or two until the picture is clear and use it to review, discuss and plan your next step.
We then reviewed both pictures, and the consensus was that the fish can hardly be seen, since the photos were taken from a point which was too far. Having that said, she got a lot closer to the aquarium and took her third picture.
3rd Photo
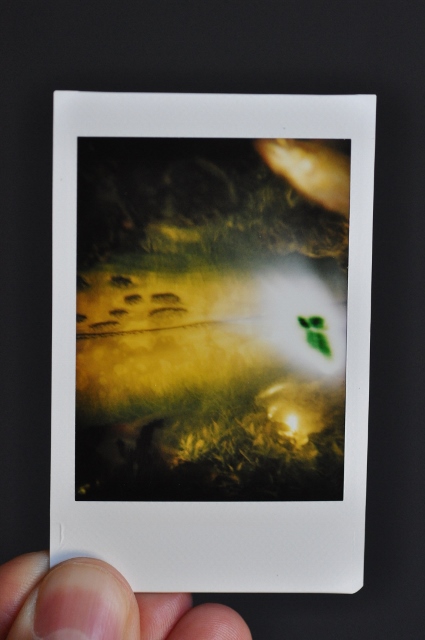
She was close enough, and her general photography technique was okay, but the outcome was disappointing – a vague picture of something that looked like these giant monsters who live peacefully at the bottom of the ocean and not in our 3 fish aquarium… try again, I told my beautiful, talented photographer. She did.
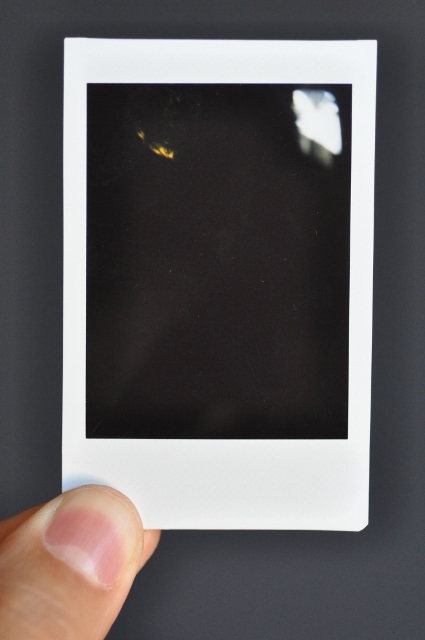
4th Photo
Well, it looked like that the monster from photo 3 was still there. We took both pictures and started analyzing this very interesting situation. After less than a minute, my clever girl suggested that the bright monster we saw in both pictures might be a reflection of her camera’s flash.
Well, she was right of course, and this was a very good lesson for both of us:
When taking pictures through a glass – a window, an aquarium wall, etc. – pay attention to the flash function. Once you press the button, the camera’s sensors are activated, and if the conclusion is that there isn’t enough light to make a bright and vivid picture, the flash is automatically activated. If this happens, and you are shooting through a glass surface, the glass might reflect the flash back, and what you get at the end is an illuminated monster in the deep ocean.
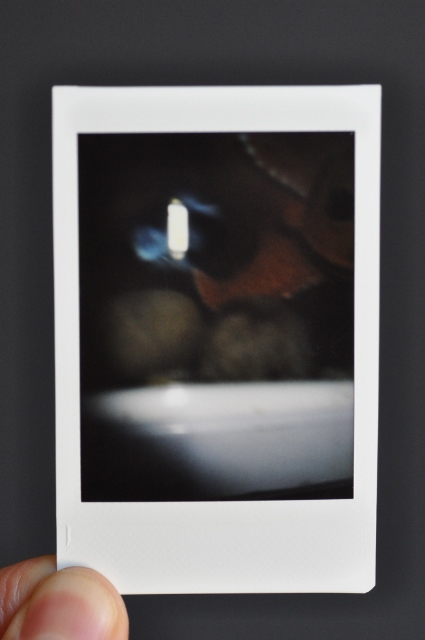
5th Photo
I took this picture myself. I wanted to conduct a small experiment about the lesson learned mentioned above. What I did was that I positioned the camera so close to the aquarium glass that it actually touched the camera’s lens. I wanted to see if this will make any difference in the camera’s decision making about activating the flash. As you can learn from the outcome, the answer was NO. The camera was consistent.
Click here for a full Fujifilm Instax Mini 8 Instant Film Camera Review
6th Photo
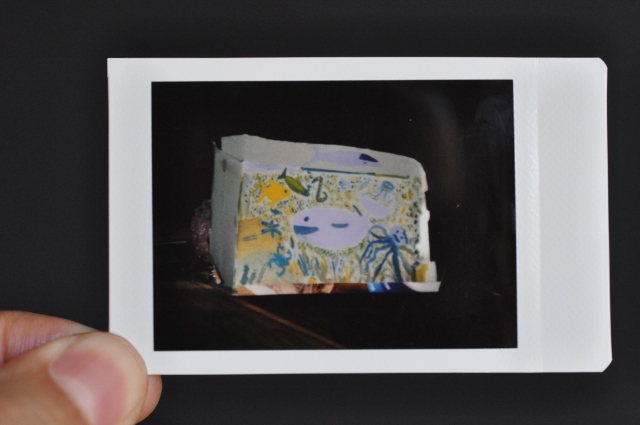
At this point we left the aquarium and looked for some more “fish” opportunities in our house. We then bumped into a very nice and colorful drawing we made together a few months ago, which was all about underwater creatures. See the whale in the picture? And the octopus to its right? Nice work, wasn’t it? So my girl placed this work on the table and took a shot.
We then analyzed the picture. My main comment to her was that she needed to get closer to the object. I will, she said, in the next photo – the SHARK
7th Photo
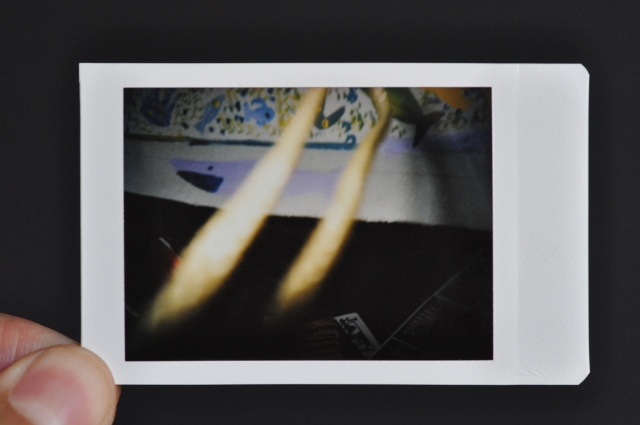
Yeah, the shark.
It was also included in the drawing. As you can see, she implemented the lesson and got a lot closer, BUT – the strap… one of the most common mistakes kids and beginners do – stick their fingers or the strap or the camera case or what have you in front of the lens.
Okay my little princess, I told my little princess, 3 pictures left. Where can we find more fish?
At this point, after about 10-15 minutes of looking for fish, and after trying to convince a few toy animals that turning into a fish might be a great twist in their boring life, my National Geography photographer and I reached the conclusion that we ran out of fish. No more fish. So – what do we do? How can we continue in our Fish photography session without fish?
8th Photo

An elephant. That plastic elephant was one of those who refused to pretend they are a fish, so we had to respect his will and let him be whatever he wanted to be. My advice to my daughter, from a composition perspective, was to put the elephant on the table and take the photo from a lower point, so it will look bigger and more impressive. I must say it was a very good advice, with medium level execution… but she got the idea, and this was the important thing – you can make the objects look smaller of bigger, based on the photography angle.
9th Photo
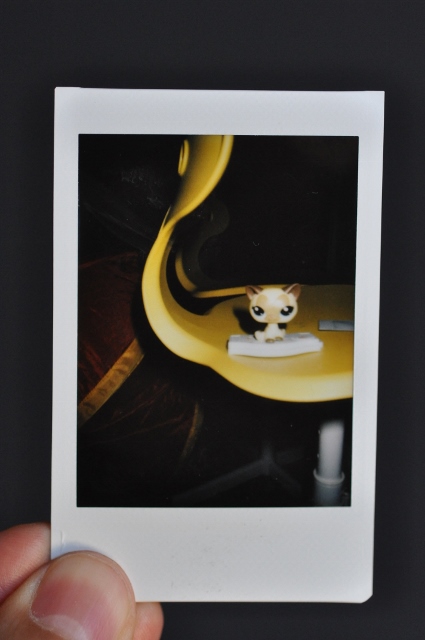
Based on the two motives from the previous shot – find another animal if the fish is gone and pick the right angle – she took a picture of a small plastic cat. She placed it on her chair, and since a small kitty is a small kitty – she has taken the photo from a higher angle. Great shot!
10th Photo
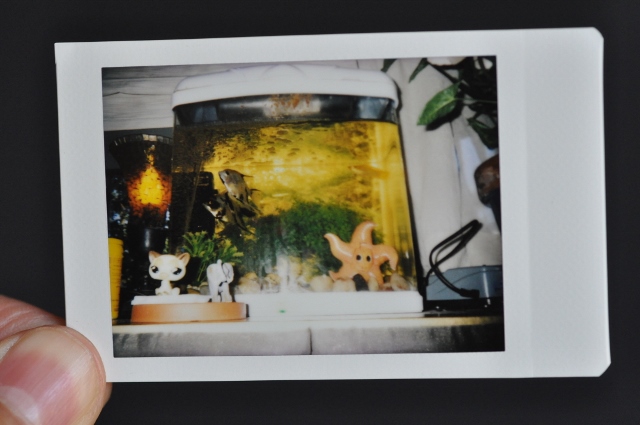
Last one. After diving into oceans, struggling with sharks and making friends with small cats, my girl came with a great idea – let’s make a farewell photo. She took the elephant and the cat to the aquarium, asked them all to say cheese and pressed the button. Game over.
Phase 5: Summary
- It was a great quality time with my princess.
- She has learned a few important things:
- The effect of the flash when taking a picture through a glass surface
- The importance of picking the right distance between the camera and the object.
- Watch the strap!!!
- The angle you pick dictates if the object will appear smaller or bigger.
- I’ve learnt that:
- It’s important to review and analyze each photo before taking the next one.
- Lessons which are learned throughout the session can be implemented immediately if explained clearly.
- Picking a theme was a good idea – it let us both think in advance on the objects, created a frame and context to the entire session and generated a great discussion about our life on this planet.
It was a great weekend photography project. We enjoyed it and I hope you did as well. Next time we’ll pick a different theme. Maybe the burgers?
Already have the Fujifilm Instax MIni 8? Read our tips here How to Use the Instax Mini 8 | 5 Important Tips