
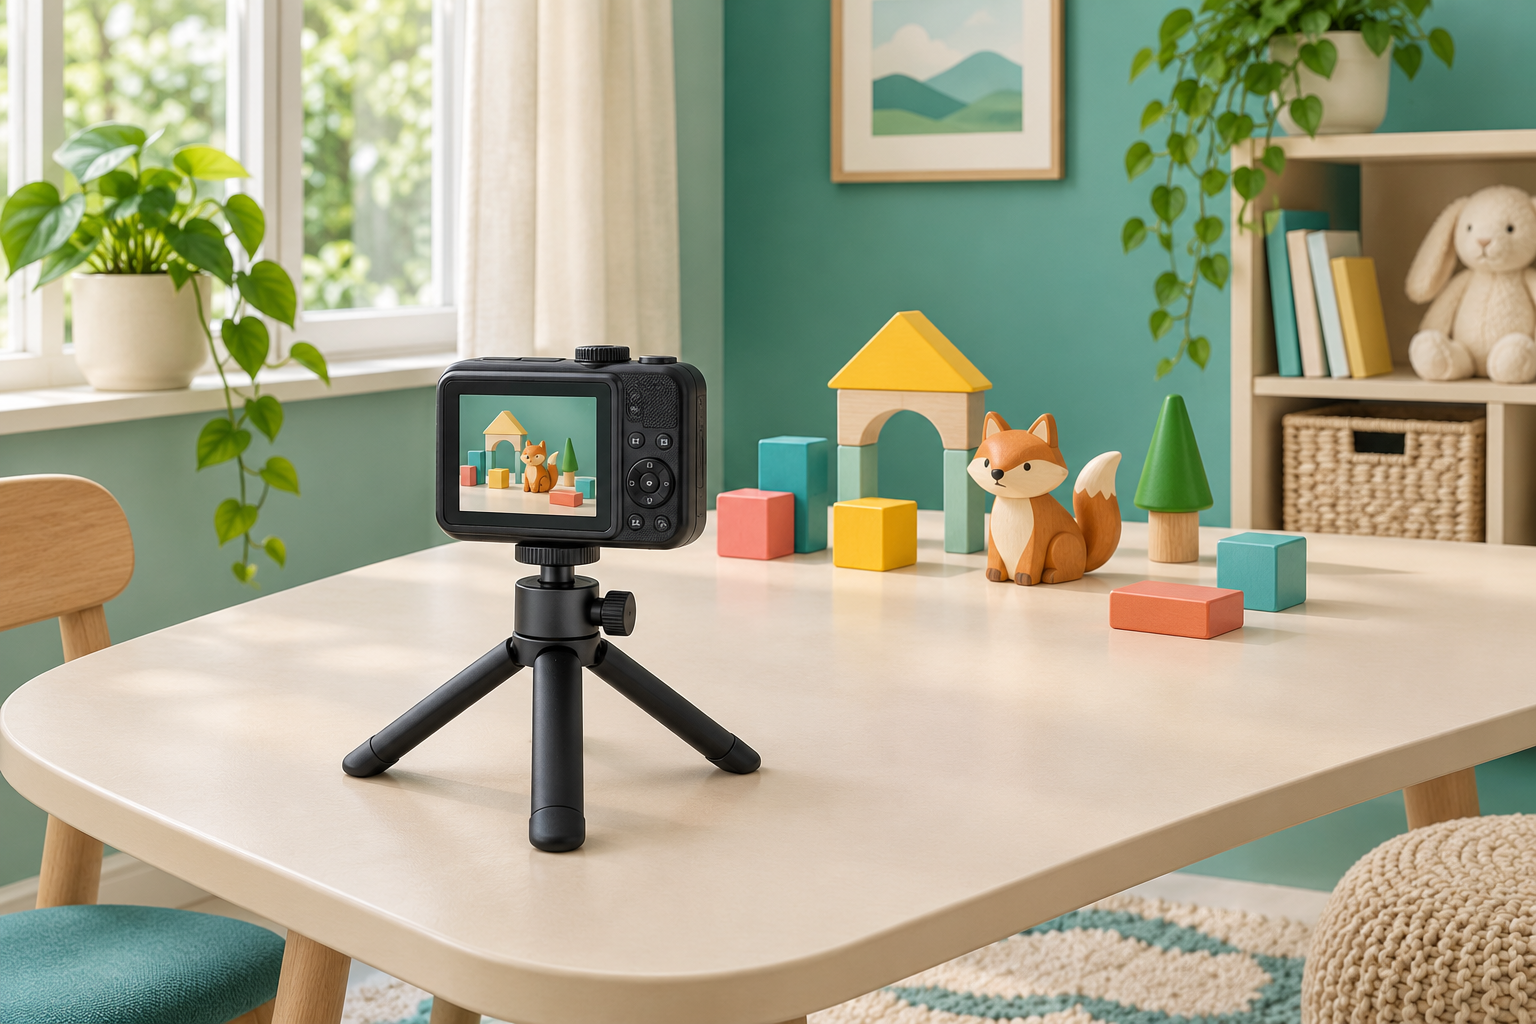
Reviewed and updated: November 4, 2026
Choose the Manfrotto PIXI for a light camera that will stay at one tabletop height. Choose the PIXI EVO when adjustable legs or vertical framing solve a specific project problem. For children photographing toys, making short animations, or recording a craft, the useful difference is how much setup an adult needs to manage before the child starts creating.
Which mini tripod fits your family?
These are camera supports, not toys or child safety devices. This comparison uses Manfrotto’s published specifications, rather than hands-on testing. The PIXI discussed here is the black Made in Italy model MTPIXIMII-B; the EVO is MTPIXIEVO-BK. Check those codes because similar names appear on older models and bundles. Neither replaces a full-height tripod when the camera needs to stand at a child’s eye level.
Manfrotto PIXI Mini Tripod, Black, MTPIXIMII-B
Choose for: a simple, level tabletop setup with a small camera. Manfrotto specifies a 170 g weight, 13.5 cm working height, one-section legs, a 1 kg safety payload, and a quarter-inch camera screw. Its push-button ball-head adjustment keeps the setup straightforward. Skip if: you need adjustable leg length or a full sideways portrait tilt.
View current Amazon search results for Manfrotto PIXI Mini Tripod Black MTPIXIMII-B (paid link) (paid link)
Manfrotto PIXI EVO 2-Section Mini Tripod, Black, MTPIXIEVO-BK
Choose for: projects needing more framing flexibility. Manfrotto lists a 260 g weight, 10.5-20 cm height range, 2.5 kg safety payload, two leg angles, and two-section legs with five extension steps. The head allows a 90-degree portrait position. Skip if: you only need one low, level viewpoint and prefer fewer adjustments to manage.
View current Amazon search results for Manfrotto PIXI EVO 2-Section Mini Tripod Black MTPIXIEVO-BK (paid link) (paid link)
Start with the camera connection
Look underneath the camera before choosing either support. It needs a compatible tripod socket, and its manual should permit tripod mounting. Some children’s cameras have a decorative recess rather than a usable threaded mount. Do not force a screw into plastic or assume that every compact camera has the same fitting. An adult should make the first attachment and confirm that nothing obstructs the lens or controls.
A phone requires a suitable separate holder unless the exact package explicitly includes one. Check the holder’s mounting thread, device-size range, and grip arrangement. Include that holder in the total load. The tripod’s name alone does not tell you what comes in a bundle, and a picture showing a phone is not evidence that a clamp is supplied.
Choose PIXI for repeatable toy scenes
The smaller PIXI makes sense when a child wants the camera to remain in one position while the subject changes. Place a toy on a wide table, set the framing with adult help, then let the child move the toy between pictures. The absence of extending legs removes one adjustment from that routine. Its lower carrying weight may also suit a small family project bag.
The compromise is viewpoint. If the camera sits too low for the scene, move the subject to a better location rather than balancing the tripod on books or a narrow box. Our foreground and background toy-photo game works especially well with a consistent camera position. A fixed viewpoint helps the child notice how moving the toys changes apparent size and overlap.
Choose EVO when the angle matters
The EVO’s extra adjustments are useful when the project genuinely needs them. A taller toy scene may benefit from a slightly higher camera, while a low viewpoint can make a small model look more imposing. Vertical framing may suit a portrait-shaped craft or a narrow display. Those are practical reasons to choose the EVO rather than treating its higher load rating as an automatic upgrade.
More controls also mean more setup decisions. An adult should adjust and secure the support before the child takes over. Recheck balance after changing camera orientation, extending legs, or adding an accessory. A camera moved sideways changes where its weight sits. The published payload is a limit to respect, not a promise that any camera shape will remain balanced in every position.
Check the complete camera load
Count the camera, attached lens, mounting accessory, and anything else supported by the head. A compact body with a projecting lens can behave differently from a small, evenly balanced camera even when both weigh less than the stated limit. Keep the setup conservative, follow the equipment instructions, and support the camera while making adjustments. Do not test stability by deliberately pushing it toward a fall.
Neither tripod stops a moving subject from blurring. It supports the camera; the child still needs suitable light and a sensible capture routine. Our one-window indoor photography project gives a simple starting scene. Avoid positioning the table where a child must lean across the camera to reach the toys or shutter.
Plan the first project before buying
For a short animation, ask whether the camera can capture the frames or work with the family’s chosen app. For a craft video, check whether the required view is forward-facing or overhead. These mini tripods do not provide an overhead arm. For a self-portrait, check the camera’s timer and framing before deciding that a tabletop support can achieve the intended picture.
A useful first assignment is six still photographs of a wooden animal moving through a block scene. Keep the camera fixed and move only the subject. Stop to review the sequence before adding more frames. If the child enjoys planning the story, our photo-story sequence guide offers a way to develop that interest without adding more equipment immediately.
Try the controls with adult help
Before ordering, think about who will reposition the camera. A child who wants to work independently may benefit more from a ready-framed setup than from extra adjustments. Ask an adult to handle the head while the child directs the composition: higher, lower, or slightly left. That division gives the photographer creative control without making mounting hardware part of the game. If the project regularly changes between handheld pictures and supported frames, allow time for an adult to detach and remount the camera safely.
Set up where bumps are unlikely
Use a broad, stable surface and keep every foot well inside its edges. Clear drinks, dangling charging leads, and loose straps from the work area. Children should stop handling the tripod once the camera is positioned. An adult should stay nearby and manage mounting, folding, and adjustments, keeping fingers clear of moving joints. Put the camera away before the table becomes a play surface again.
Match the model before ordering
The buttons open Amazon searches for the named models, not exact listings. Match the full model code, color, included accessories, and mounting requirements in the result you choose. Compare camera-only support packages with kits item by item. Choose PIXI for a simple fixed-height setup; choose EVO for a demonstrated need for adjustable height or portrait framing. If the camera lacks a compatible mount or the project needs standing height, skip both.